Highlands Wrap Dress by Allie Olson

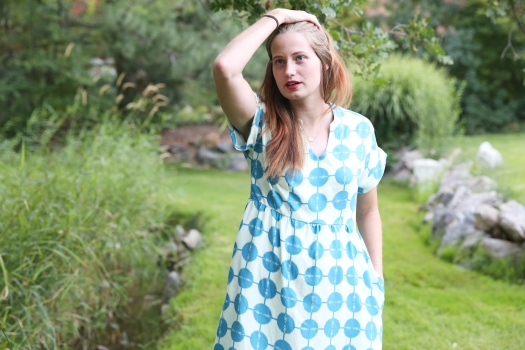
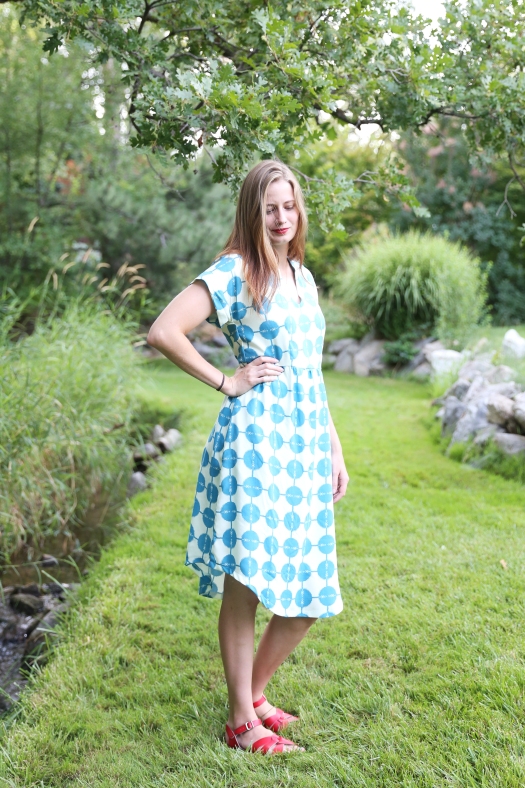
Last weekend, I was finally able to finish this maxi length Highlands Wrap Dress. I originally intended to finish it back in June but moving and life in general just got in the way. Way back in late winter/early spring, I had the opportunity to test this pattern for Allie. I ended up making a midi length version using gray rayon chambray. I loved the fit of the dress, but the fabric just wasn’t my favorite. I knew I needed to make a second wrap dress in fabric more suited to my style (aka: more color/print).

IMG_1701

IMG_1757

I’ve literally been in love with this Anna Maria Horner rayon challis print for years. This fabric was originally printed back in 2014 so I thought I’d missed my chance to buy more until a bolt showed up at Suppose. I immediately knew it was meant for a Highlands Wrap Dress and purchased a few yards.

IMG_1714IMG_1740

When tracing the pattern I selected a size 4 and graded to a 6 in the hips. I added a total of 4 inches to the length to accommodate my height (2″ at the hips and 2″ below the slit). In retrospect, I probably should’ve added all 4 of those inches above the slit because it is cut just a bit high for my personal preference. I plan to unpick a bit of the side slits and resew them to hit right above my knee. The high slits are a lovely design feature, just not quite as practical for my lifestyle.

IMG_1761IMG_1753

Back when I made my original test version, I didn’t add interfacing to the front facings. That was a terrible mistake and made top-stitching the facings a real pain in the you know what. This time, I decided to make a better choice and chose to interface them. I chose a tricot knit interfacing and it worked like a dream. Stitching the facings in place was about 100 times easier and I totally kicked myself for not using it on my first Highlands. I was originally introduced to knit interfacing when sewing a pattern by Gabriela of Chalk and Notch. She recommends it in many of her patterns, and that chick really knows her stuff. I know it’s going to be good if it’s recommended by Gabriela.

IMG_1729

Saying that I’m happy with this dress would be an understatement. There’s just something about a flowy, floral print dress that makes me feel put together and pretty. Now excuse me while I go experiment with ways to style this dress for fall and winter. It’s far too lovely to wear only during the summer months.

Note: You might notice that the darts are looking a bit high in these photos. I noticed this when I got home and started editing these. I made the mistake of wearing a different bra when fitting the dress than I was wearing the day I took these photos. Until I started sewing my own clothing, I never realized how much wearing the right undergarments matters (it matters a lot). Now that I’ve made this mistake, I’ll hopefully remember which bra to wear when taking photos in the future.

A Dress for Date Night: Lodo Dress by True Bias

IMG_1566

I fell in love with the Lodo Dress almost immediately after it was introduced (here) in April. I quickly purchased the pattern and ordered some fabric to make my first Lodo Dress. You can check out my first one here. I’ve gotten so much wear out of that first Lodo Dress and knew I needed another. My first dress is a bit more casual so I wanted my next one to look a bit dressier. I selected this red scuba knit from Indie Sew after seeing Allie’s blue version. The solid red was a bit of a bold choice, but I think it was the right one.

IMG_1559

My husband and I got the rare opportunity to go out on a date last week and I had him snap a few photos in my parents’ backyard before we left. Never thought I’d love sage brush, but I’ve started to see the beauty in it after living in Utah most of my life. The promise of a date was all the motivation needed for me to get working on my Lodo Dress. Our date was on Wednesday so naturally, I started cutting out my project on Monday. Tuesday night I sewed a few hours after bedtime and was able to complete the dress. There’s just something satisfying about finishing a project that is both quick and stylish. It never gets old and I see another Lodo or two in my future.

IMG_1543

This was my first time working with scuba and I was a bit nervous to use a new fabric. It was surprisingly easy. The only difficulty I had was when sewing the back slit. The fabric shifted a bit more than expected, so my stitching isn’t quite as perfect as I’d like. It is, however, such a small imperfection that I decided it was not worth the time it would take to fix it. I made one small modification to the instructions and sewed bar tacks at the top of the back slit and at the underarms. Hoping that the bar tacks will further secure the seams in areas where they’ll experience the most strain. So far, so good.

IMG_1529

My red scuba Lodo Dress turned out to be the perfect date night dress. It’s stylish enough for a night out, but simple enough to wear to the local dive. This dress feels like wearing a light, soft sponge. It’s also got plenty of room for indulging in the large amounts of food I  may or may not consume. What I’m trying to tell you is that it checks all boxes for an essential date night dress. Do you have anything specific you love wearing for date night? What do you require in clothing for a night out?

IMG_1541

Just a quick note on sizing: My dress is a size 2 graded to a 4 in the hips. I made the midi length and added just 1″ to the length.

IMG_1540

Fringe Dress by Chalk and Notch

I had been anxiously awaiting the release of the Fringe Dress and Top since Gabriela posted this teaser photo months ago. I applied to be a tester practically the moment she submitted the call. Working with Gabriela is always a pleasure and I love her detailed instructions and interactive tutorials. The Fringe Dress pattern is no exception.

IMG_9421 copy

The Fringe pattern includes two views with a dress or top option for each view. You can see both views sewn up in the photo above. My beautiful and multi-talented friend Rachel of Little Fish sewed up view A. You can read a more detailed post about her version here on her blog. I decided to make view B because I was intrigued by the unique neckline.

IMG_9391 copy

Let’s take a quick detour and talk about fabric. For this version I used a soft and slinky rayon challis designed by Anna Maria Horner (buy it here). I purchased the fabric from my very favorite store Suppose. Suppose has just added a ton of amazing apparel fabrics to their Etsy. Many of them, like the fabric used for my Fringe, are out of print and nearly impossible to find anywhere else. I buy at least 80% of my fabric at Suppose and am regularly asked where I’m able to find such a great selection. I worked at Suppose for 5 years and used to joke that it was basically my secret stash. Now the secret is out and I’m happy to share it with all of my online friends.

IMG_9430 copy

Whenever I’m selecting a pattern, I look for certain details that make set a pattern aside from others as well as meeting my requirements for fashion and function. One detail I love about the Fringe is that it’s semi-fitted. The bodice contains both front and back darts that add a bit of shape to flatter many body types. It is just fitted enough to look like a dress and not a sack, but loose enough to make every day activities comfortable. There is also waist tie option if you would like to make the waist a bit more pronounced. The pull over style of the dress makes it a fairly quick sew as no closures are necessary. I know a few of the testers and even Gabriela herself just sewed the button placket of View A closed for some of their versions.

IMG_9433 copy

I’ve already worn my Fringe 3 or 4 times since making it a few weeks ago. It has transitioned seamlessly from church, to the playground, to a night out. It’s my perfect “mom” dress and I plan to make myself a view A dress in the future. There are about a million more great things  I could say about Chalk and Notch and the Fringe pattern, but I’ll just let the photos and other reviews speak for themselves.
IMG_9386 copy

A quick note on sizing: I sewed up a size four with minor adjustments for my height. I’m somewhere between 5’9″ and 5’10”. I added 1/2″ to the bodice length and 3 1/2″ to the skirt length for my desired below knee length. These are the only adjustments I needed and Gabriela included great instructions for adjustment right in the pattern instructions.

Photos by Rachel of Little Fish and Heather of Feathers Flights.

Want to see more items I’ve made with Chalk and Notch patterns? Check out my Waterfall Raglan hack here or my Farrah top here.

Tea House Dress by Sew House Seven

It’s not often that my husband and I can both agree that a dress is stylish AND flattering. My Tea House Dress, however, is one on which we can both agree.  My style tends to gravitate towards dresses that are cool, flowy, and functional (aka: muumuus). This pattern by Sew House Seven piqued my interest from the first time I saw it.
IMG_1337

A few weeks ago, I attended a dinner with bunch of sewing friends and bloggers. I need deadlines to keep me motivated; so I used the dinner as my deadline for my Tea House Dress. The dinner was to be held on a Monday evening. Naturally, this meant that I started tracing the pattern and cutting my fabric on Friday. It came together pretty quickly and I managed to finish it by sewing for a couple of hours each night of the weekend. I finished the hem and gave it a final press just hours before the dinner. That dinner was two weeks ago. I’ve already worn this dress four times since that evening.

IMG_1289

The Tea House Dress includes a few style details that caught my eye and inspired me to purchase the pattern. First, I love a good v-neckline. It’s low enough to be flattering, but high enough to keep from flashing innocent bystanders when I lean over. Second, The seaming of the yoke and front panels add interest and shaping to an otherwise simple slight a-line shape. Third, the wide waist ties define the waist while also allowing for occasional adjustment (i.e. ate too much ice cream). Fourth, the midi length is perfect for keeping cool in the summer without requiring me to shave up above my knees. Fifth, the pockets are the perfect size for holding my phone and keys. They’re also just a nice feature when I’m feeling awkward and don’t know what to do with my hands.

IMG_1334

IMG_1315

I used a double gauze print from the Charms line designed by Ellen Luckett Baker for Kokka. Since this double gauze is 100% cotton it’s both breathable and comfortable. I love wearing double gauze in the summer as it tends to look a bit more casual than a rayon or lawn, but is every bit as comfortable. I had nearly a yard less fabric than the pattern recommended so I had to get a bit creative when it came to laying out and cutting each pattern piece. It was doable, but I certainly wouldn’t recommend it.

IMG_1322IMG_1343

The pullover style of the Tea House Dress appeals to my no fuss style of getting dressed. I plan to make another one for a family member who sometimes has difficulty with fiddly closures. I’m also planning to make a second one for myself as soon as I find a few extra hours in the day.

IMG_1310IMG_1294

Just a quick note about sizing: I sewed up and straight four with the only alteration being that I added two inches of length at the hem. This is a common adjustment for me and I found no issues with the sizing.


Make it Mine Tour: Waterfall Raglan Flutter Sleeve Hack and Tutorial

img_8379
Hello! Today I feel a bit nervous to be surrounded by so many talented makers and bloggers participating in the Make it Mine Waterfall Tour hosted by Gabriela of  Chalk and Notch. I’ve been a fan of the Waterfall Raglan pattern since the girls’ pattern was released last fall. I don’t have a daughter of my own, so I immediately commented and expressed my interest in a women’s version. To my delight, she quickly obliged and has just released the Women’s Waterfall Raglan pattern. There’s nothing I love more than a well-drafted basic pattern that can be made and hacked again and again.

dsc_0195

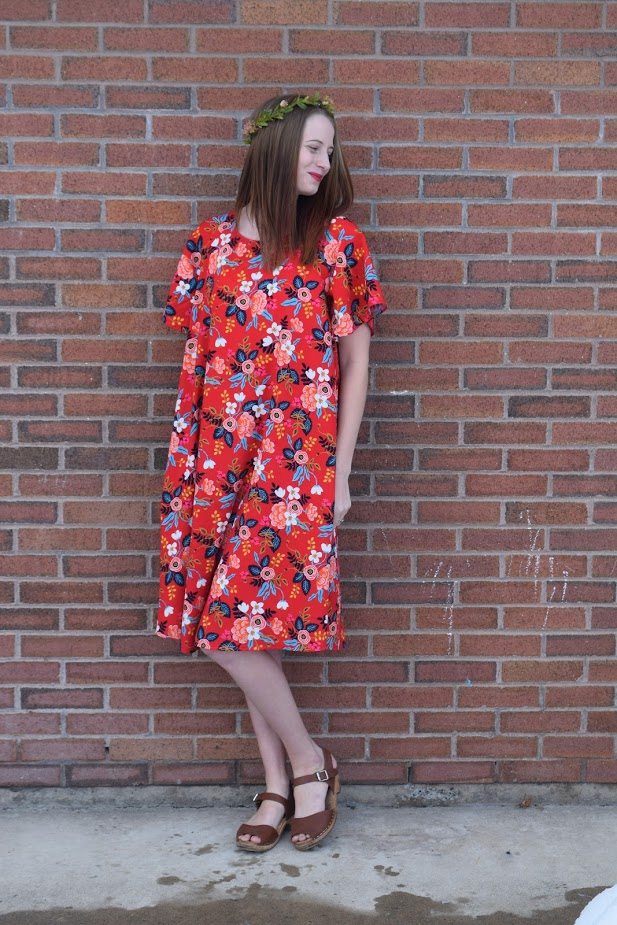
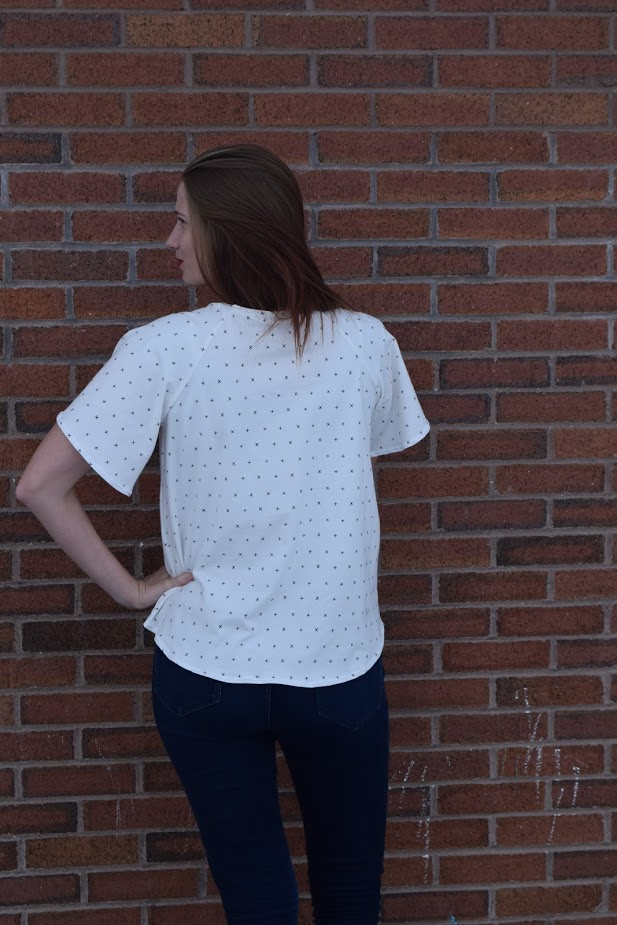
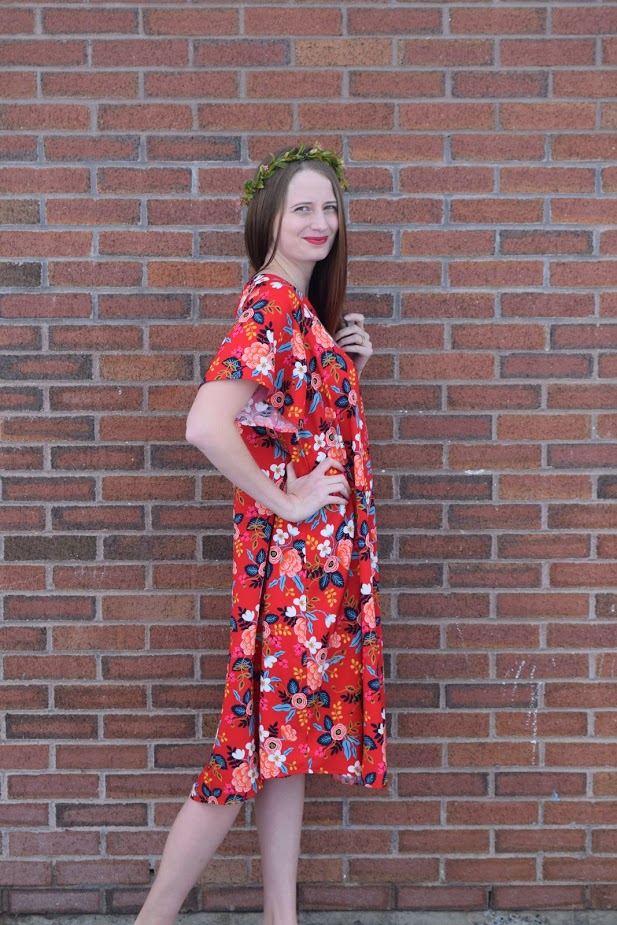
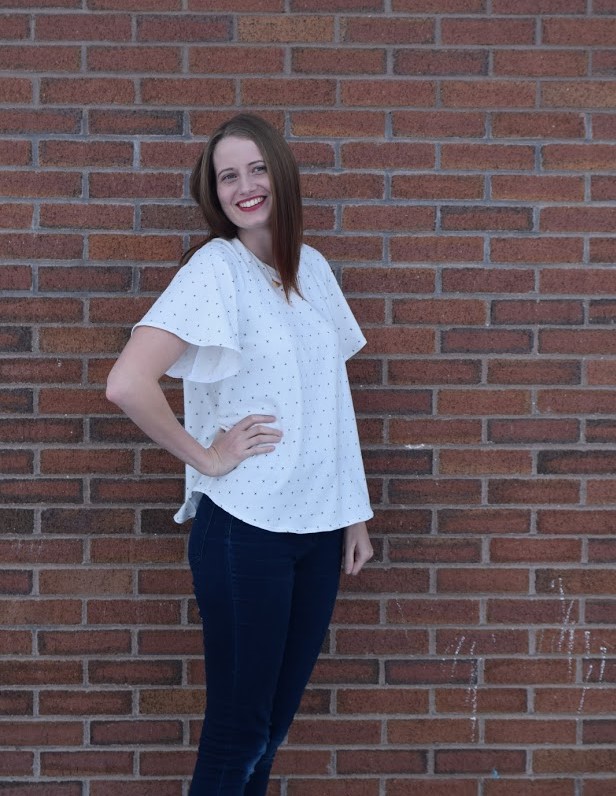
The moment I finished my first Waterfall dress, I knew that it was destined for a flutter sleeve version. I omitted the bottom ruffle as having both flutter sleeves and the ruffle seemed too girly for the desired end result. The pattern comes together so quickly that I couldn’t resist making both a dress and top version of this hack. The dress is made from Les Fleurs rayon by Rifle Paper Co. for Cotton and Steel and the top is made from a cotton/spandex knit by Art Gallery Fabrics. Both fabrics were purchased from my favorite local shop Suppose.

dsc_0100-2

Both my top and dress have been worn multiple times since their completion last week. I love the loose flowy fit of the top and the bit of style it adds to a relaxed day look. I’m sure it will get regular wear once the weather warms up a bit.

dsc_0111

My dress, however, is a new favorite and will likely be my go-to dress this summer. A few years ago, I used to commonly wear body-hugging fitted dresses and skirts. Then I had a child. I still love a good fitted dress, they’re just much less practical for chasing my son at church or the park and end up just sitting in my closet waiting for a special occasion. Last summer I made this dress and wore it to the zoo, park, weddings, church, etc. and loved the ease of movement and effortless style it provided. I’m looking forward to this new Les Fleurs dress providing me with the same style and ease this summer.

I’ve been putting my flat pattern drafting skills to work lately by designing a bit of children’s clothing, but was still nervous to redraft the sleeve as a flutter sleeve. It’s not something I’d attempted before and turned out to be easier than expected. Are you ready to give it a try? If so, continue reading for a tutorial on how to make your own flutter sleeve Waterfall Raglan.

dsc_0168

Head to the end of my post for details on a couple of great giveaways. If you’re not quite ready to make your flutter sleeve dress or top, check out these other talented Make it Mine Tour ladies and their pattern hacks.unnamed


Continue reading “Make it Mine Tour: Waterfall Raglan Flutter Sleeve Hack and Tutorial”

Simplicity 8084: My Dream Maxi Dress

I’ve been meaning to restart my blog for a couple of years now, but kept finding excuses or other ways to fill my time. After a summer filled with fun and inspiration, I’ve decided to quit making excuses and start blogging again. I’ve got some fun posts planned and cannot wait to share them with you. Today I’m sharing my Simplicity 8084 maxi dress.

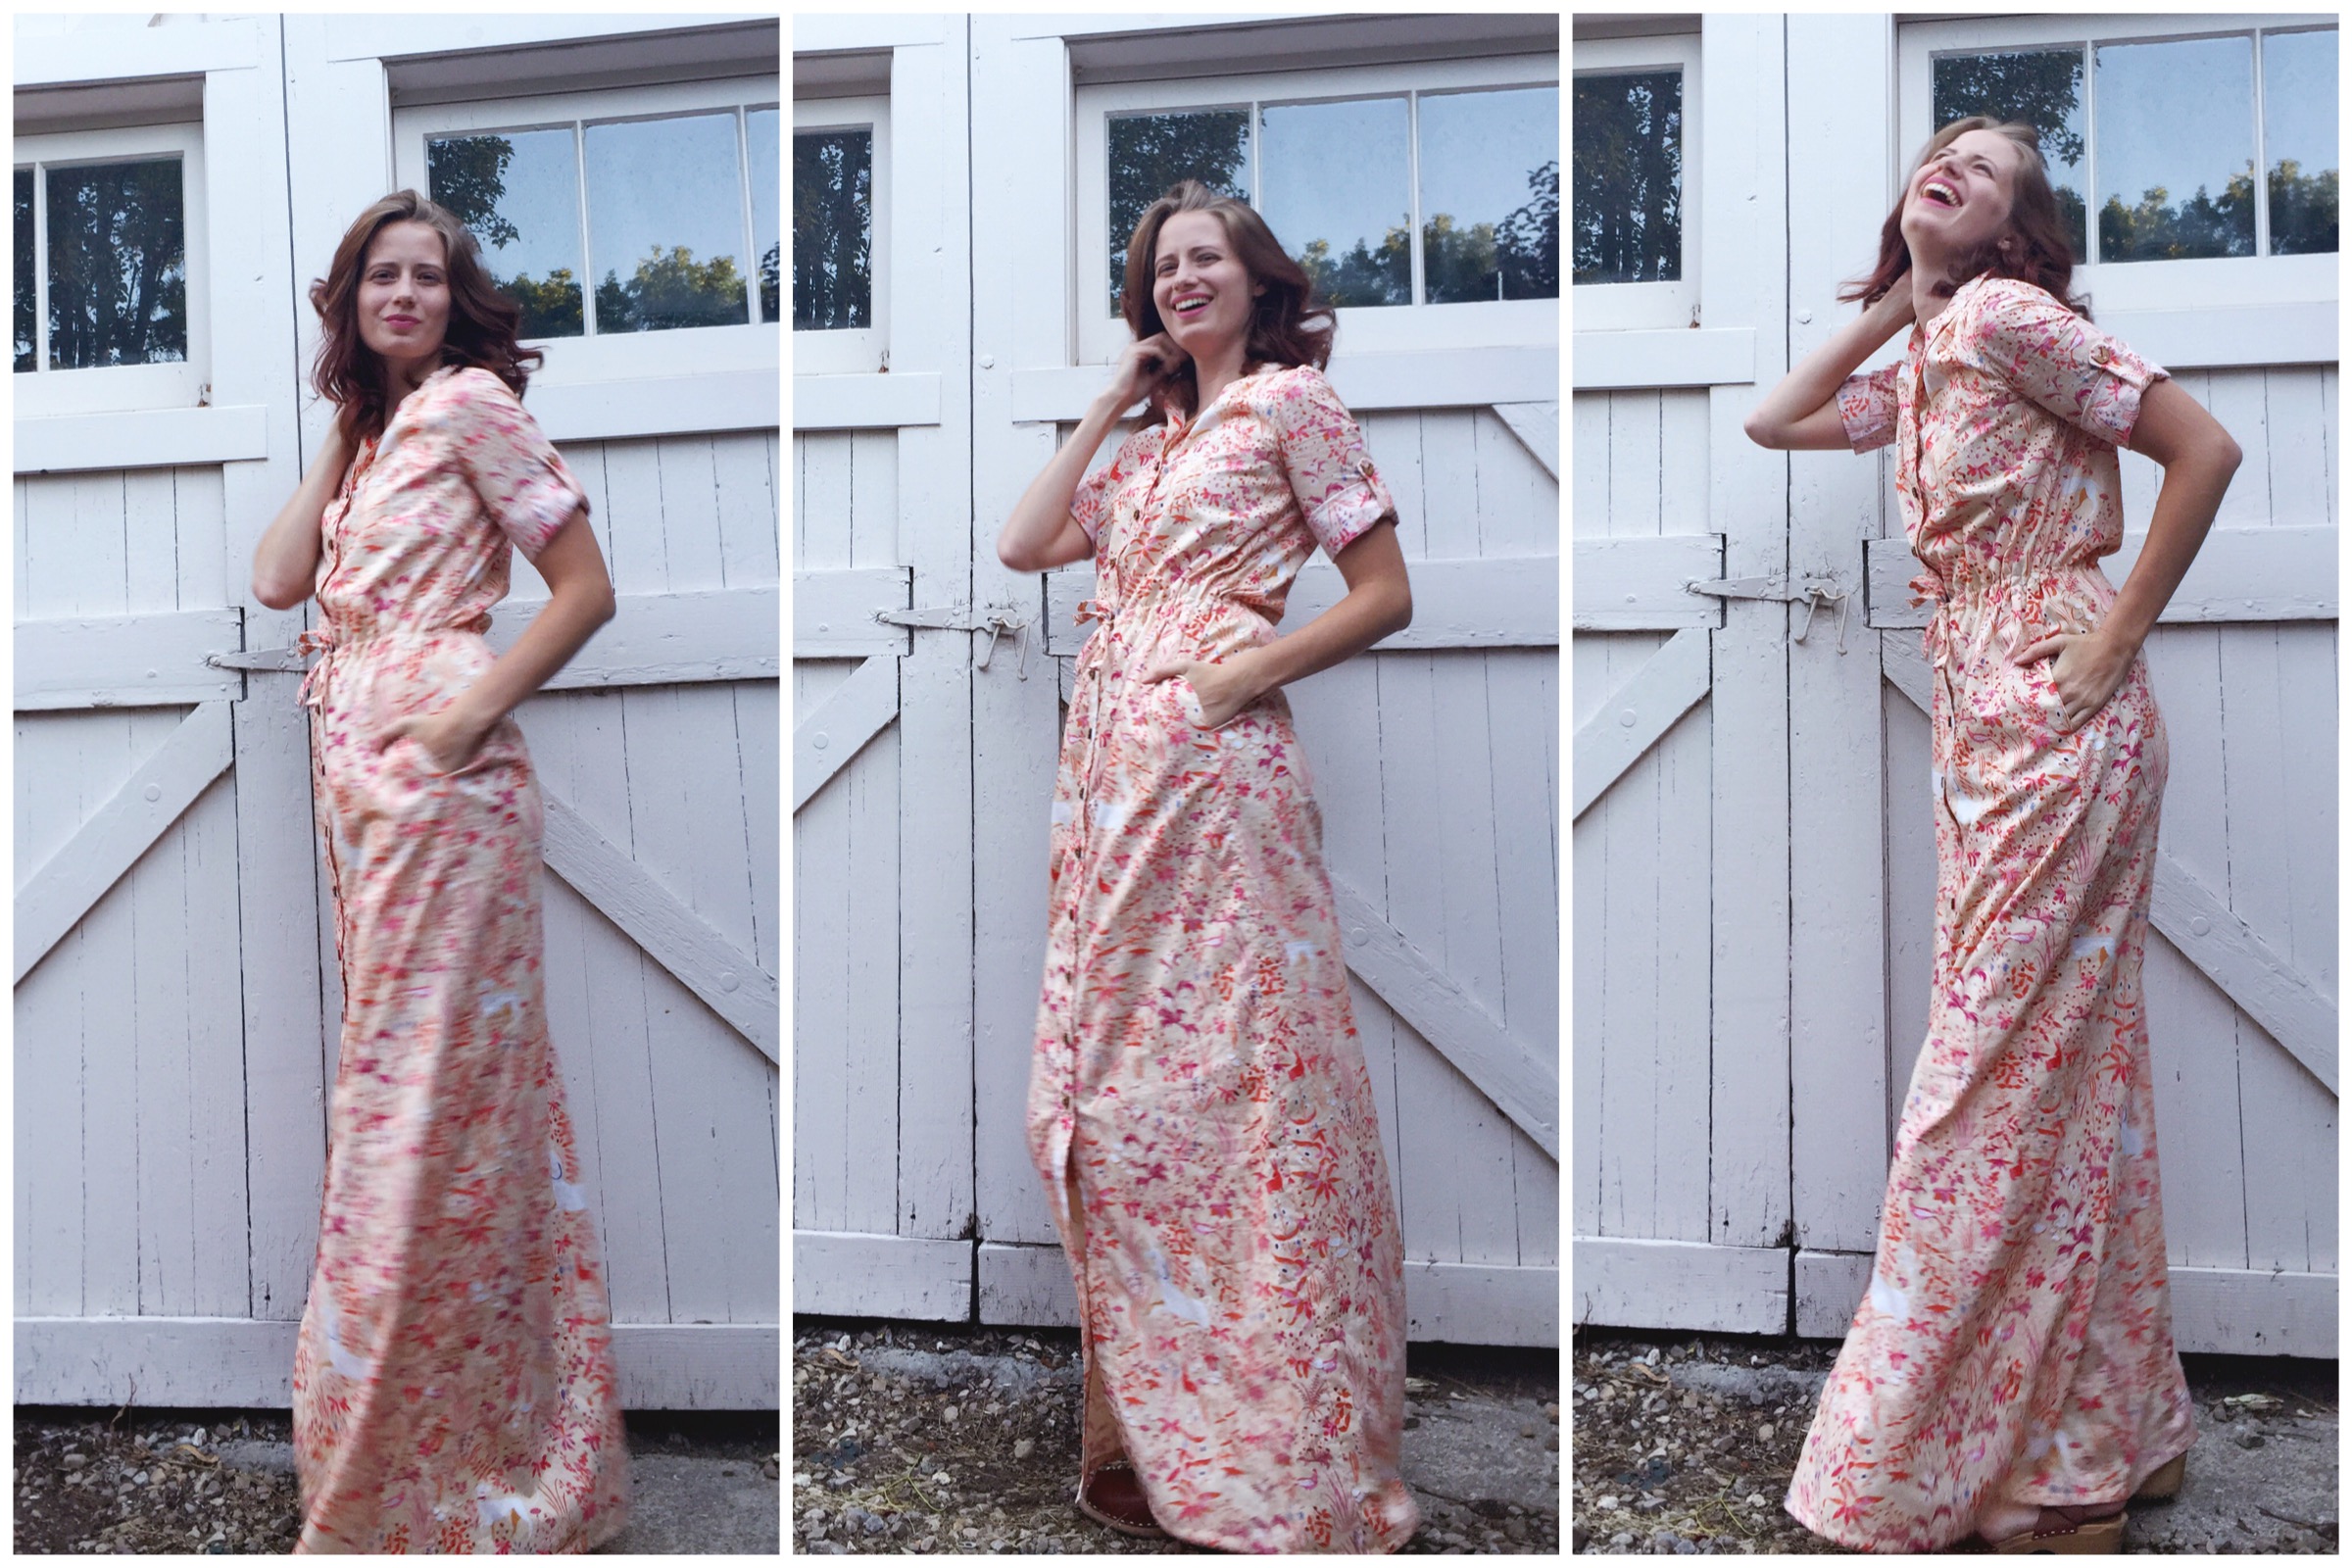
IMG_6737The photos above were taken using my self-timer so they’re a little blurry, but I love the way they show the movement of this dress.
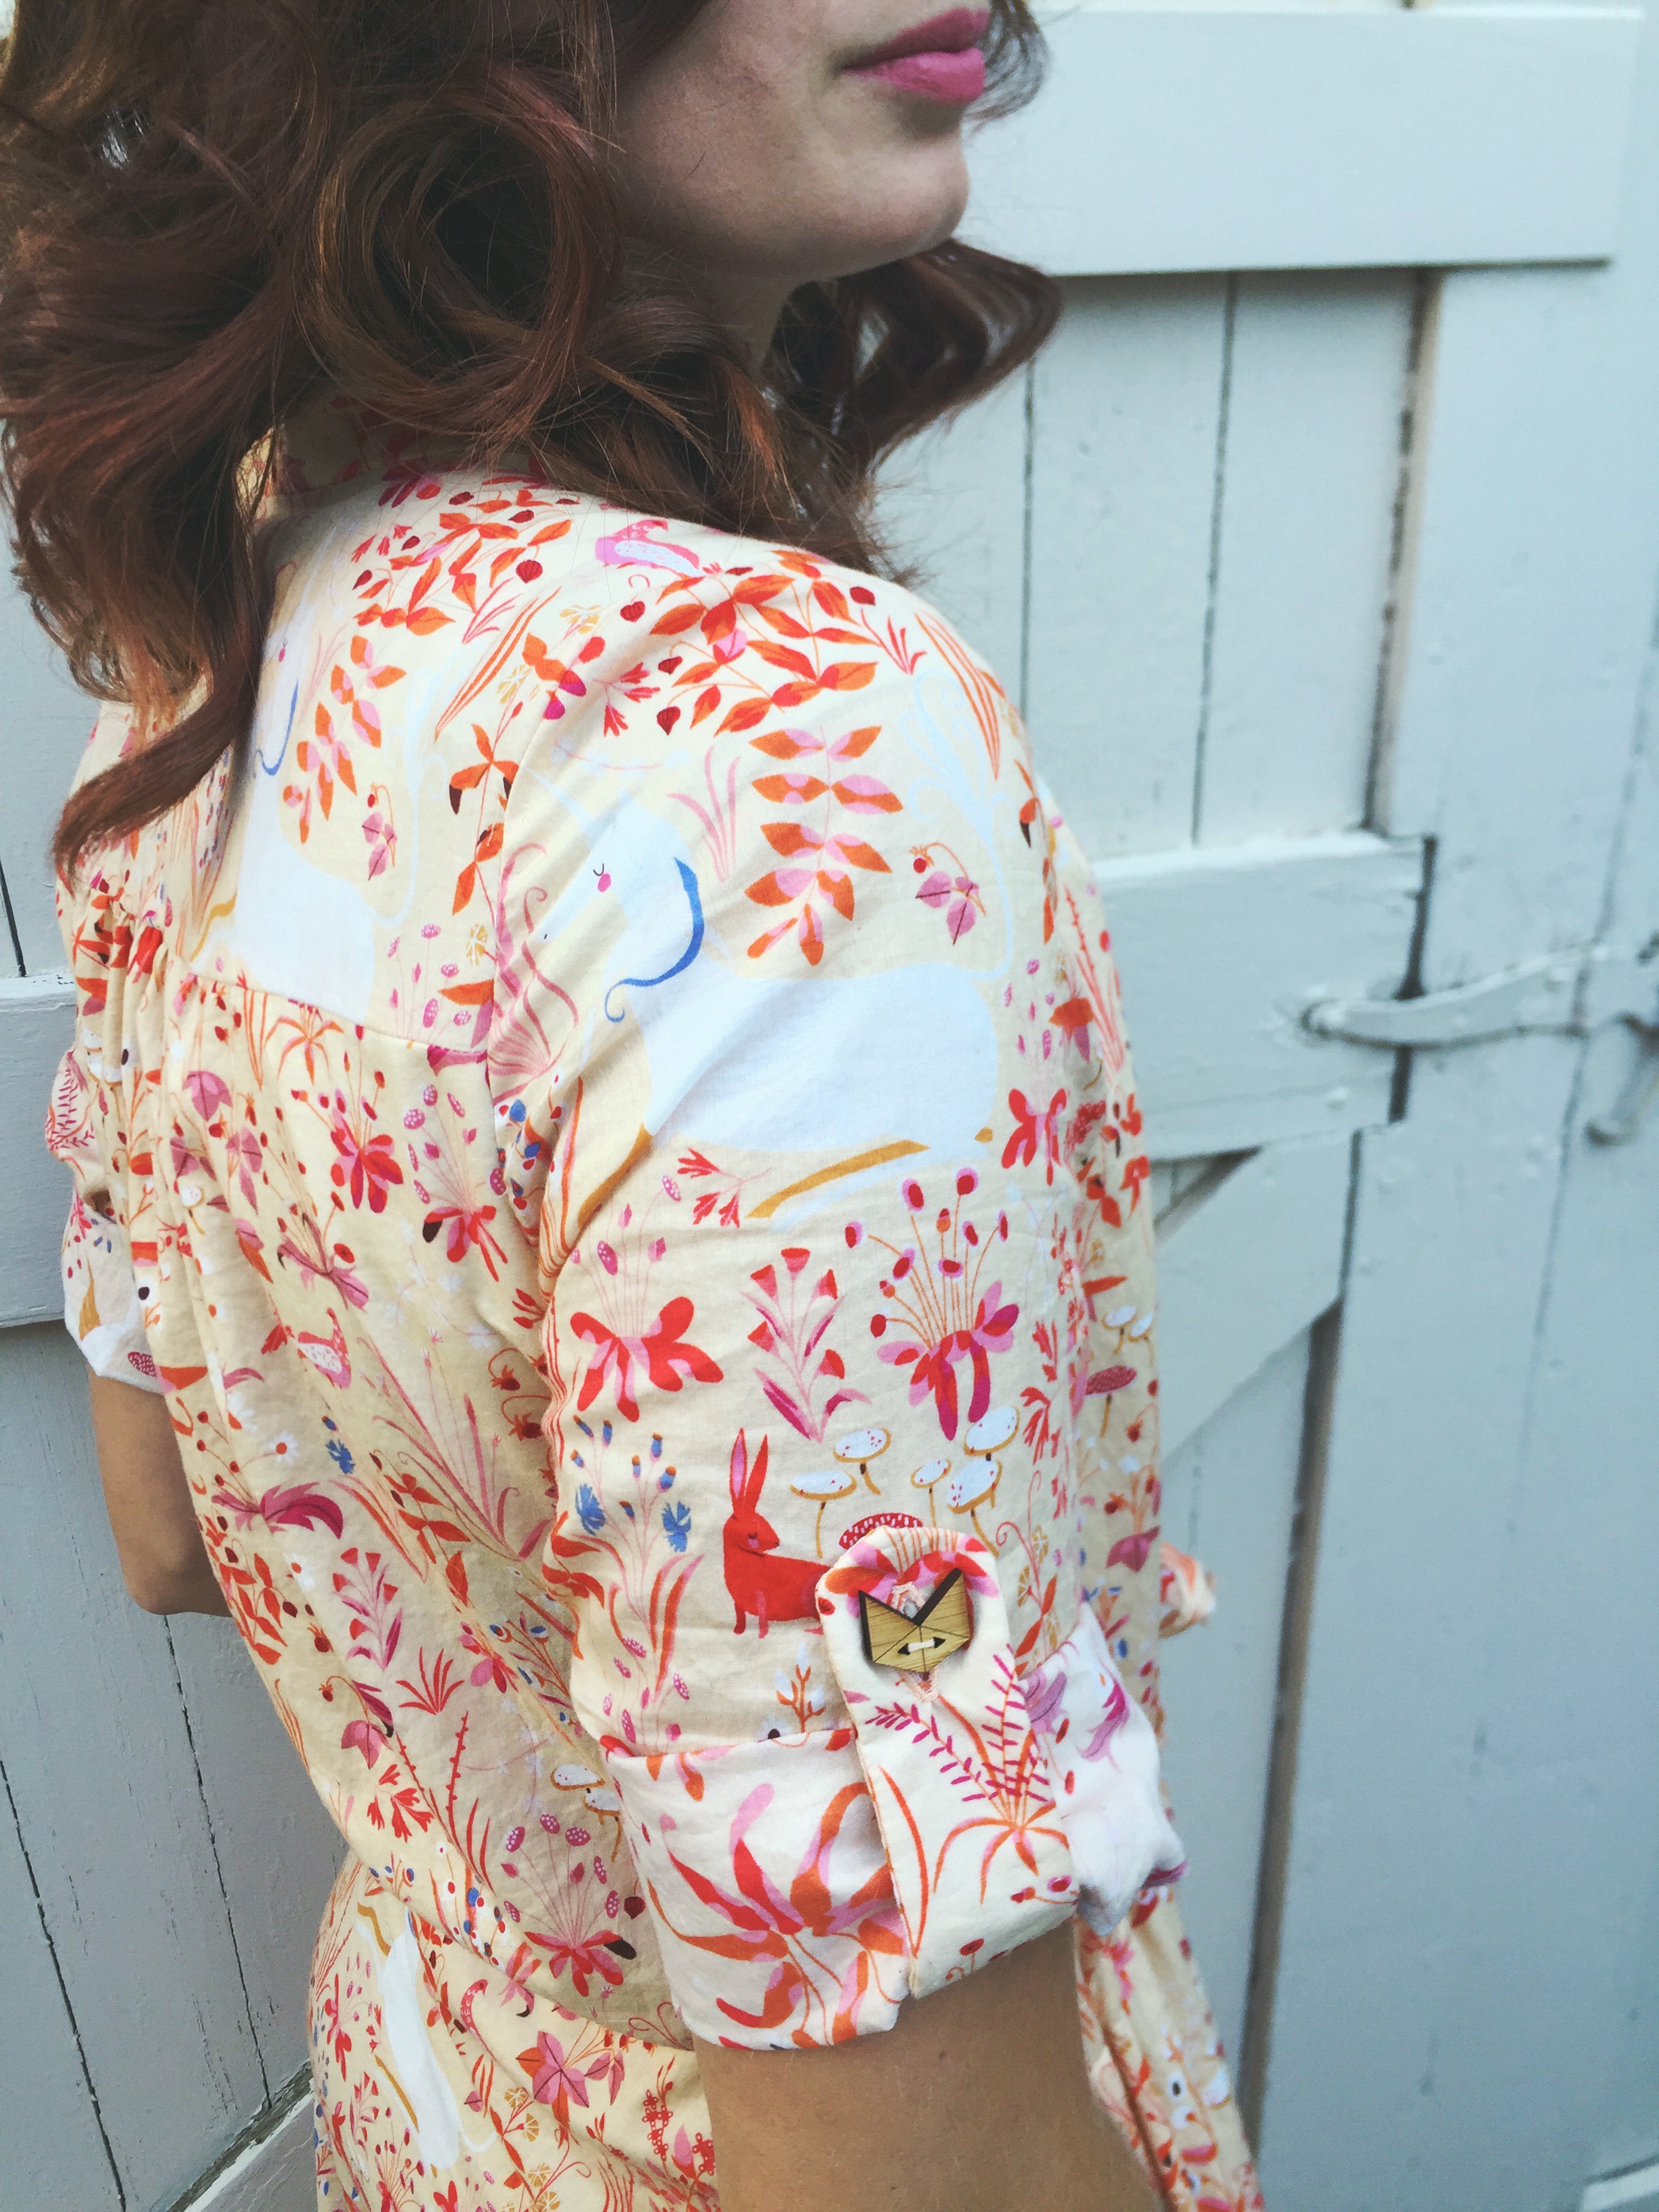
I worked on this dress a little bit each month this summer and finishing it was the perfect way to celebrate a fantastic season. I selected this Lizzy House lawn from Suppose back in May and couldn’t wait to use it. Life got in the way so cutting the fabric wasn’t started until June. I sewed a step here and there throughout July, but really got to work in August when my wooden buttons arrived from Arrow Mountain.

imageHere is a close-up view of the fox buttons I added to the sleeve tabs. The front of the dress uses the minimalist buttons also from Arrow Mountain.
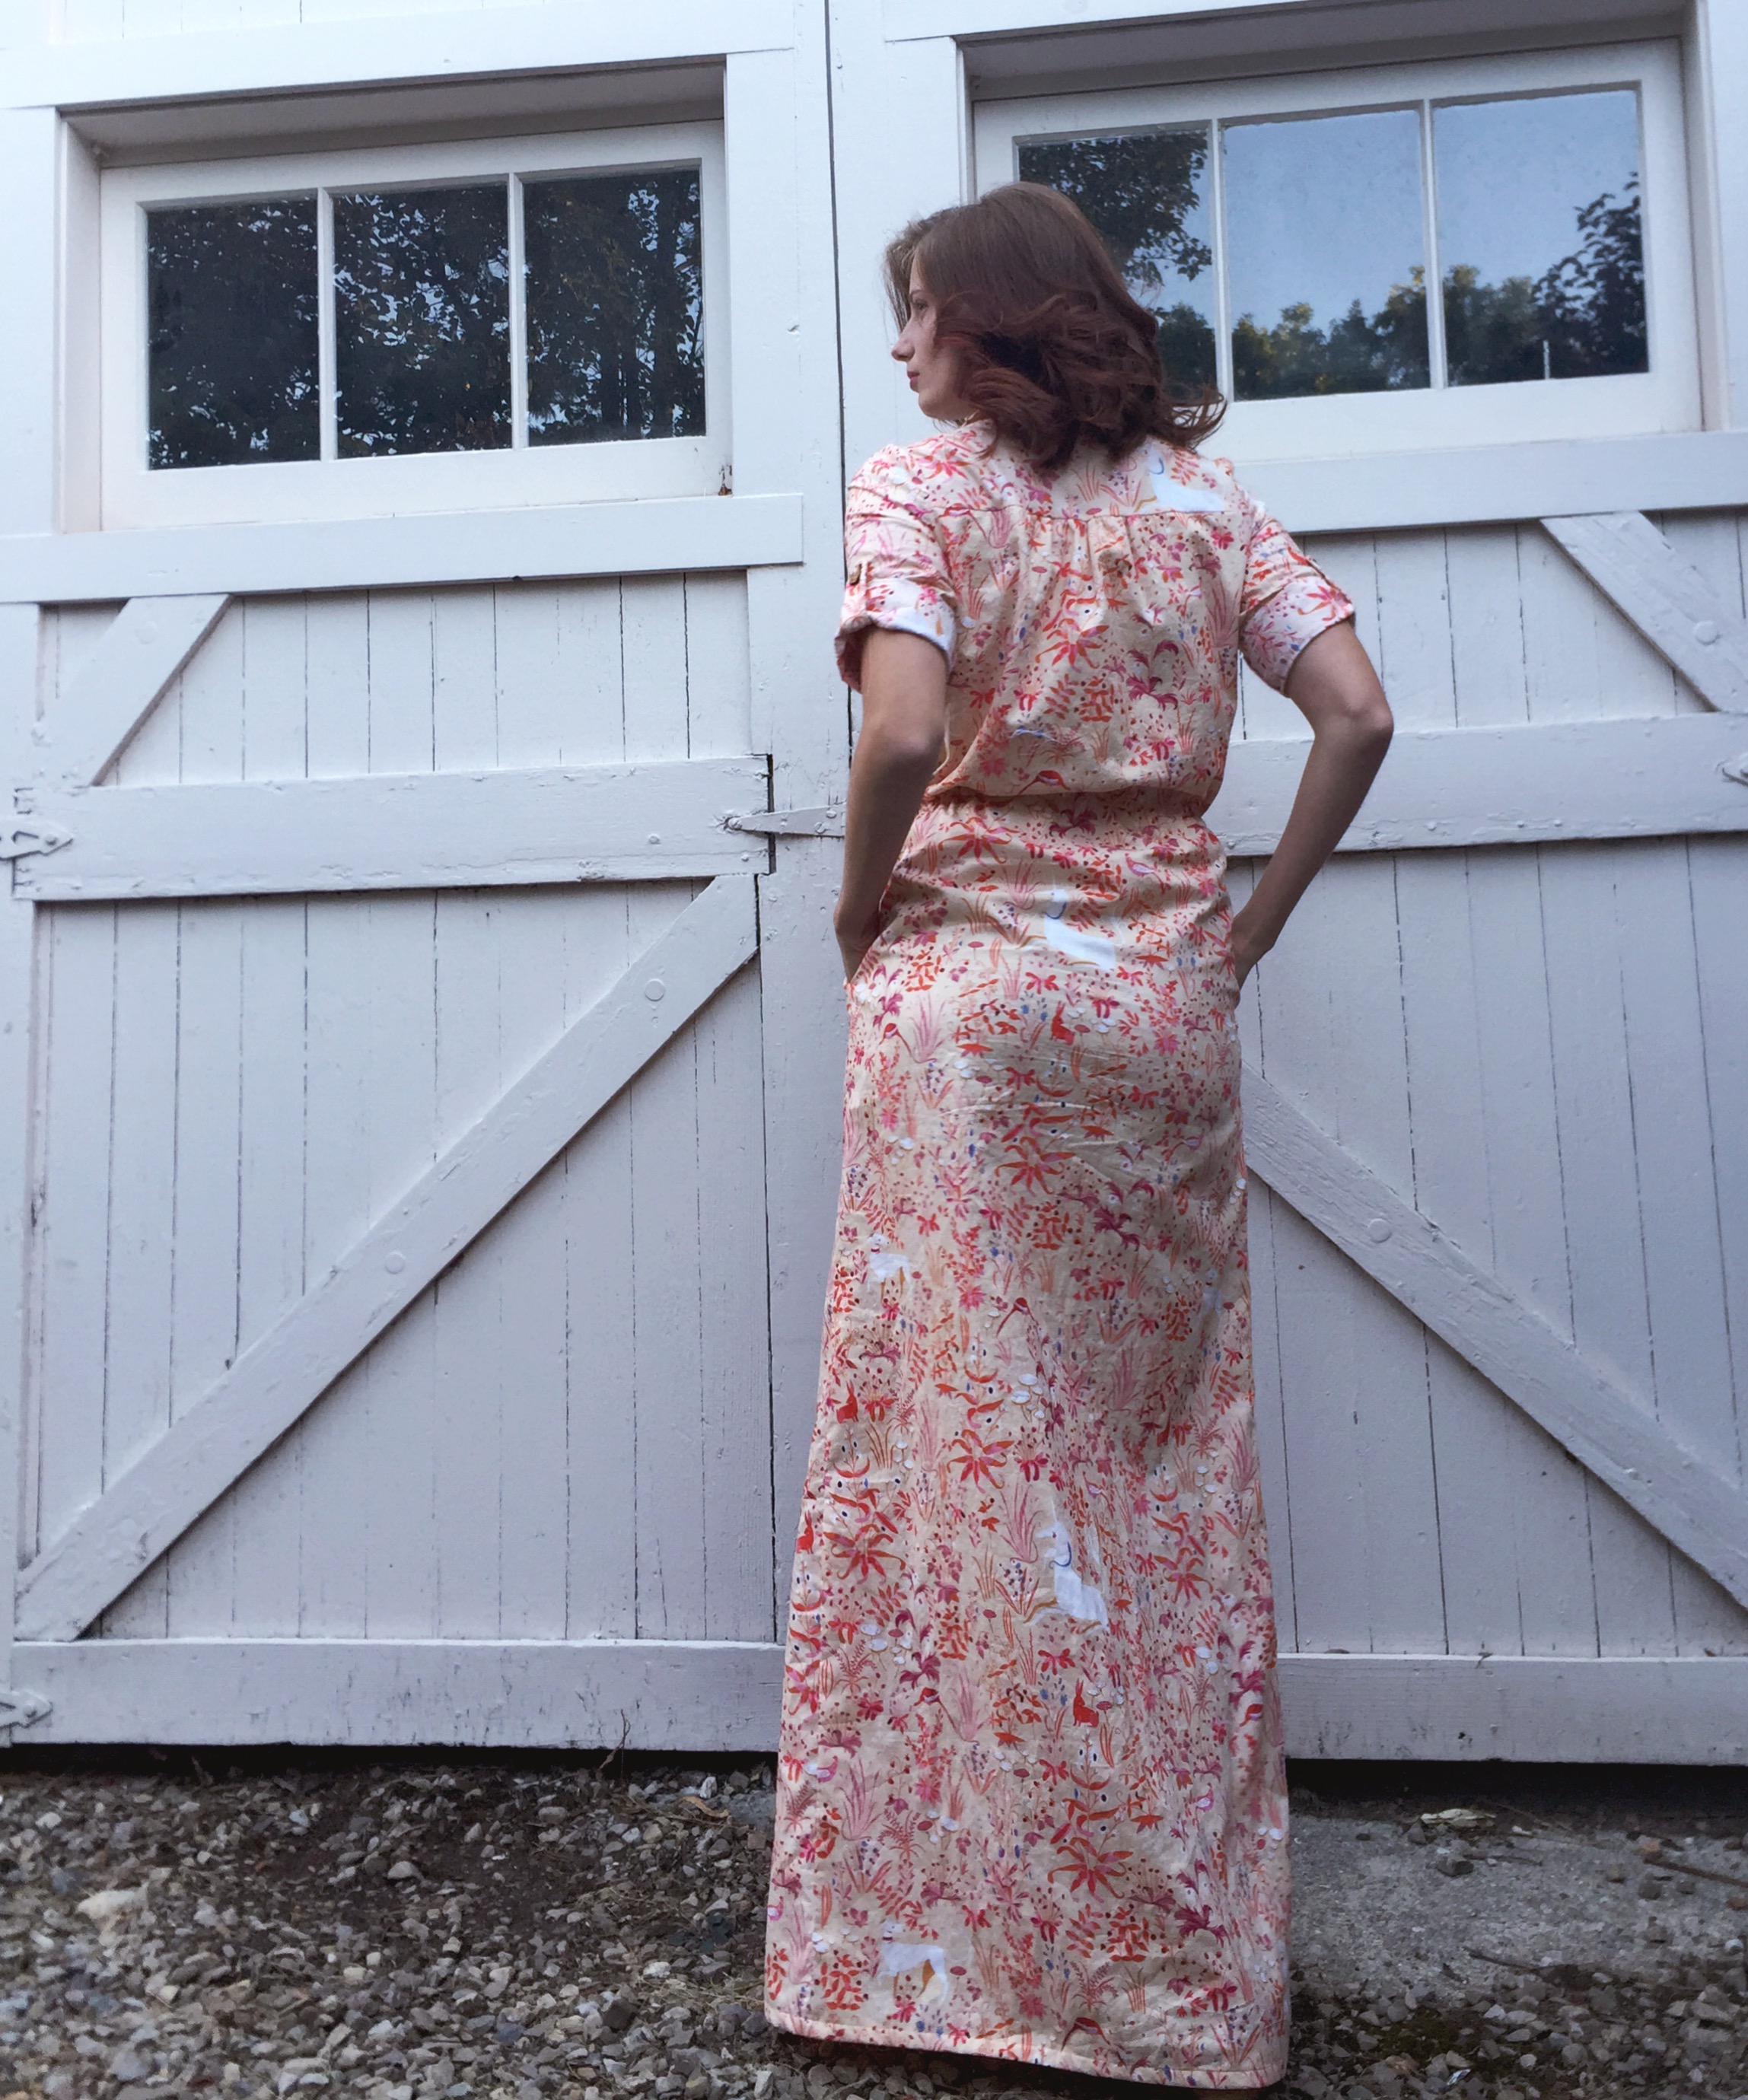
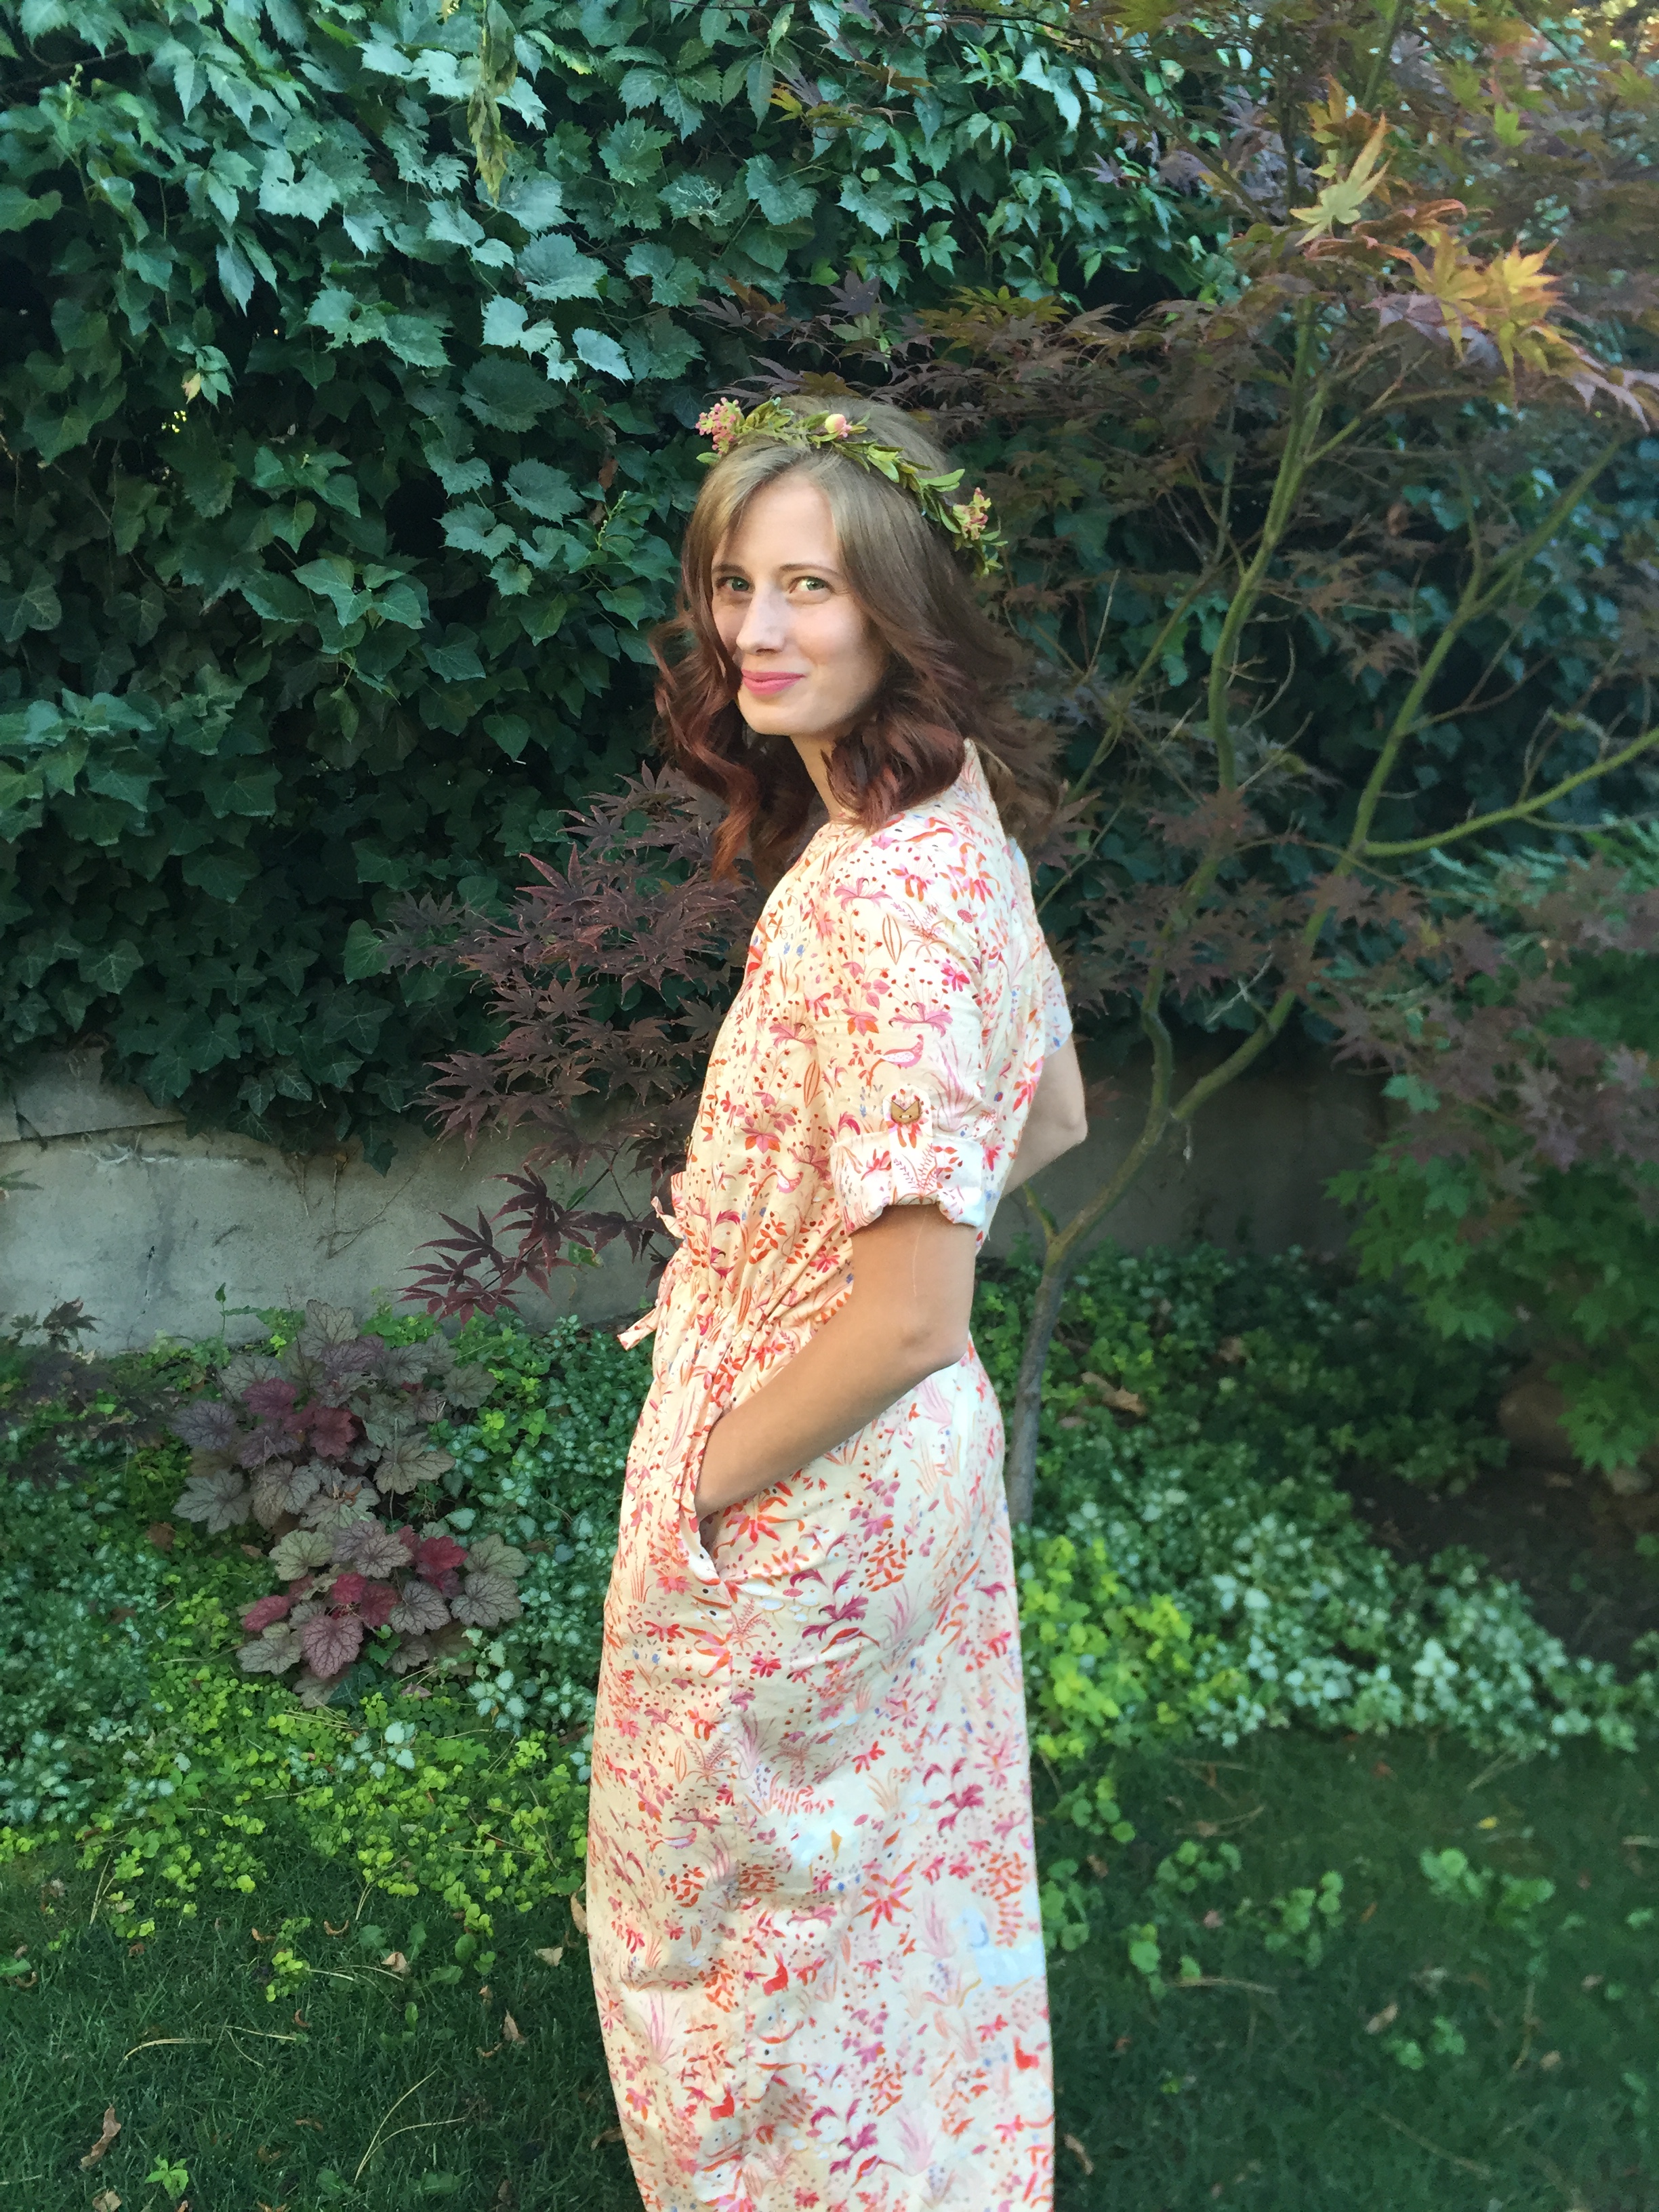
My biggest challenge with the dress was sewing the waistline casing. When looking through all my handmade clothing, I was surprised to realize that I had never actually sewn a garment with a casing like the one in this dress. It really wasn’t too difficult, I was just too lazy to mark the waistline when I first sewed the casing. This resulted in a late-night Netflix binge while seam ripping my first attempt. On my second attempt I made sure to mark the waistline and sewing the casing was a breeze.

I’ve now worn this dress three times since finishing it in early August. The pockets have made it more functional and wearable than any other maxi dress I have owned.They’re just the right size for my phone and keys so I don’t have to carry a bag every time I leave the house.

image1 (2)image

I look forward to wearing this dress again and again. It will be a great transitional dress for fall and it’s sure to get a lot of wear. I’d love to hear about your favorite summer project. Did you make anything you absolutely adore this summer?