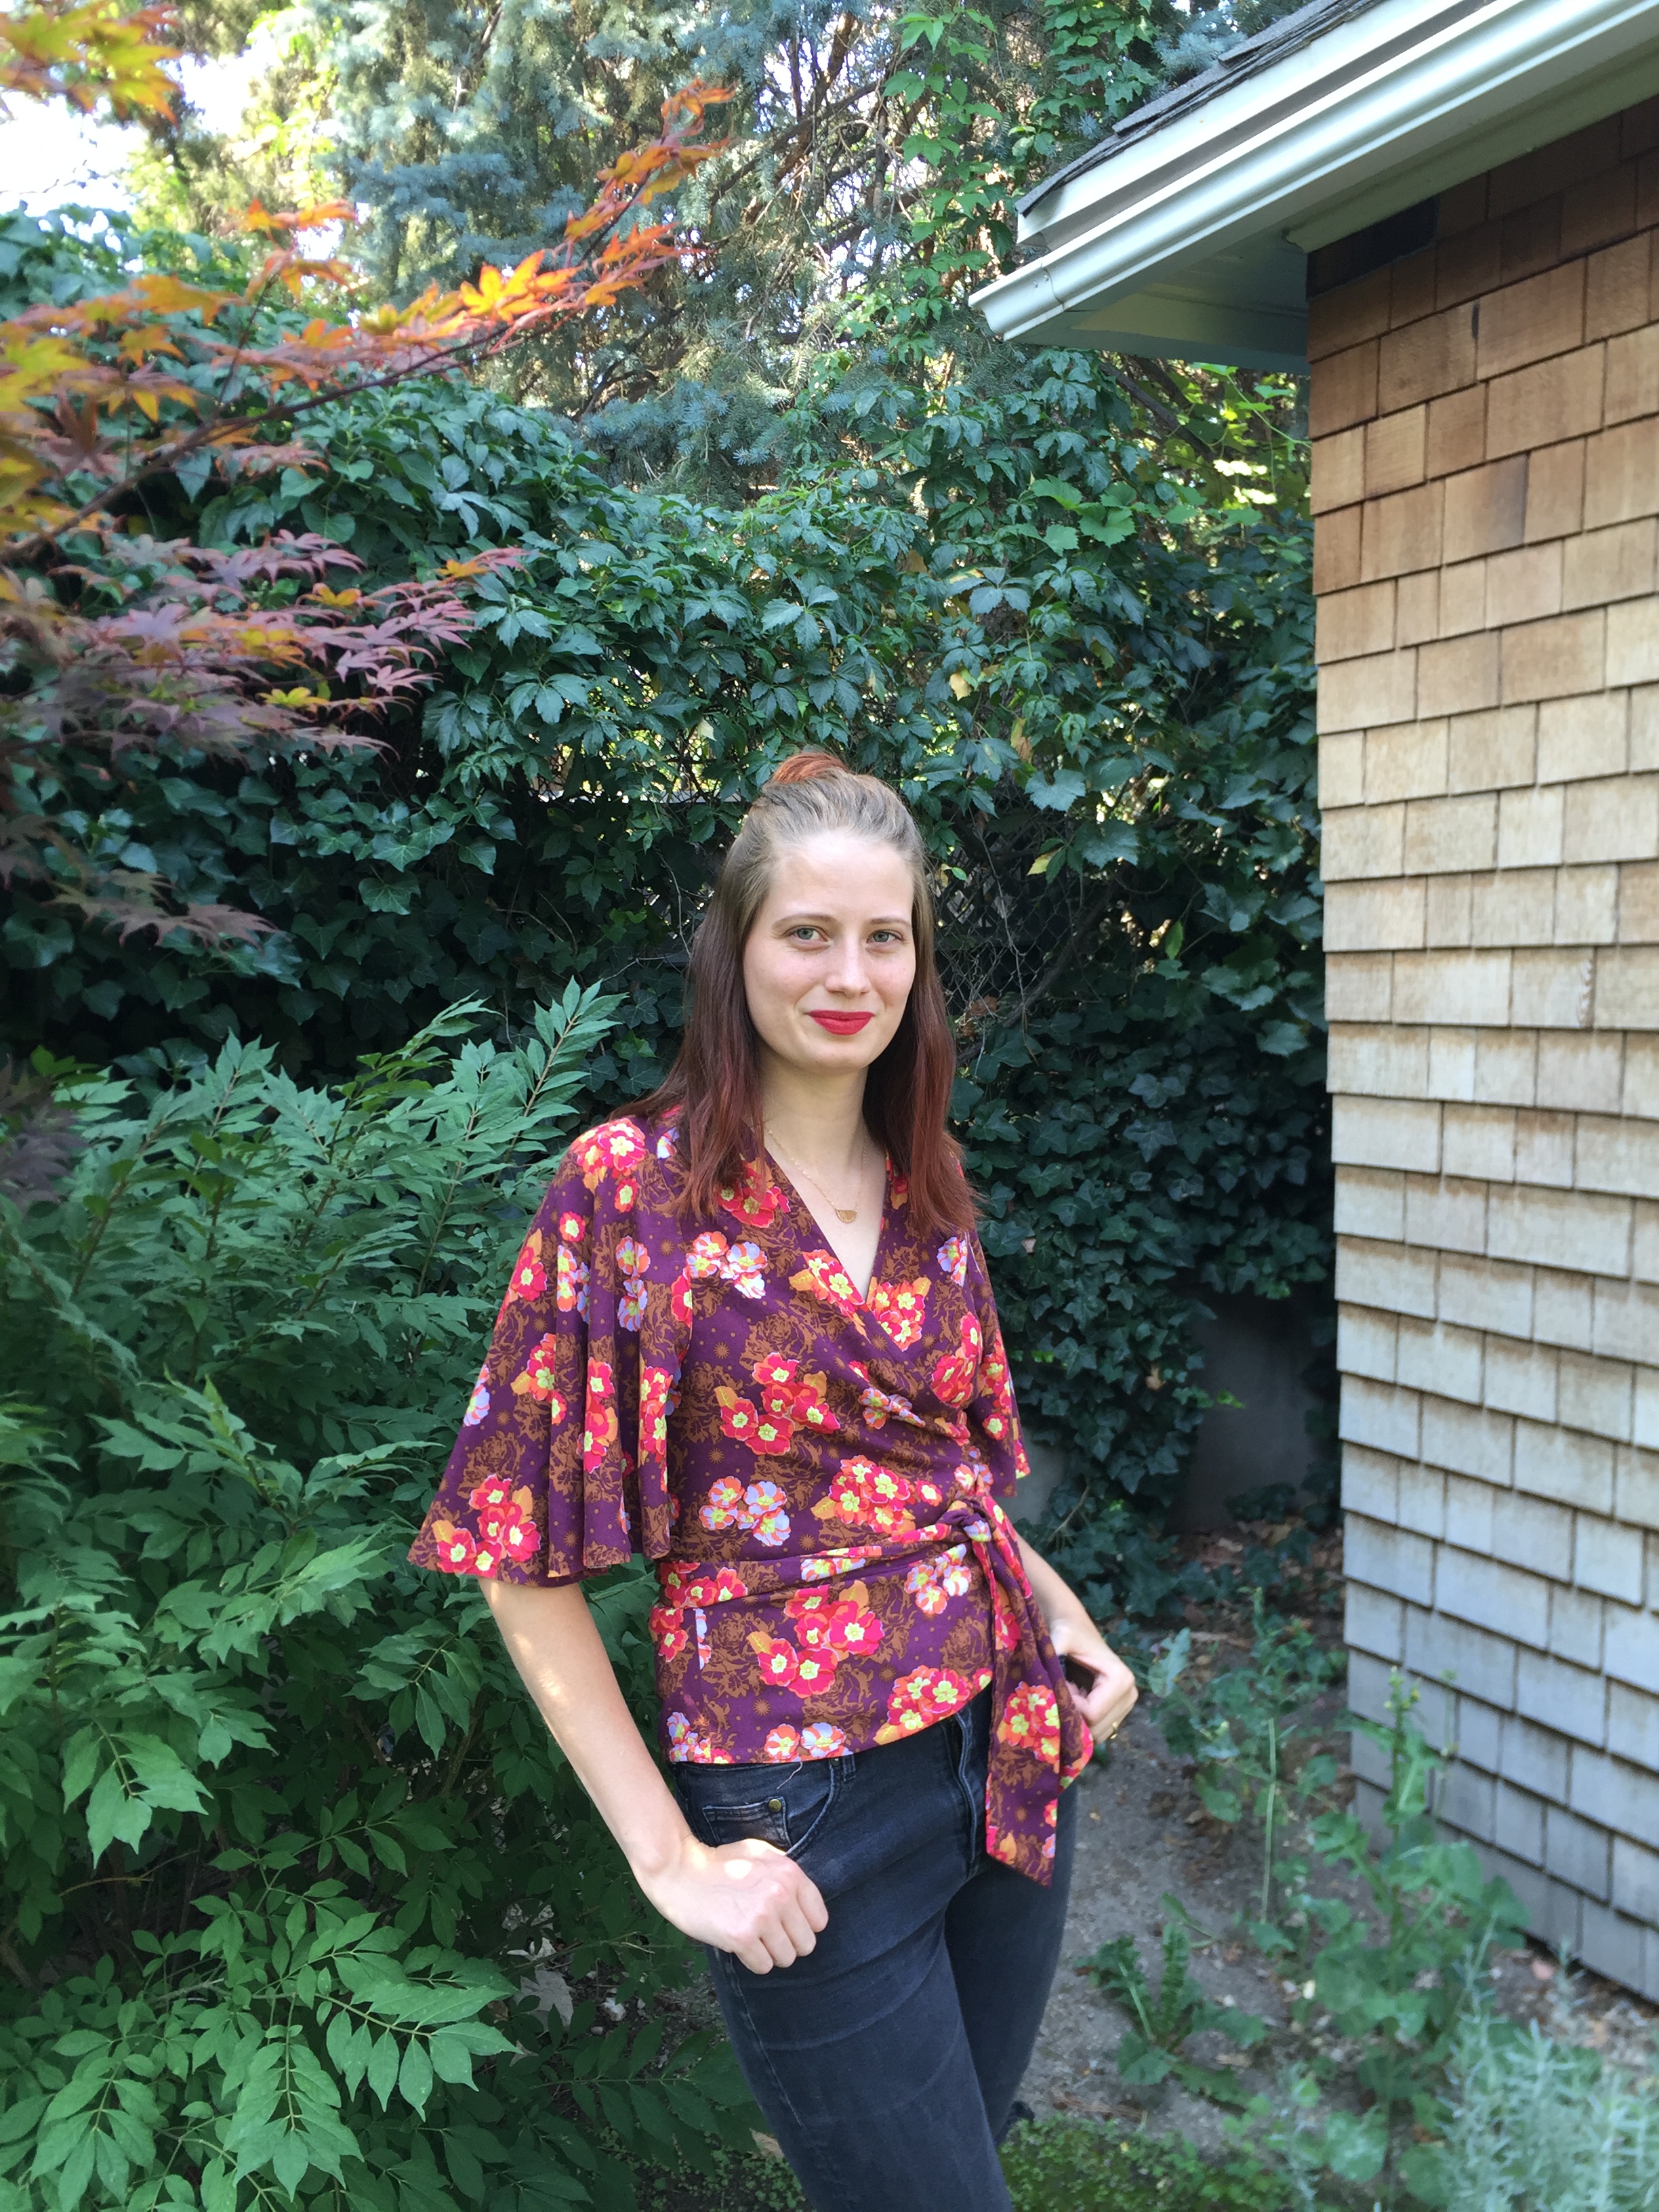
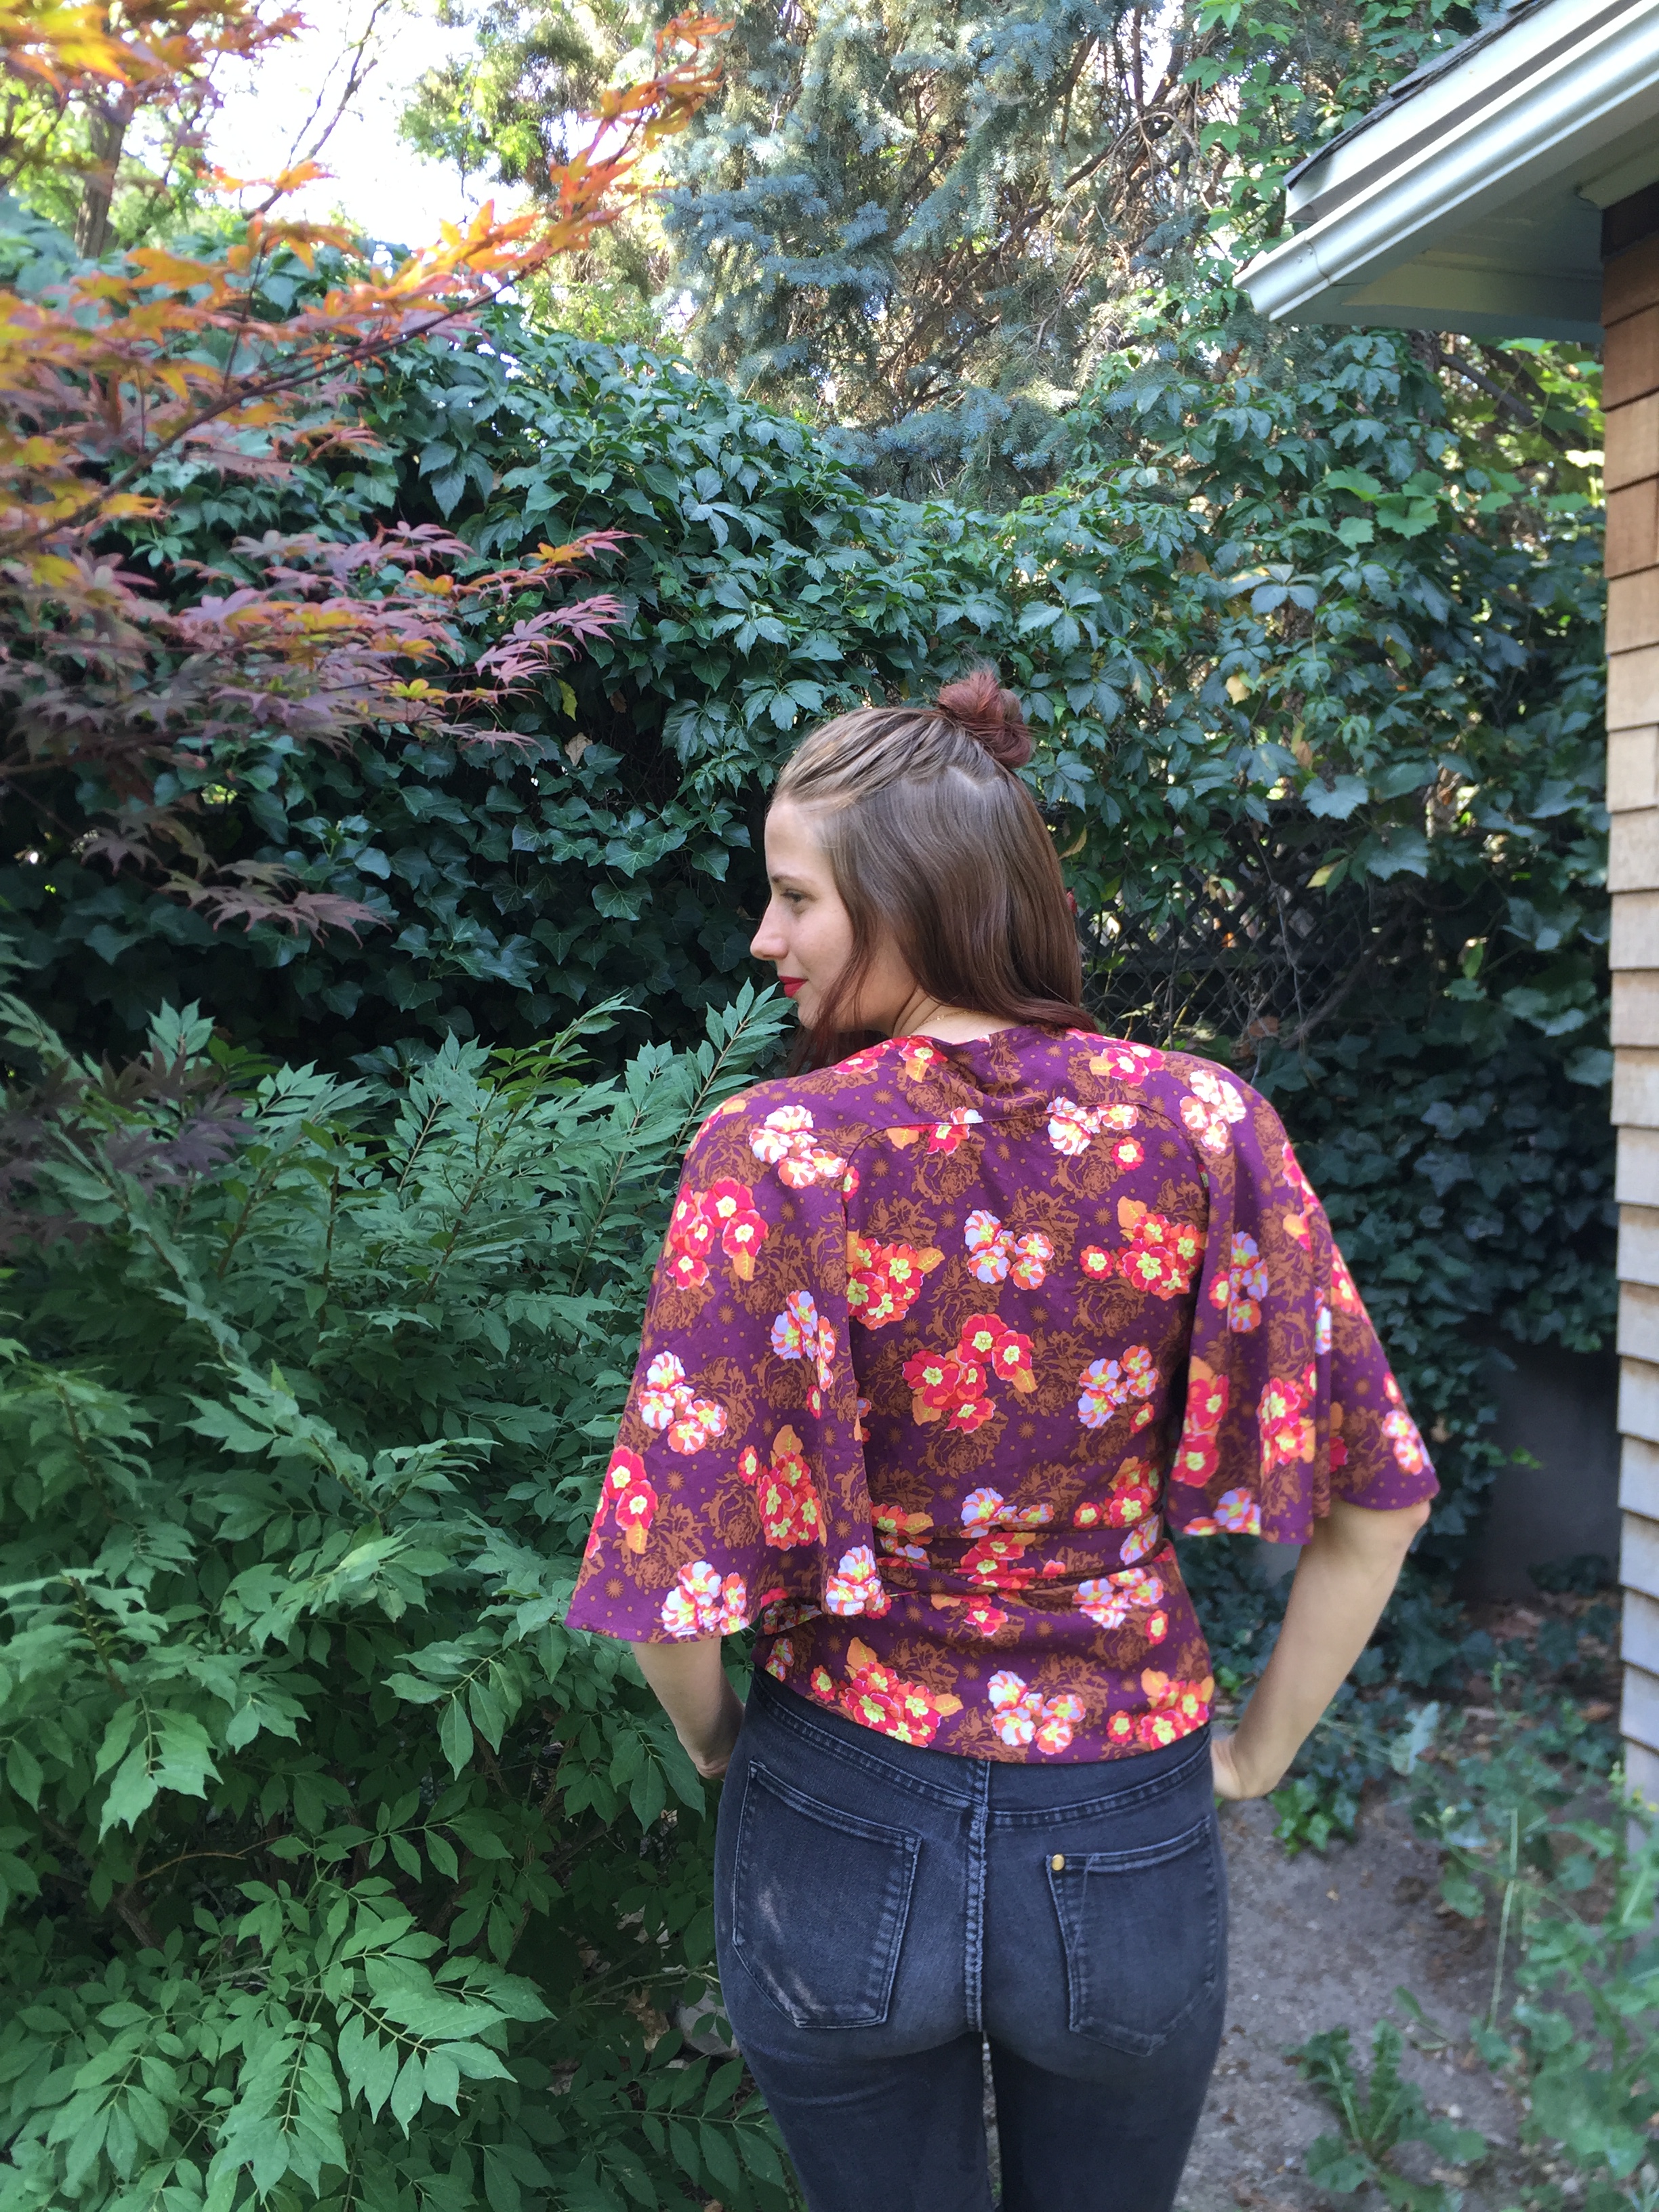
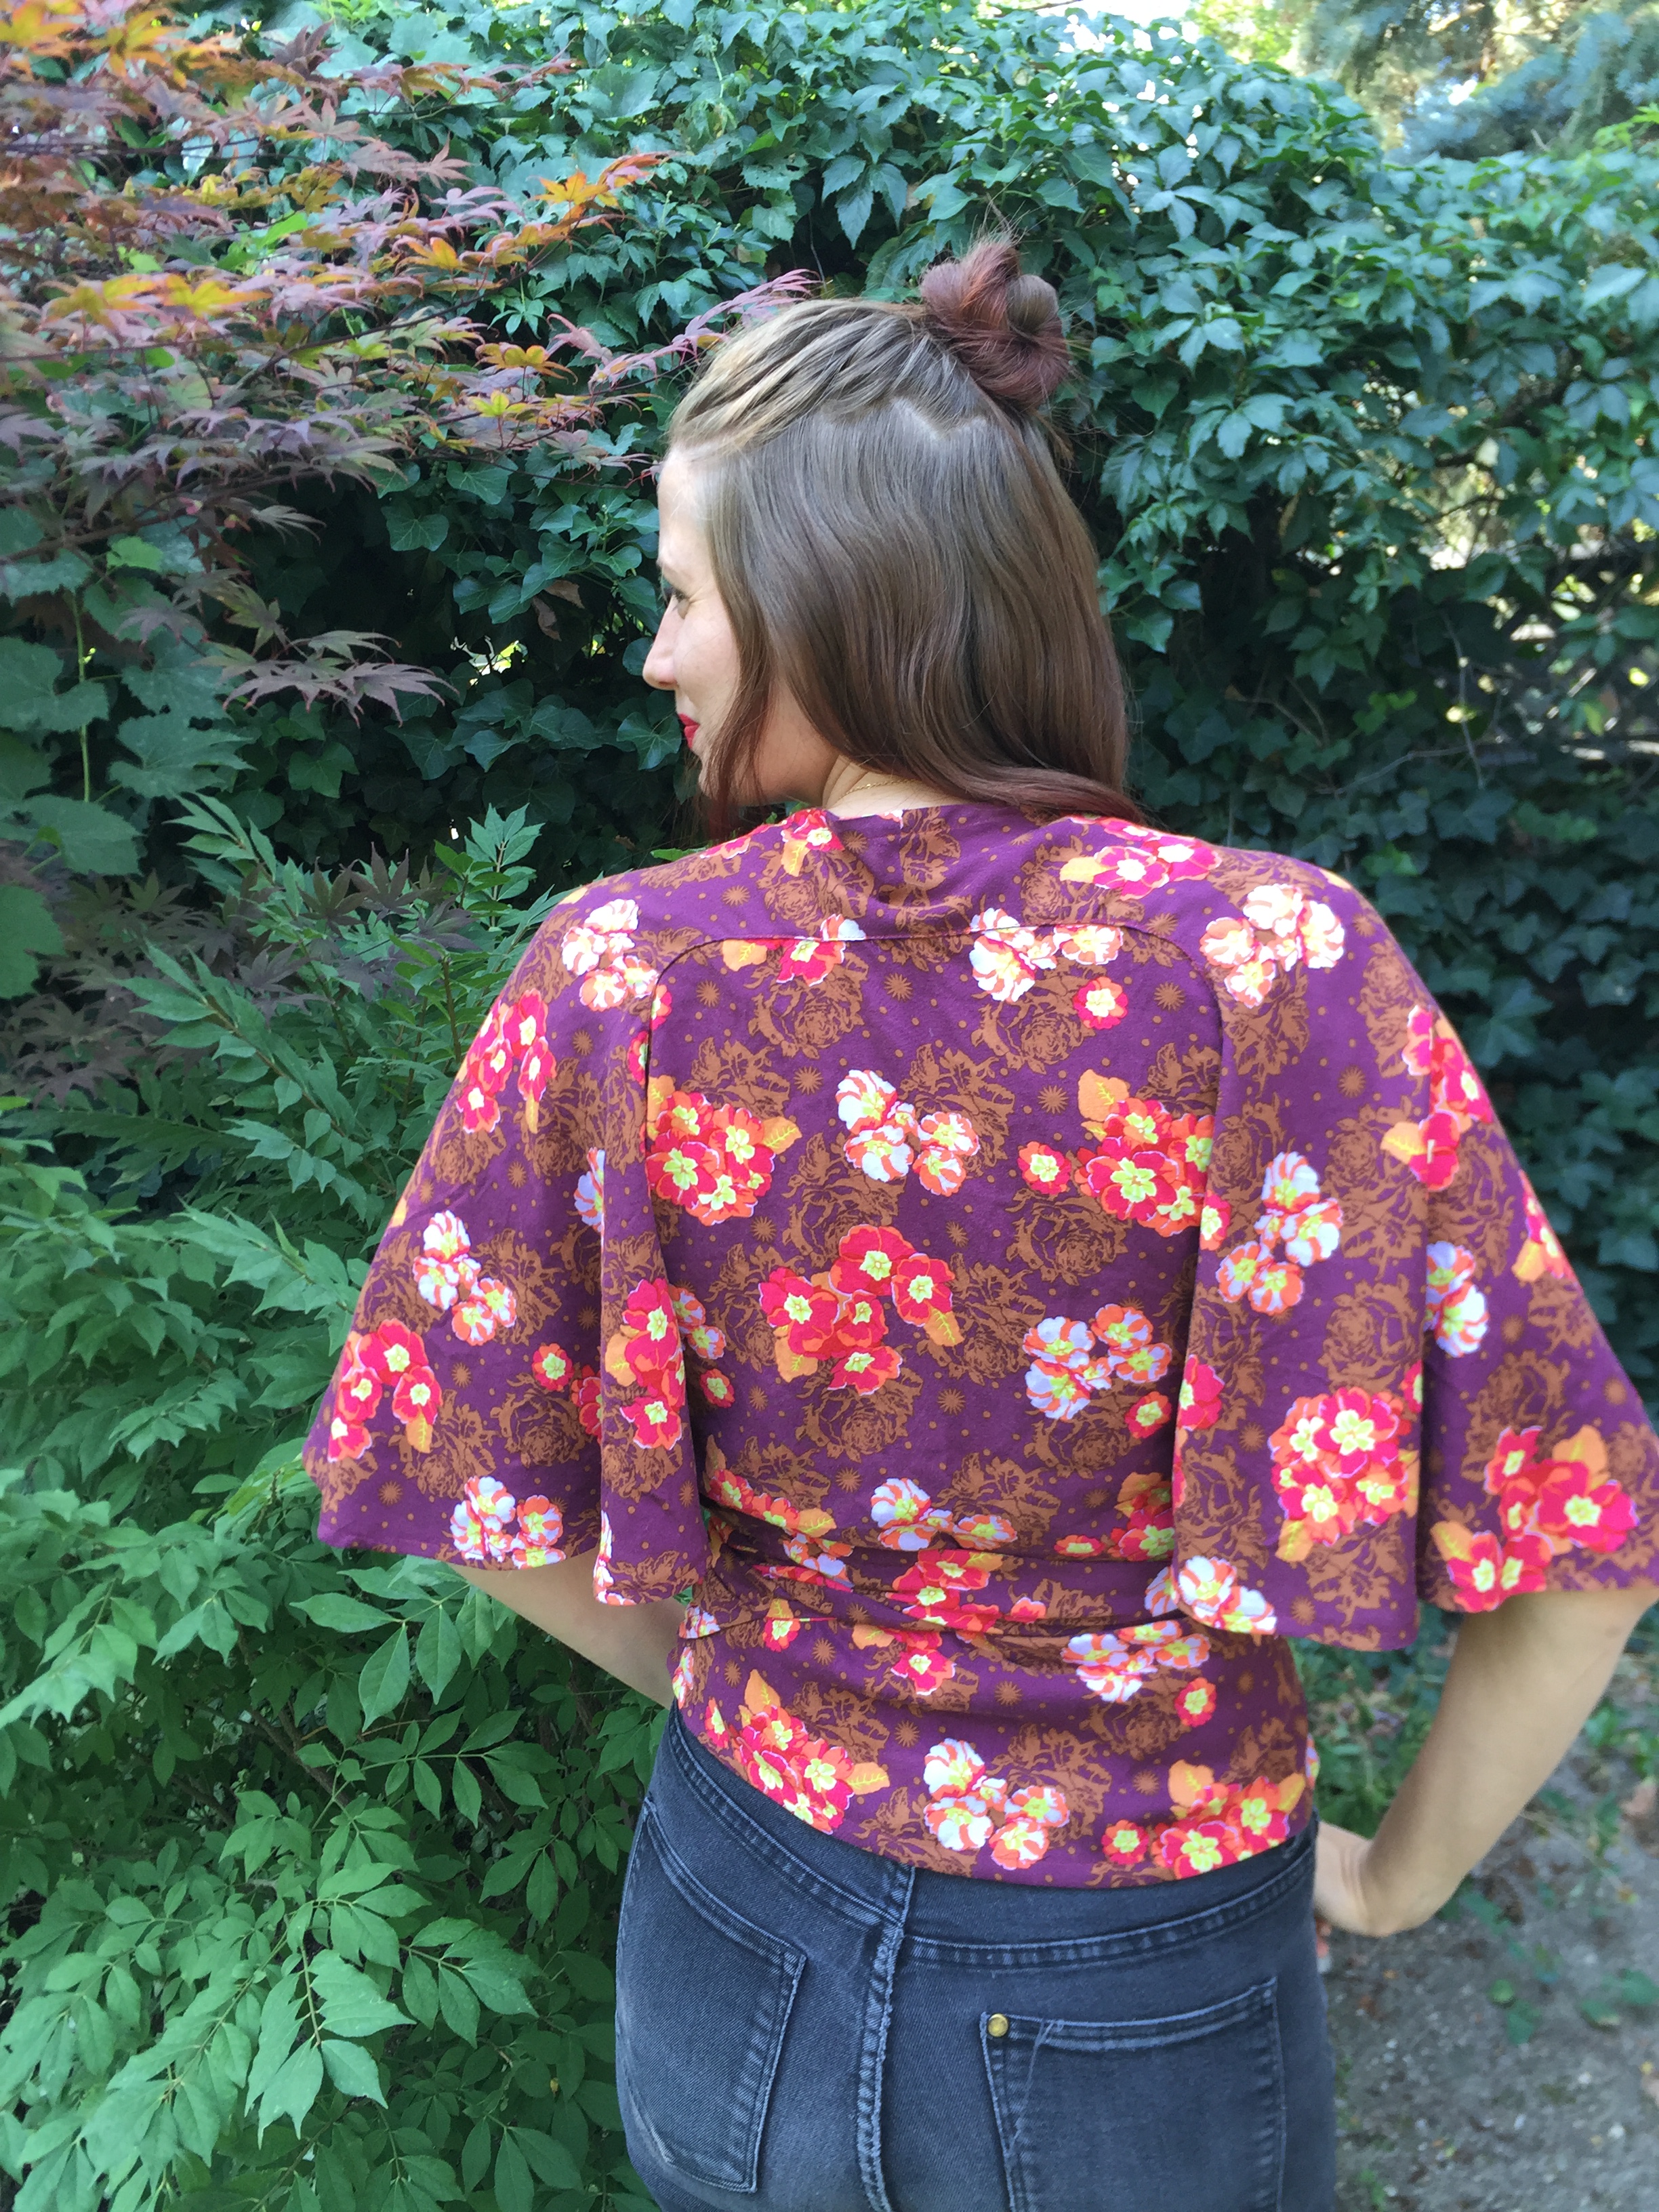
Coffee and Thread Madrid Dress Tour

Disclosure: Although the pattern was given to me for participation in this tour, all words and opinions are my own.

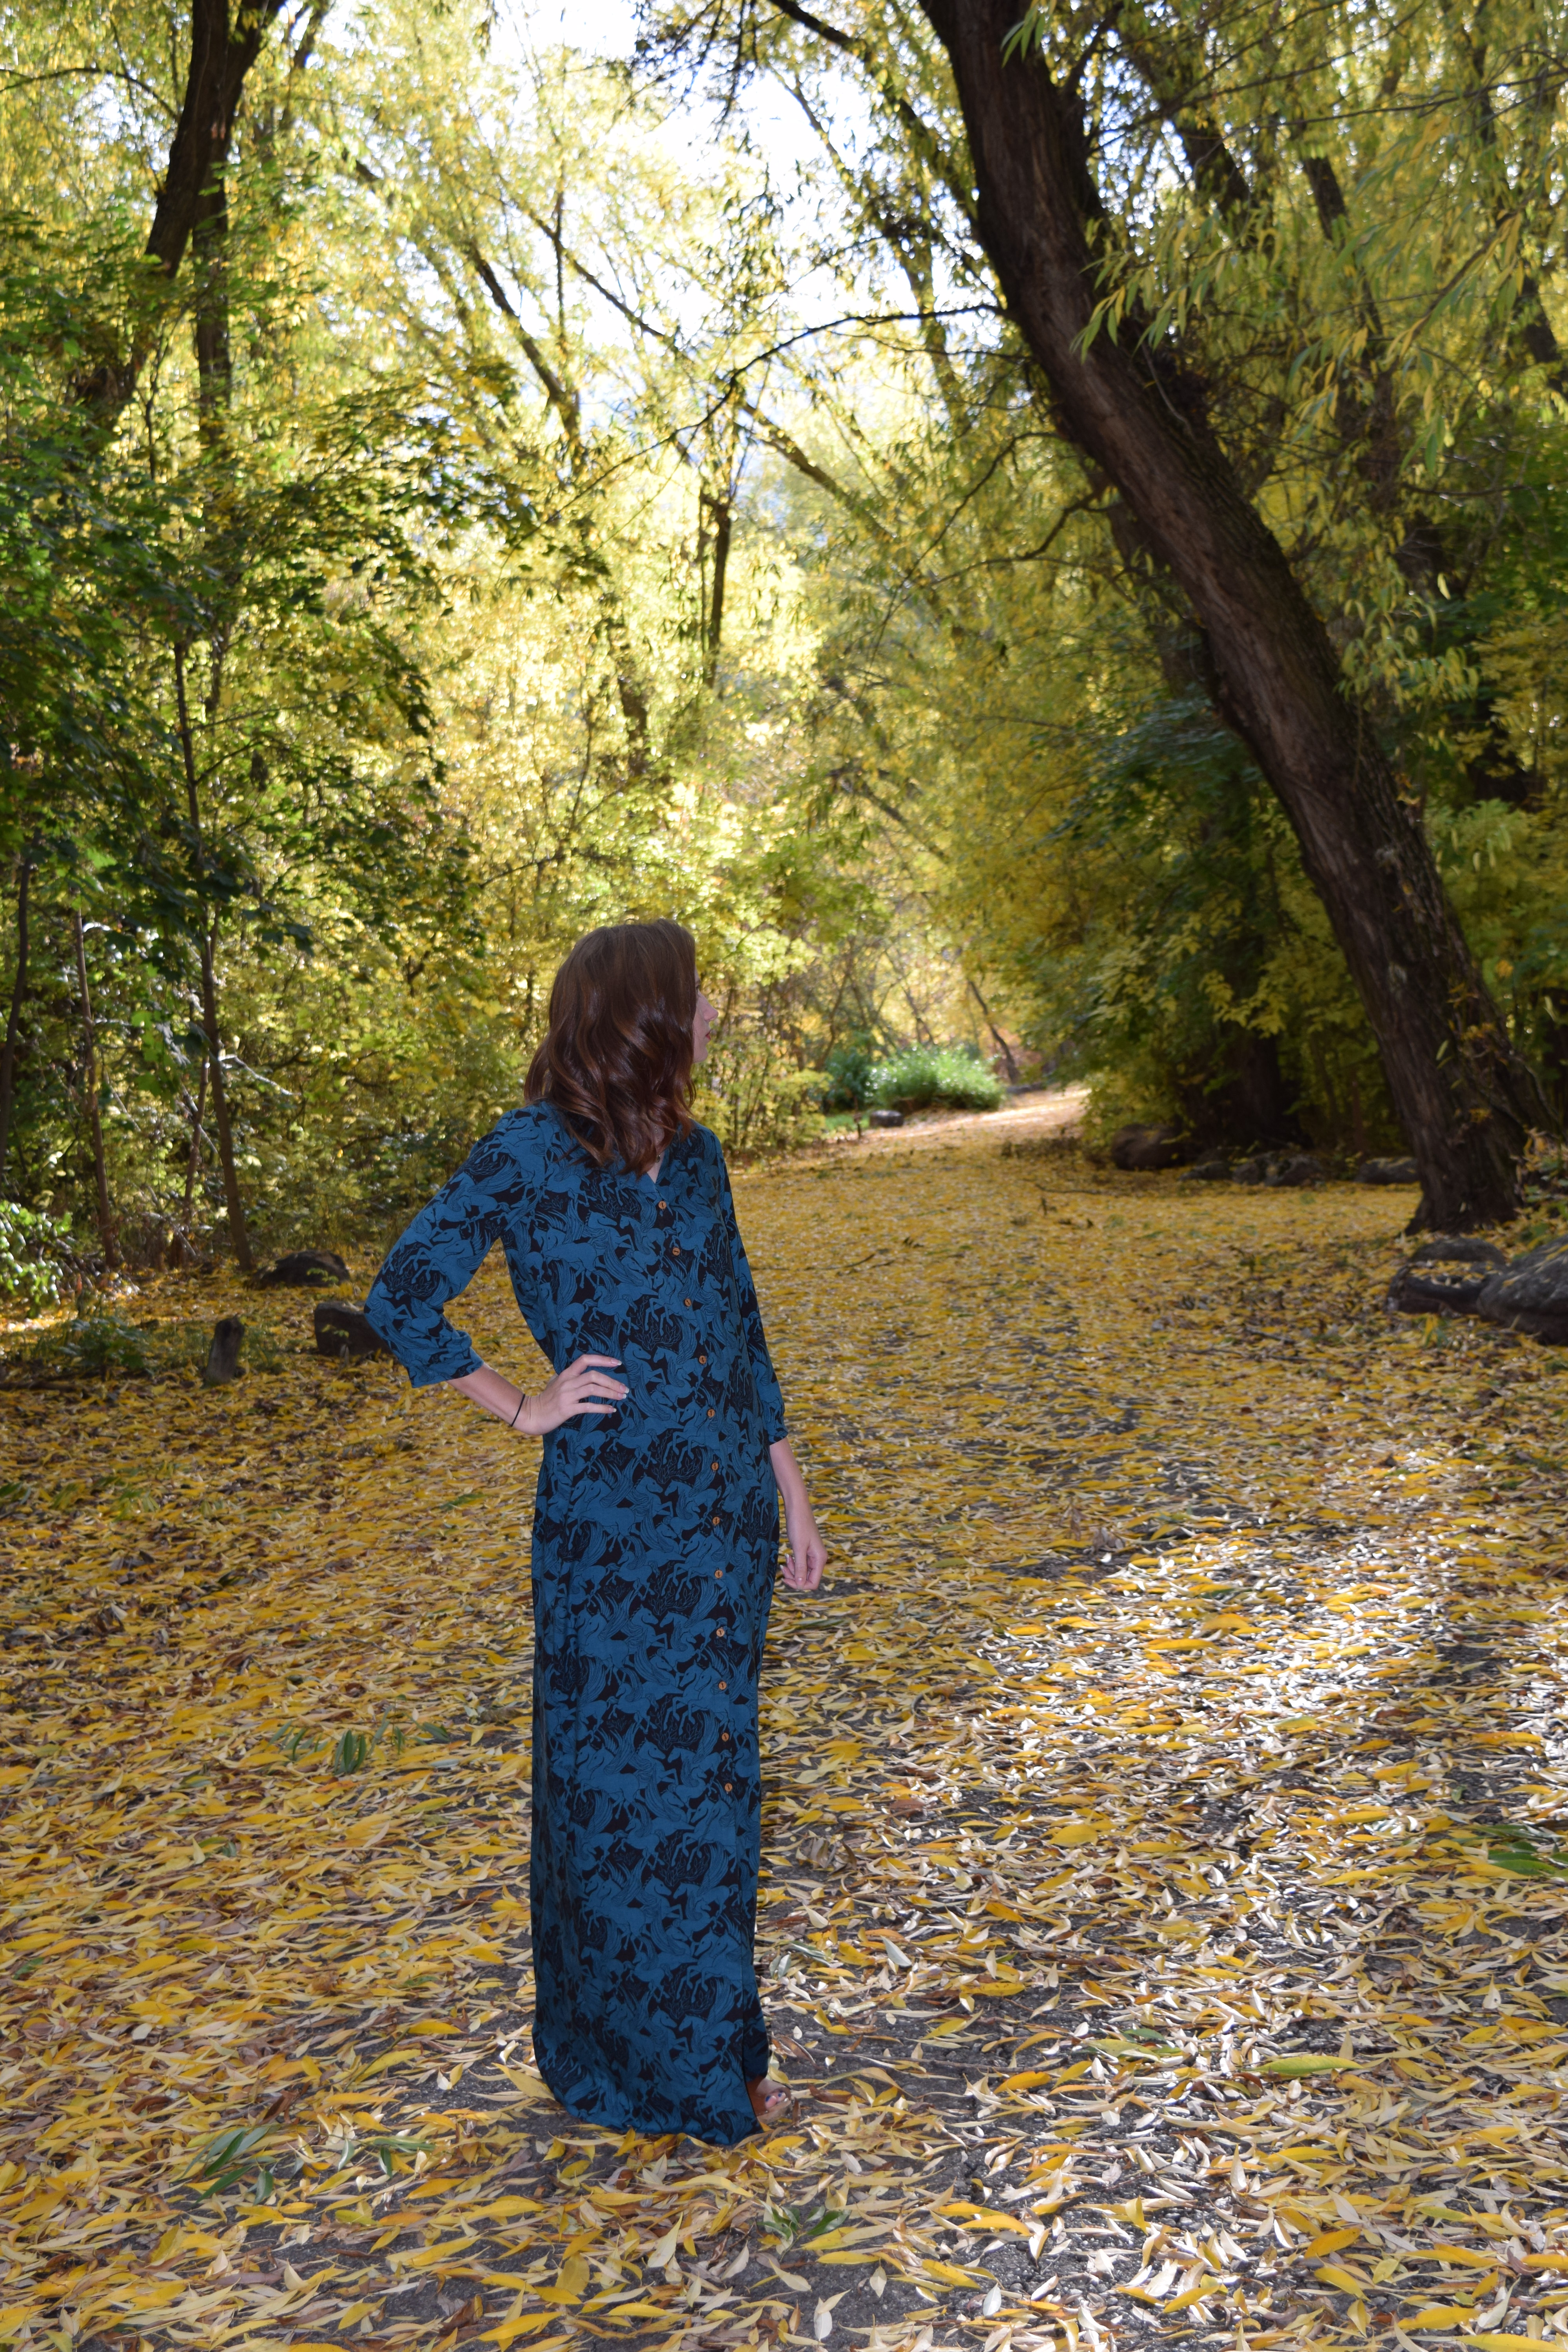
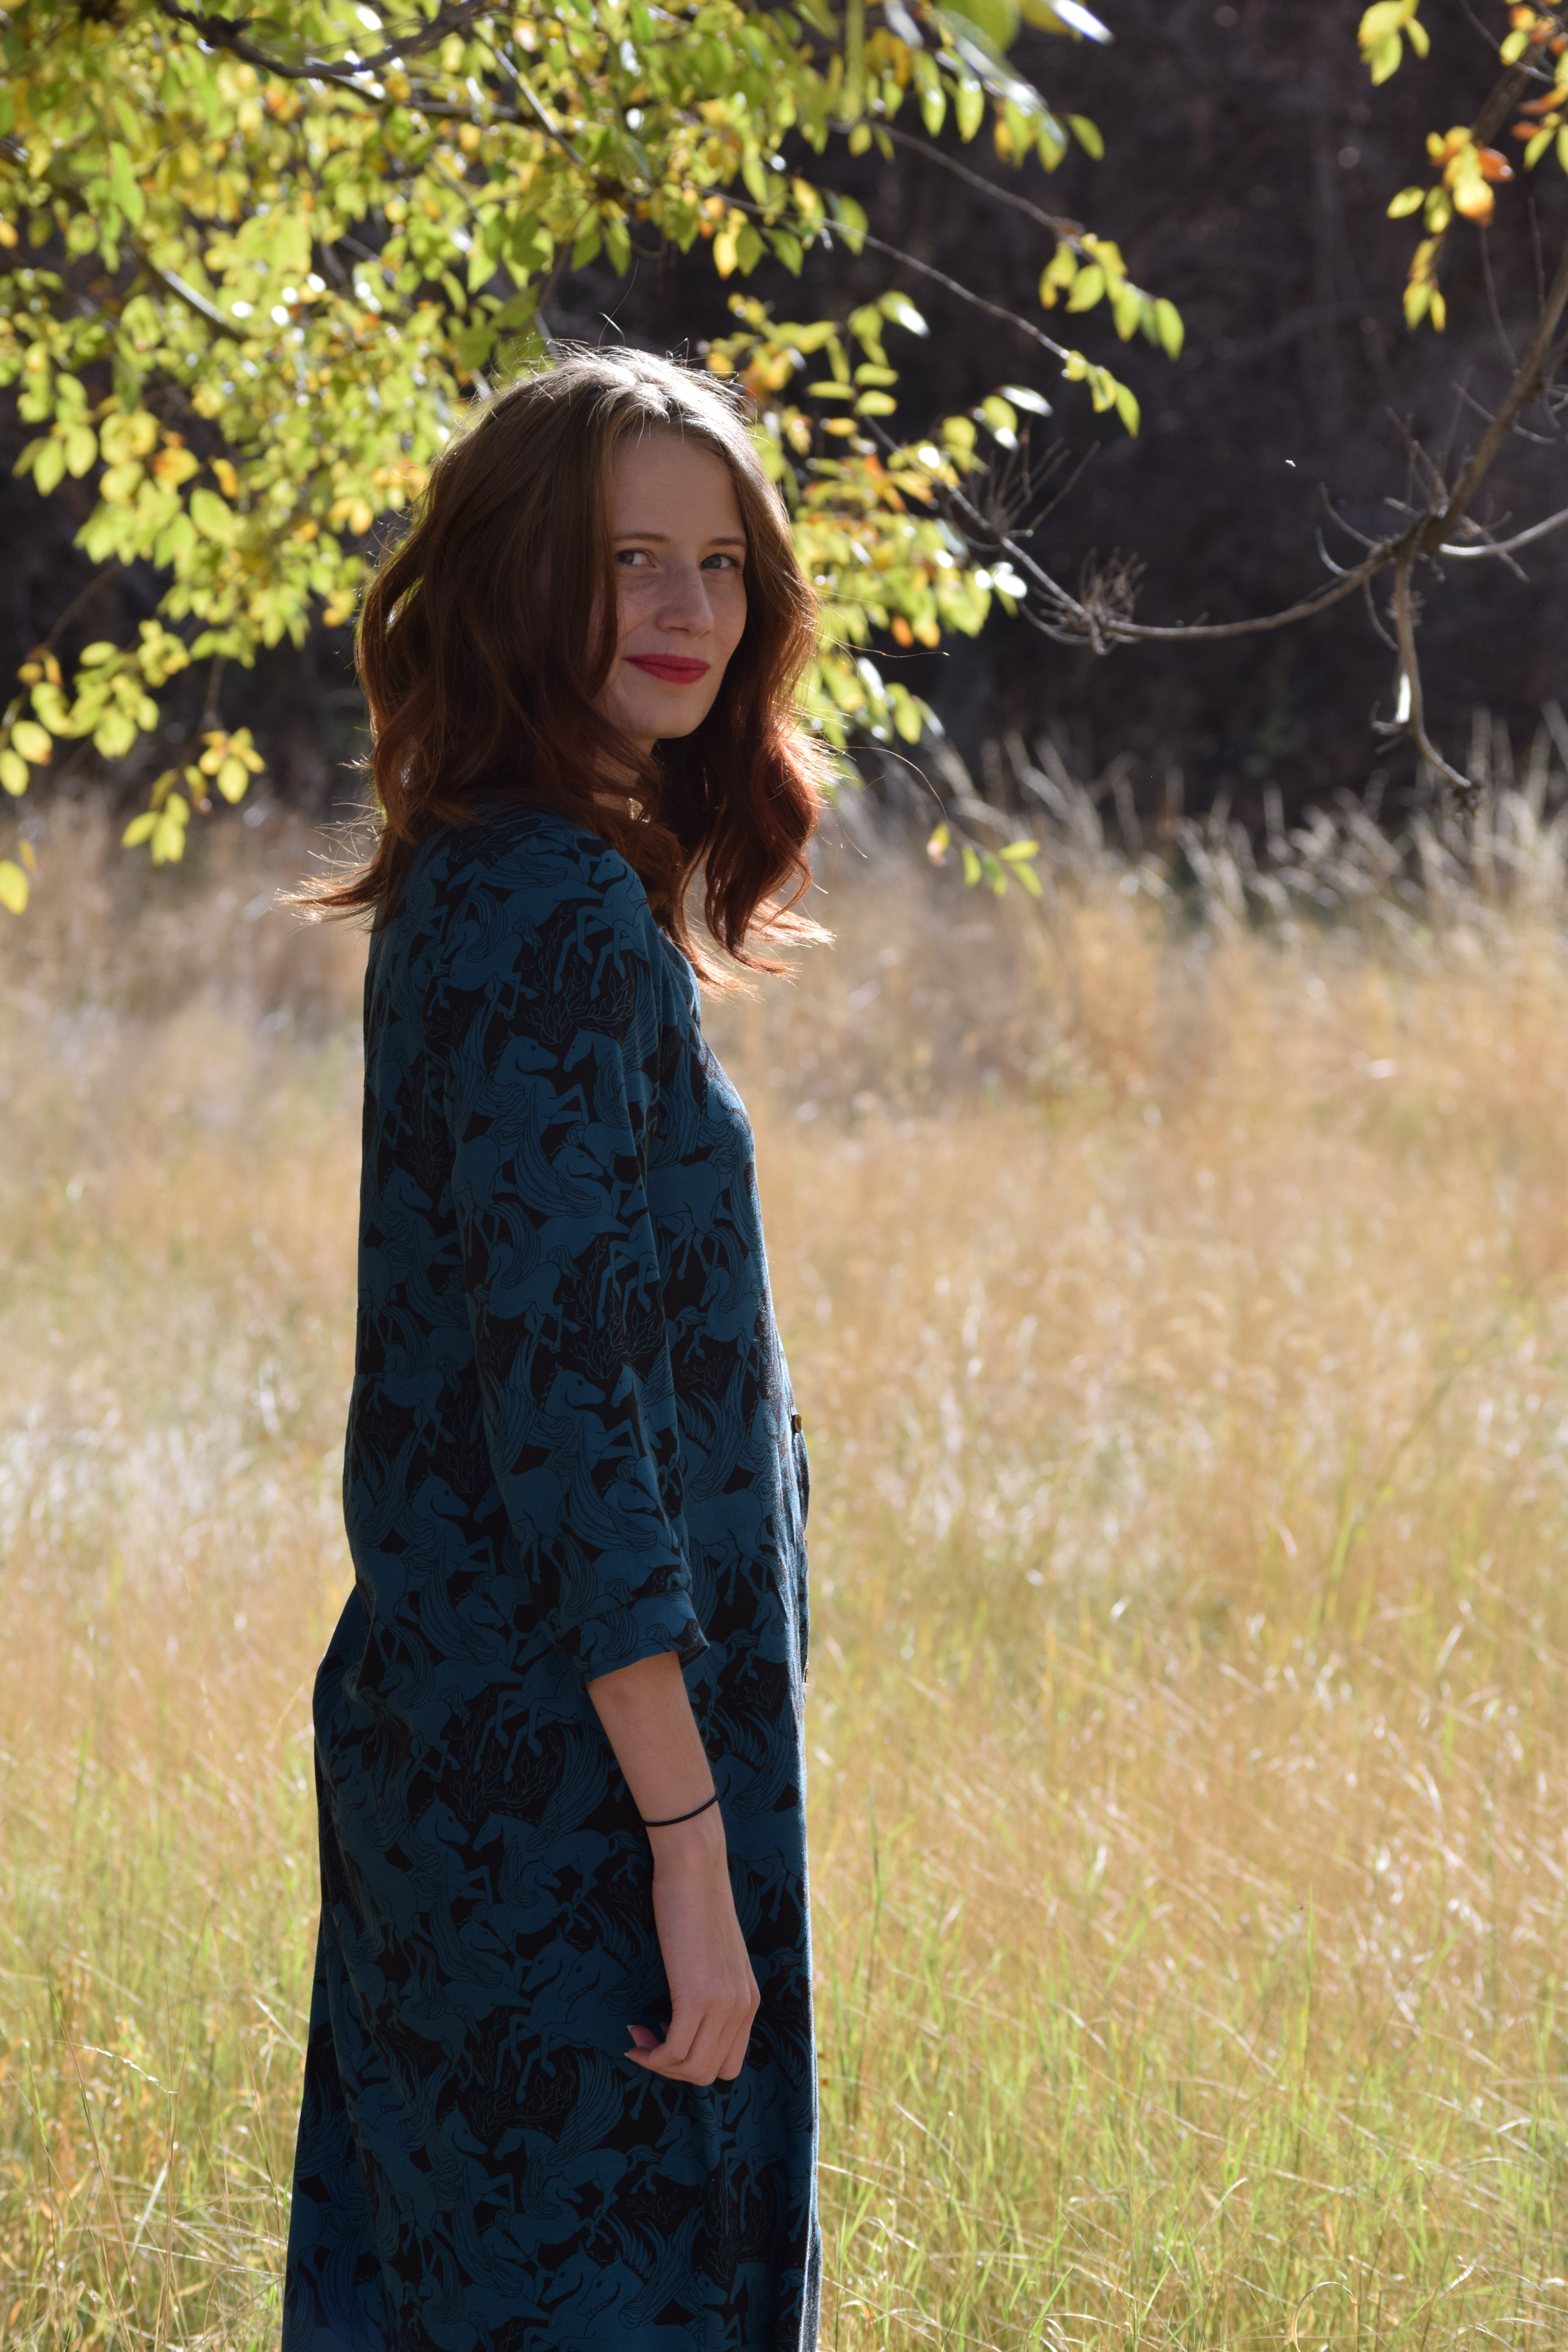
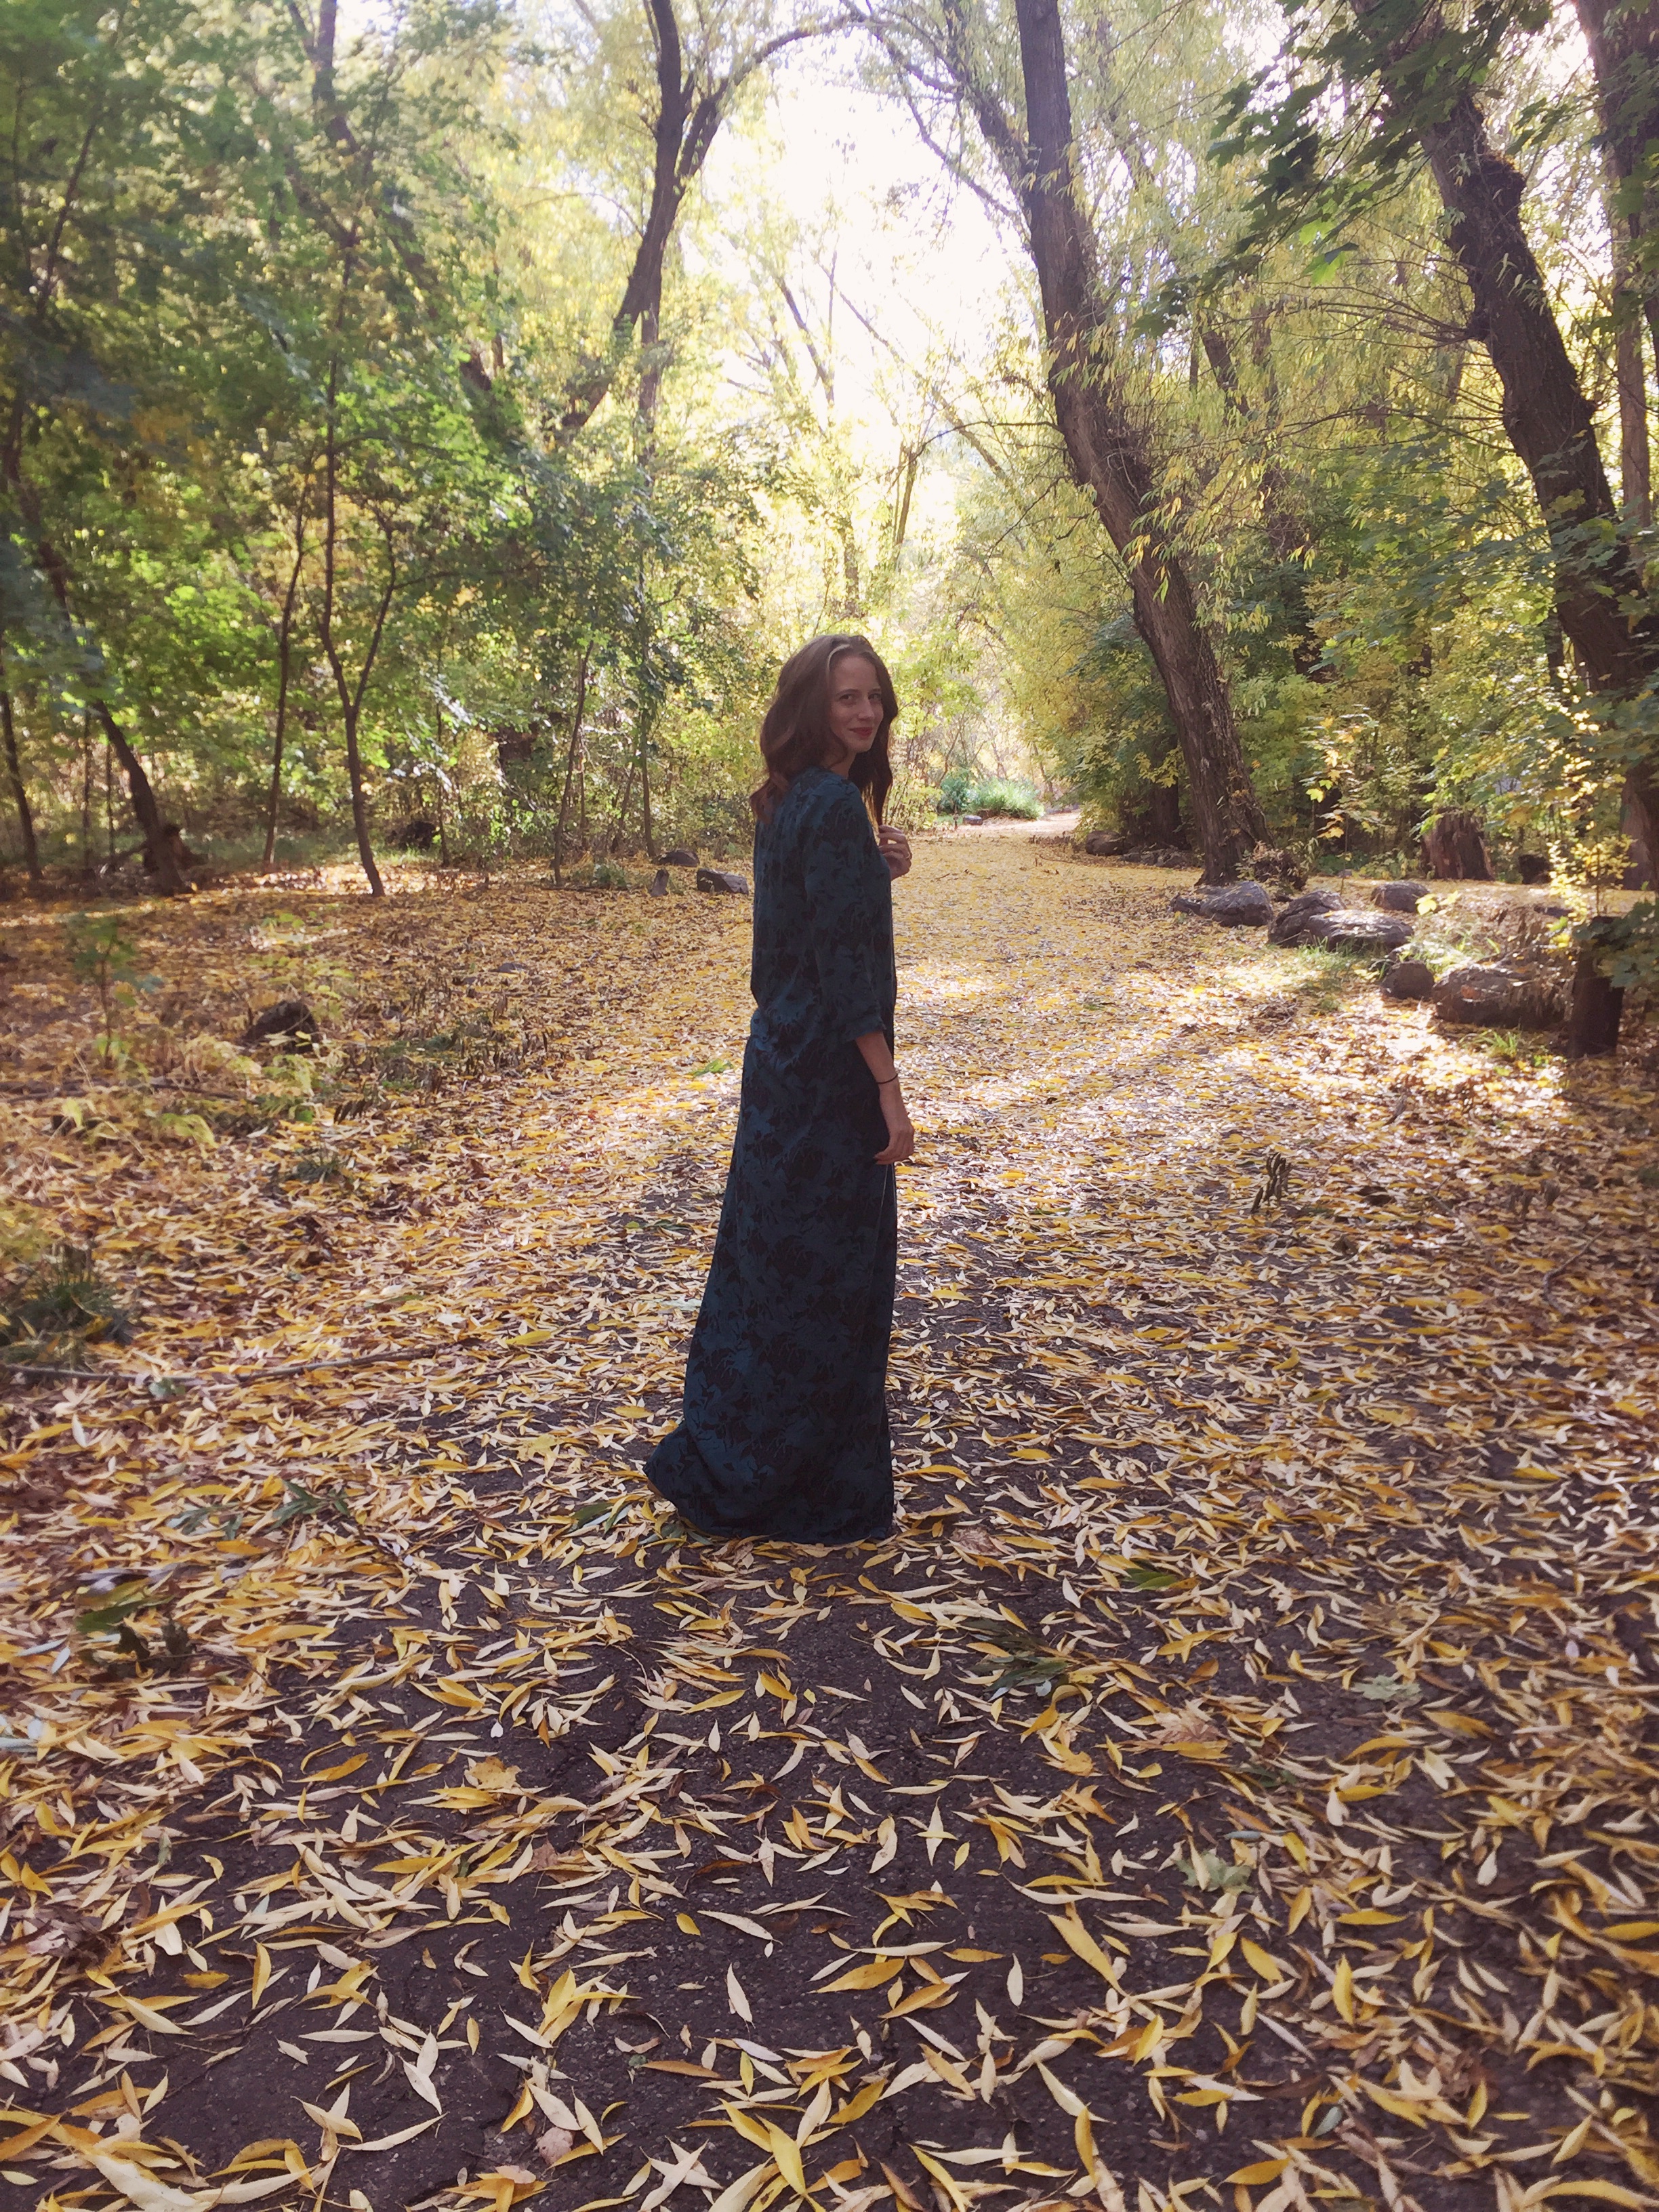
Clearly I can’t get enough of Ace and Jig inspired makes because here’s my second one in less than a week (Check out my A+J inspired Zadie Jumpsuit here). Joining the Coffee and Thread Madrid Dress Tour was the perfect opportunity to sew up my own version of a dress I’d been ogling for months (use code ‘madridtour’ for 25% off any Coffee and Thread patterns through June 28th). This required a bit of hacking but, I was up to the challenge. Are you ready for it?

Inspiration

Last fall I was watching Ace and Jig’s Instagram stories when my jaw dropped at upon seeing this version of their Ellis Dress. The pattern mixing and play on scale had me instantly hooked. I saved the photo, vowing to someday make one of my own. Time went by and I had all but forgotten about the dress until I saw Olga’s release of the Madrid Dress. Seeing the pattern reminded me of my dream dress and reignited the fire.

The Madrid Dress pattern isn’t an exact match for the A + J dress, but comes pretty darn close. There are two main differences:

  1. Madrid Dress is a faux wrap style while the A + J dress is a true wrap.
  2. Madrid Dress pattern actually has three tiers for the maxi length (hack details coming later in this post) while the A + J dress has 4.

Difference #1 was actually preferable for me as true wrap dresses sometimes leave me feeling like I’m just one wardrobe malfunction away from accidentally exposing everything to the world. Difference #2 was an easy fix that just required a bit of math which we’ll get to real soon. Overall, they’re pretty similar and the Madrid made for a great starting point.

Fabric

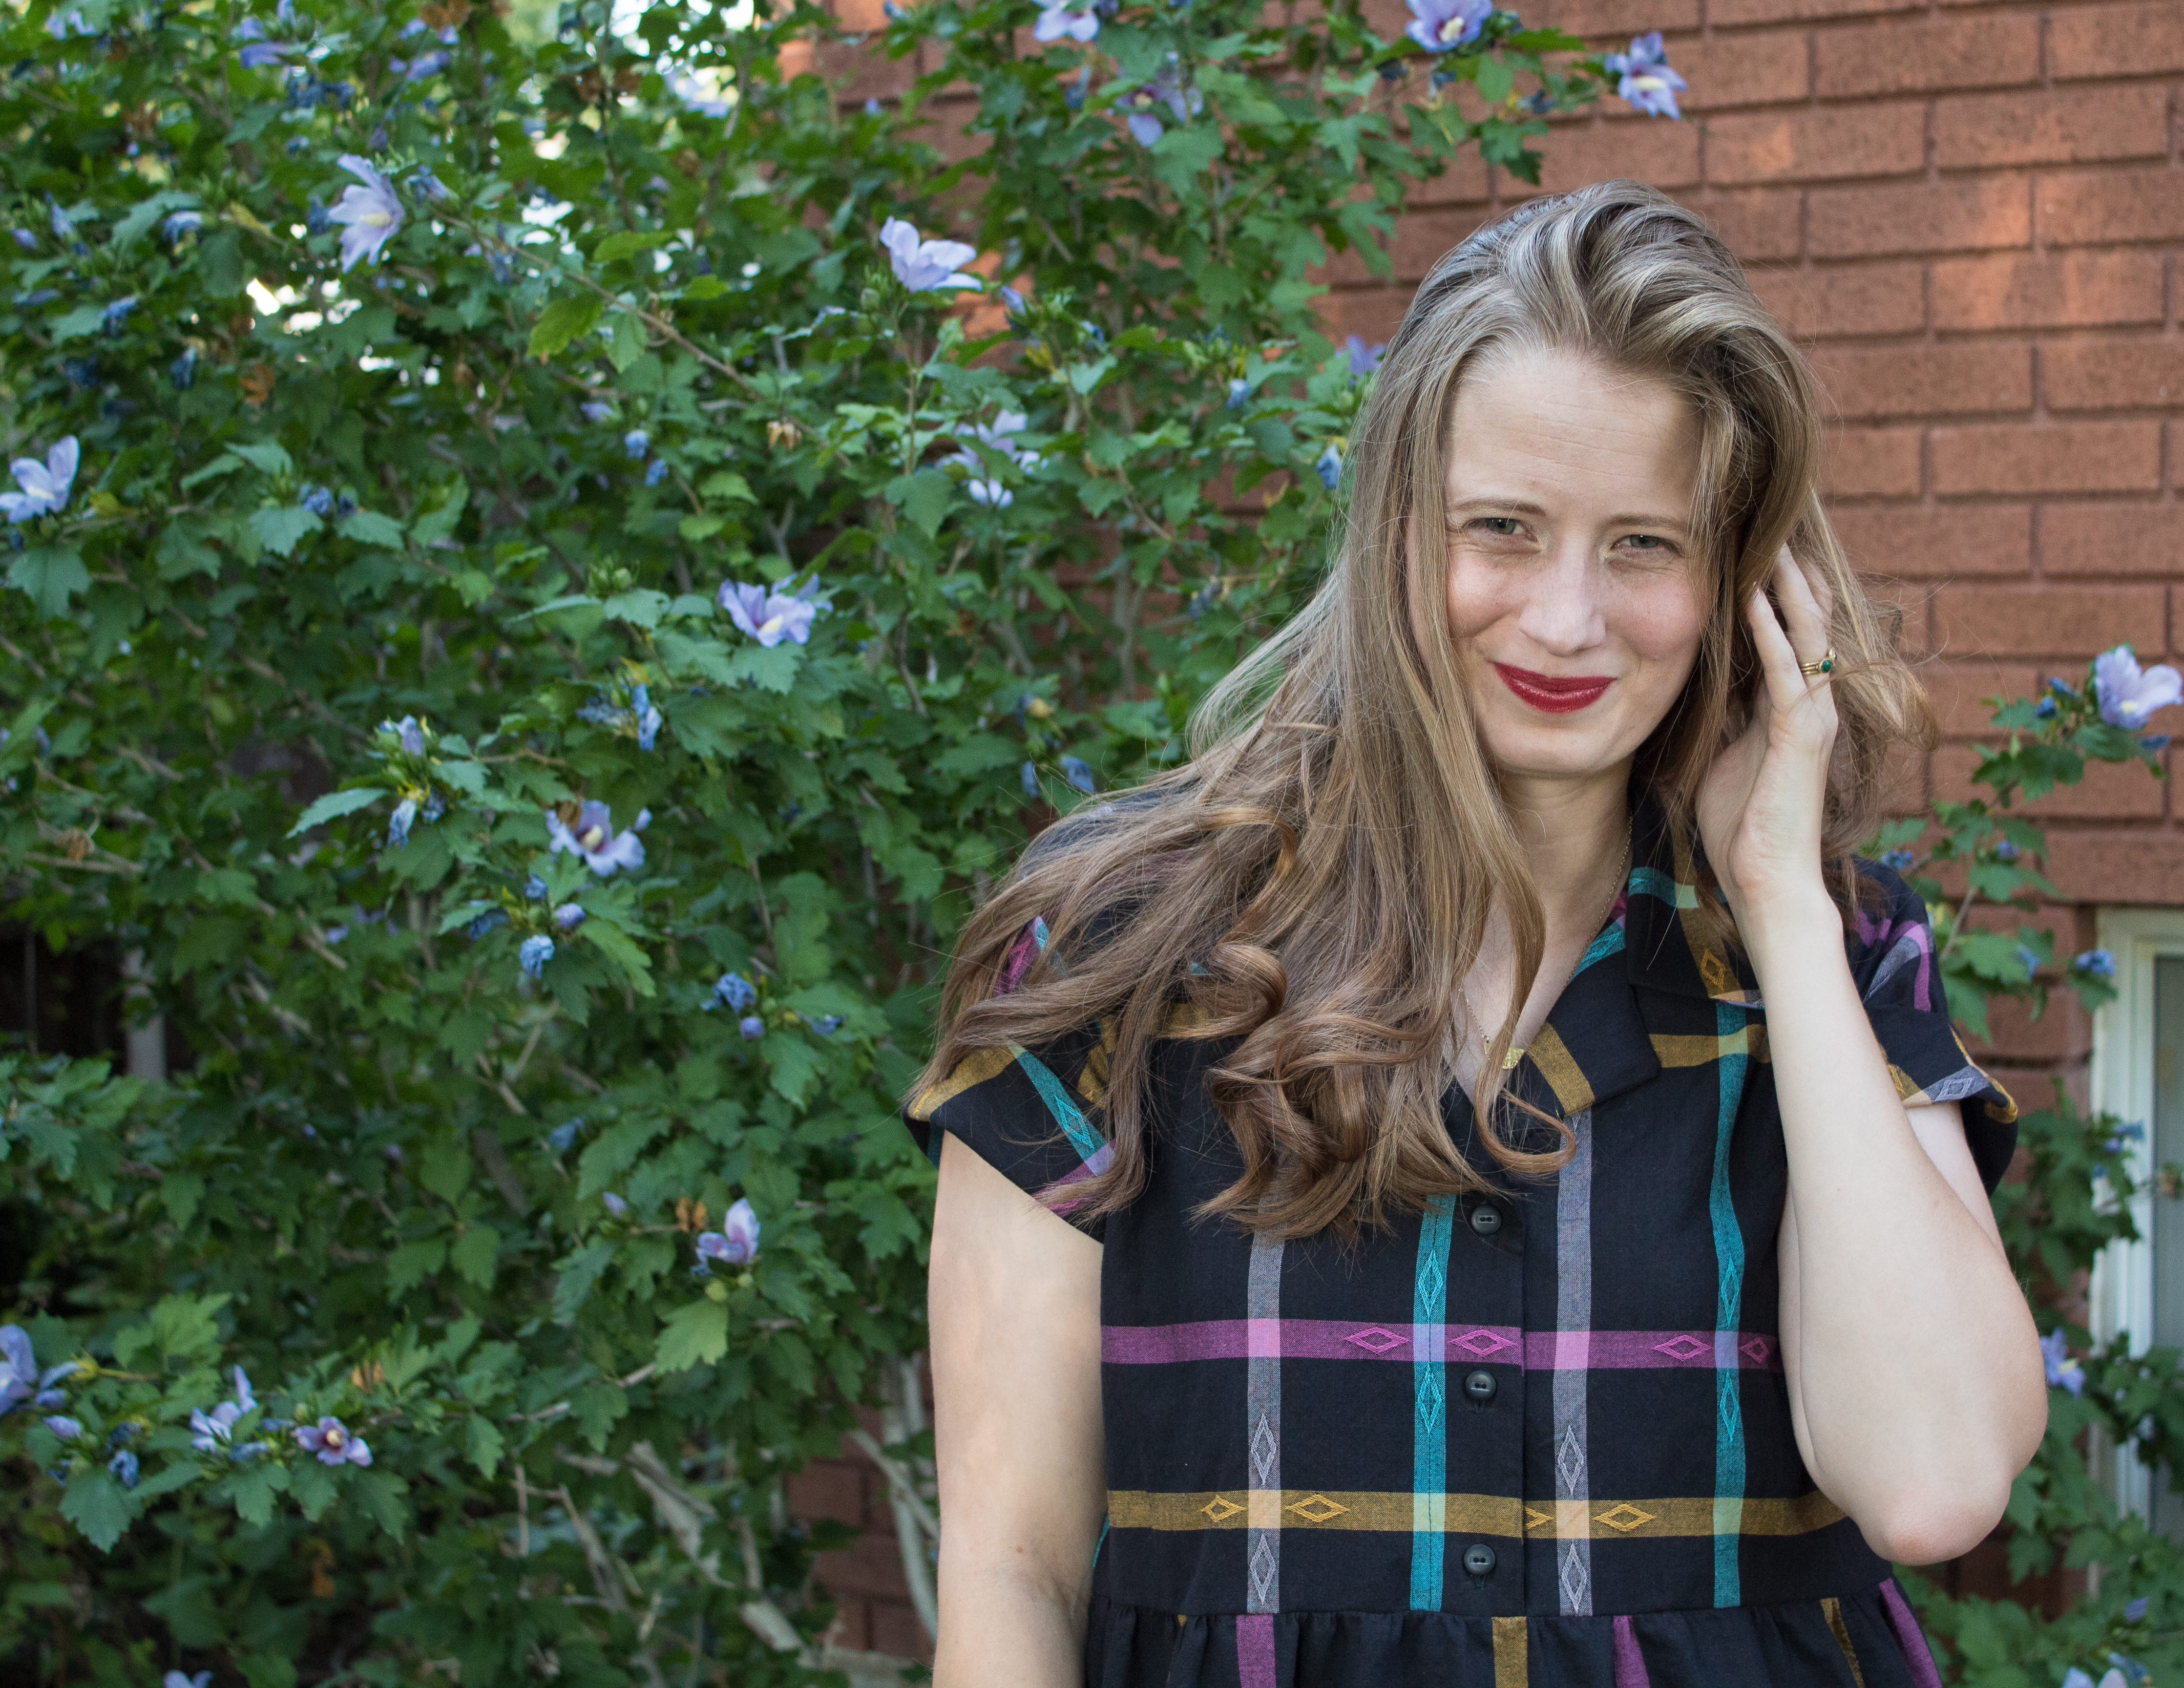
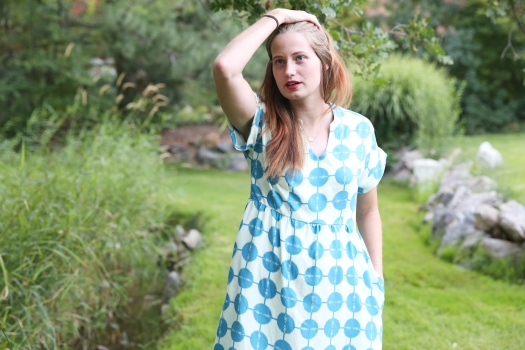
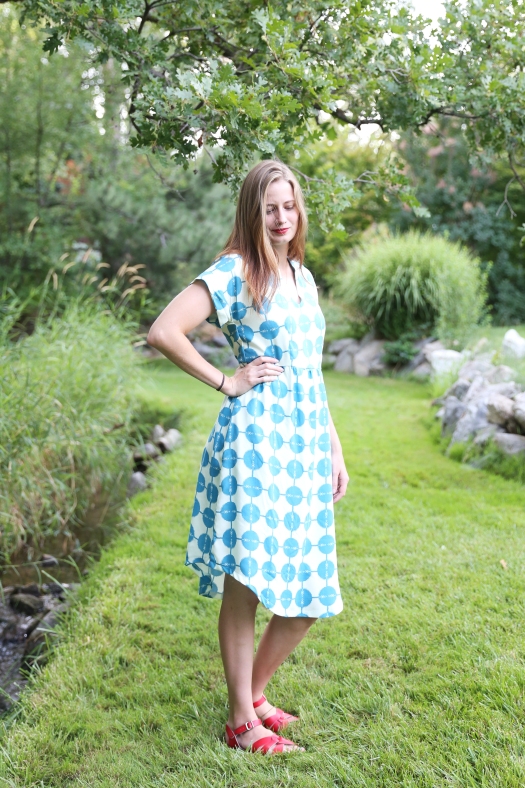
After singing the praises of Anna Maria Horner’s Loominous fabric lines in my last post, I’ll just cut to the chase here and say these 100% cotton yarn dyed wovens are incredible. Dreams are made of these fabrics. This dress uses two fabrics from her Loominous II line. The first is Dotted Line in Cobalt Blue (purchased from Graciebelle Fabrics on Etsy) which has black and pale coral lines stitched into the fabric. This specific fabric was actually the inspiration behind the hand embroidered stitches I added to the back of my Hampton Jean Jacket (here). The second fabric is Tribe in Algae (purchased from Hawthorne Threads), a mint green with stripes of cobalt, forest, and bits of pale pink woven throughout. Together they mimic the play on scale and bold fabric choices included in the inspiration dress.

The only thing that isn’t ideal about these two fabrics is the fact that they’re only 44″ wide. The narrow width meant that I had to order 9 yards of fabric (5 of the blue, 4 of the mint) to determine that I’d have enough of each. Honestly, the price of ordering 9 yards of fabric kept me from making this dress sooner. I hemmed and hawed over spending the money on a dress that likely wouldn’t get as much wear as most practical items in my wardrobe. I spent hours scouring Etsy and online fabric stores looking for the absolute best deals on these two fabrics and was lucky enough to find both for less than $10/yd. In the end, I decided that the dress wasn’t worth making at all if it wasn’t something I loved and that made the cost worth it. This time I threw caution to the wind and sewed a little frosting just for the fun of it.

Sizing

According to the size chart, my measurements fell into a 4 bust, 8 waist, and 10 hip. I started with a size 4 at the bust and graded to an 8 at the waist and below. There’s enough ease in the hips that I didn’t have to worry about grading out to a 10. I also added 1/2″ to the bodice length. As a side note here, the front bodice facing is missing a lengthen/shorten line. add this in by lining your facing piece up with your front bodice piece and marking the lengthen/shorten line. Then add the same amount of length to your facing piece. Since the rest of the sizing alterations happened in the hacking of the skirt, it’s finally time to get down to it.

Hacking the Skirt

Since the maxi version of the Madrid dress has three tiers and I wanted four, it was time to do a bit of math. My exact calculations here are based on a size 8 with a skirt length of 45″, I’ll include the formulas however, so you can do the math for your own custom size.

  1. Determine your desired length by measuring from your waist to the floor (mine was 45″).
  2. Divide the desired length by 4. (Desired length/4) Mine ended being 45/4 coming out to approximately 11.25″ per tier.
  3. Add 3/4″ to the desired tier length to account for 3/8″ seam allowances on top and bottom. I ended up with a total length of 12″ for each tier.
  4. Keep the width of the first tier as drafted, with the only change being to cut off length to fit your new desired tier length.
  5. Measure the width of the 1st tier. To account for seam allowances remove 3/4″ from that width. (1st tier width – 3/4″ = finished 1st tier width). Take the first tier width and multiply this by 1.5. This will give you the finished width of your 2nd tier. Divide the finished width by the width of your fabric. This will tell you how many (desired tier length) strips to cut. Add 3/4″ to the width of each strip to account for seam allowances.
  6. Follow the steps in #5 above to calculate for the 3rd tier, this time using the finished width of your 2nd tier multiplied by 1.5. Again, divide this number by your fabric width to determine the number of needed (desired tier length strips). Don’t forget to add in 3/4″ to the width of each strip for seam allowances.
  7. Again, follow the steps in #5 above to calculate for the 4th tier, this time using the finished width of your 3rd tier multiplied by 1.5. Again, divide this number by your fabric width to determine the number of needed (desired tier length strips). Don’t forget to add in 3/4″ to the width of each strip for seam allowances.
  8. It seams like a lot, but once you get the hang of it, the math is pretty simple. For reference, here’s what I cut out for my size 8 tiers: 2nd tier- 2 strips 12″x 46 and 1/8″ (the blue had to be cut down the length of the fabric instead of the width), 3rd tier- 4 strips 12″ x 34 and 3/4″, 4th tier- 3 strips 12″ by 69 and 7/8″ or 6 strips 12″ by 34 and 3/4″.

There you have it. Three tiers have now become four. Follow construction as instructed in the pattern directions (I did end up attaching the 2nd, 3rd, and 4th tiers to one another before attaching them to the finished bodice and first tier).

Final Thoughts

Gosh, it feels delightful to have a dress fit for twirling. It’s been a bit since I made a truly twirly dress and my inner 10 year old girl was squealing with joy while taking these photos. Gathering took approximately a million years but was 100% worth it. I’ve also had my fill of gathering for a bit so I’ll probably stay away from it for a few weeks at least.

Overall, I’m thrilled that this dress turned out how I envisioned. This is not always the case and I took a big gamble purchasing 9 yards of fabric for something that I wasn’t sure would work. My version is fuller than the Ace and Jig inspiration dress but, that just ups it’s twirling factor which is fine by me. Will I make this hack again, probably not because I don’t need more than one bright, fabulously twirly, pioneer chic dress in my wardrobe. Am I satisfied with the end result? Yes, 100%! That’s all I got for you today. Hope you’ve enjoyed reading about this dress as much as I enjoy wearing it!

Want to see more Coffee and Thread Madrid Dress inspiration? Be sure to check out the tour on Instagram by following the hashtags #ctmadriddress and #madriddresstour.

Anna Allen Philippa Pants and Cropped Fringe Dress Top

In the midst of the #sewfancypants craziness last month, I also managed to finish a sixth pair of pants that couldn’t be shared until now. I had the absolute pleasure of testing the newly released Anna Allen Clothing Philippa Pants. You likely already know my obsession with the Persephone Pants so I was thrilled to be selected as a tester for this new pattern.

Pattern Details

The Phillipa Pants are a high-waisted tapered leg pant meant for use with non-stretch bottomweights. The pants are a simple, fuss-free style with rectangular back pockets, back darts, and no front pockets. I opted to use the new zipper expansion (works for Persephone Pants too!) for this pair and the instructions produced a beautifully finished fly front.

Fabric Choice

Last fall, I won this 11.5 oz Cone Mills Denim in Dark Indigo from Imagine Gnats. After years of wearing skinny jeans with a decent spandex content, I was nervous to try making and wearing a pair of tapered jeans without stretch. The denim does tend to relax a bit after a few hours of wear. This makes my Philippa pants quite comfortable, but also gives them a slightly looser fit. If using this fabric, I suggest making your pants just a bit tighter than you’d like so that they’ll fit perfect after a bit of wear.
Fitting

This specific pair was made from the first testing draft of the Philippa Pants pattern, and Anna has made a few changes since then. As such, I can only speak to this pair and not the final pattern. Before the end of the month I will hopefully complete a pair using the final pattern will report back on fit then. I will say that I found the size chart to be fairly accurate. Anna has even included calf and thigh measurements in the finished measurement chart to help sewists decide whether grading is necessary in the legs.


Fringe Cropped Top

Last summer I ordered 12 yards of this gorgeous yarn-dyed woven designed by Anna Maria Horner. After using just over 11 yards for living room curtains, I was left with a little under 1 yard. Sure, I could’ve used it to make something for my son, but I loved this fabric so much that I wanted something for myself. I used my finely tuned pattern tetris skills to squeeze this Fringe Dress Crop top hack out of it. This “hack” isn’t really a hack at all. In fact, all I did was add 8 inches to the bodice length, straighten the hem, and omit the waist darts. I also rounded off the bottom of the front neckline facing instead of having an unnecessary straight piece running down the center. Just a note: If you’ve been gifted with a bust larger than my forever A-cups, and want to use this hack, rotating the waist darts to the side seams might help you achieve less pulling in your final fit.

Once my alterations were made, I simply sewed the top according to the bodice instructions in the Fringe Dress Pattern. I hemmed the bottom by turning it up 1/4″ and then another 1/4″ and topstitching. That’s it. World’s easiest “pattern hack” and a fun, quick sew for all those smaller cuts burning a hole in your stash.

The Outfit

Wearing this outfit makes me feel a combination of 1970’s free spirit and modern mom. Is it the colors? The silhouettes? Now that I’m thinking about it, 1970’s free spirit meets modern mom might just be my fashion goal. Whatever the vibe is, I’m digging it.

Thanks for reading! Check back soon or follow me on Instagram to see what I’ve got up my sleeve for February.

Hacking the Hey June Willamette Shirt into a Dress

Remember when I said (in this post) that I was already planning a fourth Hey June Willamette (pattern here)? Between painting and packing, I managed to squeeze in just enough time for a Willamette Shirt to dress hack. In my last Willamette post, I mentioned that the Willamette is my current pattern obsession. Every time I fall in love with a fabric I think, “Wouldn’t this make a great Willamette?” This was the exact scenario that played out when I set eyes on this fabric from Anna Maria Horner’s Loominous II line. Weeks ago, I was desperately searching Etsy for a continuous 12 yards of another Loominous II fabric I intended to use for curtains. Once I found the desired fabric from La Antigua Textiles this large plaid fabric somehow jumped into my cart as well. When you’re buying 12 yards of fabric, it’s pretty easy to justify the cost of an extra 4 yards. Besides, I had an Etsy gift card that covered the price of this fabric so I can basically pretend it was free, right?

IMG_8363

Now, let’s get on to talking about this dress hack. I was inspired by the shape of this dress from Roolee. The boxy shape and minimal gathering are both elements I wanted to include in my latest summer dress. Once upon a time, I regularly wore shorter and more fitted styles but then; I had a child and realized that limited movement was no longer my jam. If I can’t wear something as a house dress, to the park, and to church, then it’s unlikely to find it’s way into my closet. I decided to hack the Willamette for this dress because the collar, cuffs, and yoke detail add interest to the dress and keep it from looking too much like a sack. I, for the record, love a good sack dress, just didn’t want that look for this one.

IMG_8369

The actual “hacking” of this pattern was quite simple. Let’s start with alterations made to the top. I removed 3 inches from the length of the cropped version so that the beginning of the skirt would hit around my natural waist. I opted for a button front instead of sewing the the front pieces together at the placket (Tori of The Doing Things Blog talks about her button front version here). One of my favorite details is the box pleat at the back of the dress. Originally, I just pleated the top of the back bodice piece near the yoke. After attaching the skirt, i realized the back needed a bit more shaping to achieve the desired look. The solution was to repeat the box pleat at the bottom center of the back bodice. It was a simple fix, but required some time with my seam ripper. I considered not fixing the issue, but realized it was worth the extra effort to make something I would be proud to wear. I sucked up my pride, made friends with my seam ripper, and got to work removing the skirt. This fix took about an hour to execute and was worth every minute.

IMG_8378

Moving on to the skirt. This was such a simple “hack” that it feels almost blasphemous to call it one. Since I wanted only minimal gathering I multiplied the finished width of my front and back bodice pieces (both were right around 20″ with that added back pleat) by 1.4. This gave me 28″. I cut two rectangles 28″ x 34″. I then added inseam pockets to the side seams and sewed the side seams together with a 1/2″ seam allowance. There are approximately one million tutorials for adding inseam pockets, but if you’re unfamiliar with them, this is a good one to check out.   Using a basting stitch at 3/8″ and 5/8″ gather the skirt to fit the bodice. Then attach the bodice and skirt right sides together using a 1/2″ seam allowance. Hem the skirt to your desired length and that’s it. You’re done. Seriously, this hack is one of the easiest I’ve ever completed.

IMG_8354

IMG_8375

In the midst of all the (good) stress and craziness of the last month or so it felt good to sit at my machine and sew this dress purely out of a desire to create. I thoroughly enjoyed squeezing in a bit of time here and there to reconnect with my machine. Two more weeks and we have no choice, but to be done with this moving madness (because our apartment lease will be up). A little time simply creating for pleasure was just what I needed to get me through the next weeks. Looking forward to sharing more with you in my new space.

IMG_8362IMG_8359

Thanks for reading! Want to see a different Willamette Shirt to Dress Hack? Check out Michelle’s here. Can’t get enough of Anna Maria Horner’s fabrics? Me either! I’m a total fan girl. Check out other items I’ve made with her fabrics like the Highlands Wrap Dress, Fringe Dress, Butterfly Blouse, Bonn Maxi Dress, and Bonn Shirt.

Highlands Wrap Dress by Allie Olson

Last weekend, I was finally able to finish this maxi length Highlands Wrap Dress. I originally intended to finish it back in June but moving and life in general just got in the way. Way back in late winter/early spring, I had the opportunity to test this pattern for Allie. I ended up making a midi length version using gray rayon chambray. I loved the fit of the dress, but the fabric just wasn’t my favorite. I knew I needed to make a second wrap dress in fabric more suited to my style (aka: more color/print).

IMG_1701

IMG_1757

I’ve literally been in love with this Anna Maria Horner rayon challis print for years. This fabric was originally printed back in 2014 so I thought I’d missed my chance to buy more until a bolt showed up at Suppose. I immediately knew it was meant for a Highlands Wrap Dress and purchased a few yards.

IMG_1714IMG_1740

When tracing the pattern I selected a size 4 and graded to a 6 in the hips. I added a total of 4 inches to the length to accommodate my height (2″ at the hips and 2″ below the slit). In retrospect, I probably should’ve added all 4 of those inches above the slit because it is cut just a bit high for my personal preference. I plan to unpick a bit of the side slits and resew them to hit right above my knee. The high slits are a lovely design feature, just not quite as practical for my lifestyle.

IMG_1761IMG_1753

Back when I made my original test version, I didn’t add interfacing to the front facings. That was a terrible mistake and made top-stitching the facings a real pain in the you know what. This time, I decided to make a better choice and chose to interface them. I chose a tricot knit interfacing and it worked like a dream. Stitching the facings in place was about 100 times easier and I totally kicked myself for not using it on my first Highlands. I was originally introduced to knit interfacing when sewing a pattern by Gabriela of Chalk and Notch. She recommends it in many of her patterns, and that chick really knows her stuff. I know it’s going to be good if it’s recommended by Gabriela.

IMG_1729

Saying that I’m happy with this dress would be an understatement. There’s just something about a flowy, floral print dress that makes me feel put together and pretty. Now excuse me while I go experiment with ways to style this dress for fall and winter. It’s far too lovely to wear only during the summer months.

Note: You might notice that the darts are looking a bit high in these photos. I noticed this when I got home and started editing these. I made the mistake of wearing a different bra when fitting the dress than I was wearing the day I took these photos. Until I started sewing my own clothing, I never realized how much wearing the right undergarments matters (it matters a lot). Now that I’ve made this mistake, I’ll hopefully remember which bra to wear when taking photos in the future.

Fringe Dress by Chalk and Notch

I had been anxiously awaiting the release of the Fringe Dress and Top since Gabriela posted this teaser photo months ago. I applied to be a tester practically the moment she submitted the call. Working with Gabriela is always a pleasure and I love her detailed instructions and interactive tutorials. The Fringe Dress pattern is no exception.

IMG_9421 copy

The Fringe pattern includes two views with a dress or top option for each view. You can see both views sewn up in the photo above. My beautiful and multi-talented friend Rachel of Little Fish sewed up view A. You can read a more detailed post about her version here on her blog. I decided to make view B because I was intrigued by the unique neckline.

IMG_9391 copy

Let’s take a quick detour and talk about fabric. For this version I used a soft and slinky rayon challis designed by Anna Maria Horner (buy it here). I purchased the fabric from my very favorite store Suppose. Suppose has just added a ton of amazing apparel fabrics to their Etsy. Many of them, like the fabric used for my Fringe, are out of print and nearly impossible to find anywhere else. I buy at least 80% of my fabric at Suppose and am regularly asked where I’m able to find such a great selection. I worked at Suppose for 5 years and used to joke that it was basically my secret stash. Now the secret is out and I’m happy to share it with all of my online friends.

IMG_9430 copy

Whenever I’m selecting a pattern, I look for certain details that make set a pattern aside from others as well as meeting my requirements for fashion and function. One detail I love about the Fringe is that it’s semi-fitted. The bodice contains both front and back darts that add a bit of shape to flatter many body types. It is just fitted enough to look like a dress and not a sack, but loose enough to make every day activities comfortable. There is also waist tie option if you would like to make the waist a bit more pronounced. The pull over style of the dress makes it a fairly quick sew as no closures are necessary. I know a few of the testers and even Gabriela herself just sewed the button placket of View A closed for some of their versions.

IMG_9433 copy

I’ve already worn my Fringe 3 or 4 times since making it a few weeks ago. It has transitioned seamlessly from church, to the playground, to a night out. It’s my perfect “mom” dress and I plan to make myself a view A dress in the future. There are about a million more great things  I could say about Chalk and Notch and the Fringe pattern, but I’ll just let the photos and other reviews speak for themselves.

IMG_9386 copy

A quick note on sizing: I sewed up a size four with minor adjustments for my height. I’m somewhere between 5’9″ and 5’10”. I added 1/2″ to the bodice length and 3 1/2″ to the skirt length for my desired below knee length. These are the only adjustments I needed and Gabriela included great instructions for adjustment right in the pattern instructions.

Photos by Rachel of Little Fish and Heather of Feathers Flights.

Want to see more items I’ve made with Chalk and Notch patterns? Check out my Waterfall Raglan hack here or my Farrah top here.

1930’s Butterfly Blouse

In July, I fell into a bit of a sewing rut. I felt like I’d been sewing the same few projects and needed something new and exciting. I convinced my husband to take a day trip to Provo, UT so that I could visit Harmony. Harmony turned out to be the perfect place to regain my sew-jo.
image

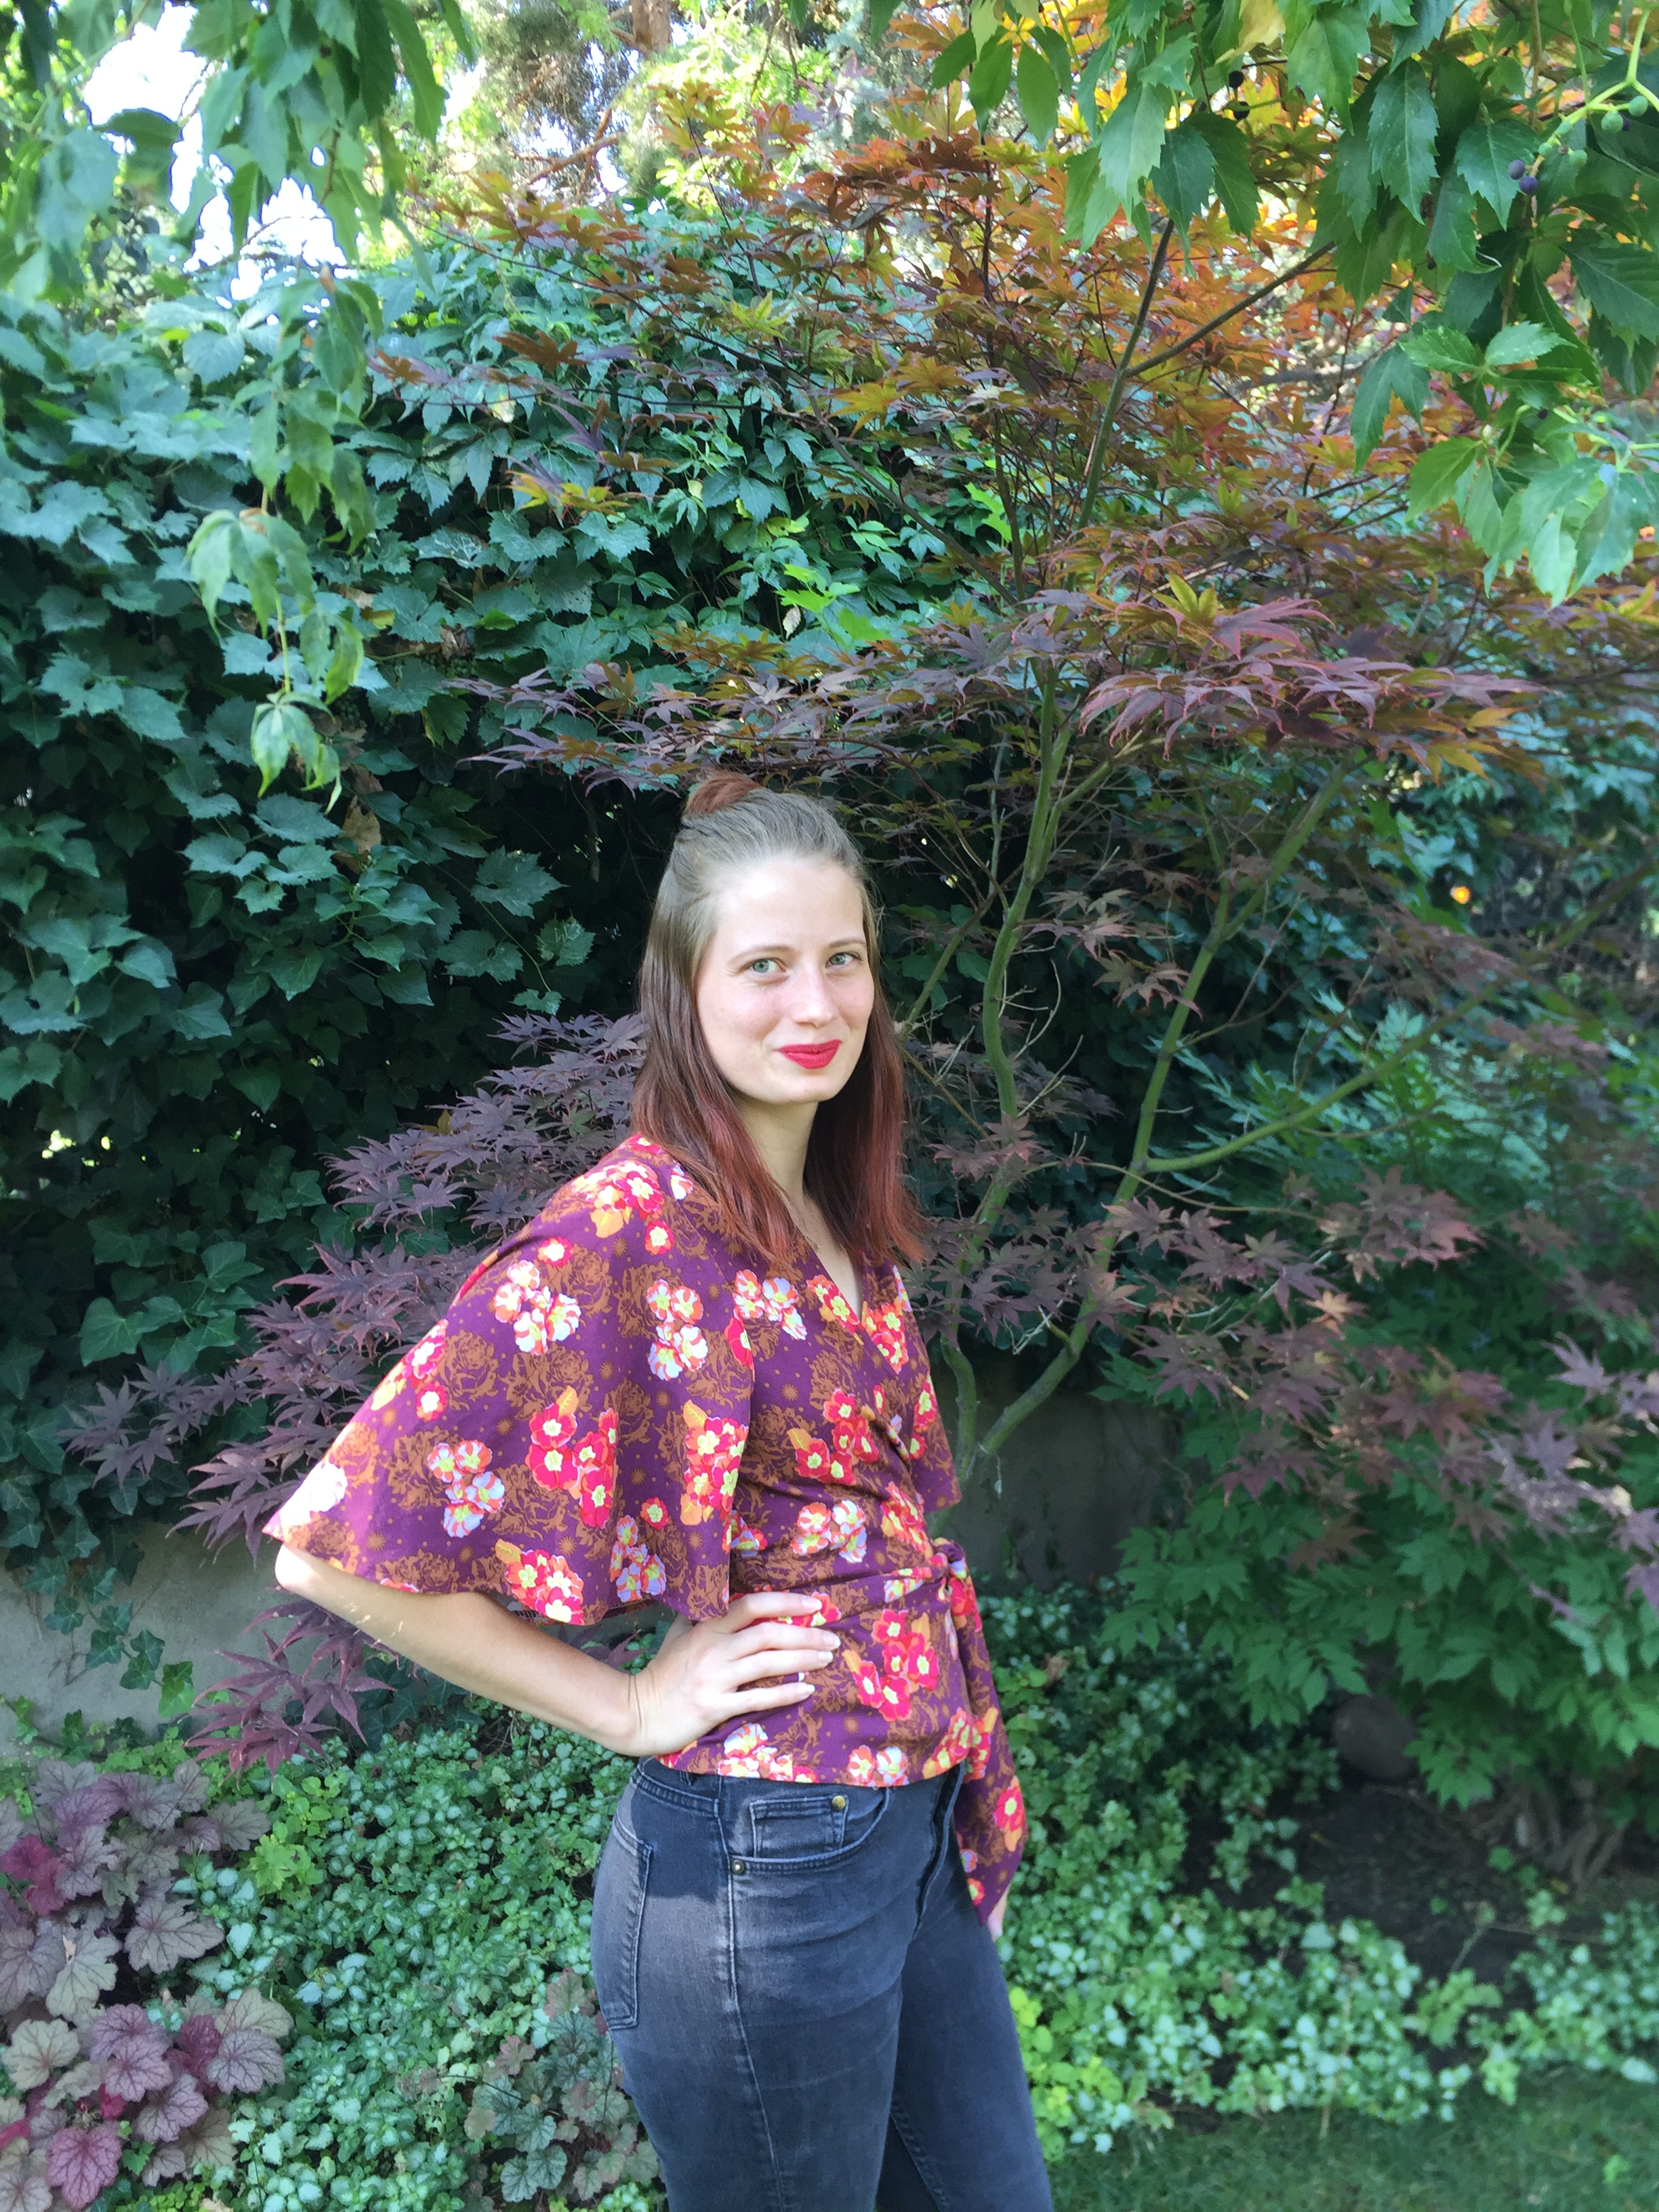
After spending at least 45 minutes admiring everything in store, I finally settled on this gorgeous Pretty Potent rayon by Anna Maria Horner and the 1930’s Butterfly Blouse pattern by Decades of Style. Until this top, I’d never actually made a wrap style blouse and thought it would be an unexpected addition to my wardrobe full of Scout Tees, sweatshirts, and button-ups. Upon returning home, I immediately pre-washed my fabric and started cutting.

image

Tracing and cutting went pretty quickly as there are only 4 different pattern pieces (left and right front bodice pieces are mirror images). Sewing was not terribly difficult, but did take a little concentration because of the rayon’s drape and the top-stitching technique used to attach the sleeve pieces to the bodice. I’ve top-stitched plenty of times, but using top-stitching as a way to attach pieces was new to me. This technique combined with the shape of the pattern creating these gorgeous style lines you see on the back. The curves took a bit of patience, but the final product was worth it.

image

image

Now that I’ve had this blouse for nearly four months, I can say that it’s become somewhat of a staple. I find myself reaching for it every time I want to feel especially feminine or pretty. The wrap neckline is just low enough to feel a bit sexy without being overly revealing which also makes it very practical for most occasions. It’s been worn for multiple date nights and it’s even comfortable enough to wear while chasing my son at the park.

image

I’m hoping one day I’ll find time to hack this pattern into a dress because it’s basically begging to be one. Don’t you think?

Bonn Shirt Turned Maxi Dress

Back in September, I had the opportunity to test the Bonn Shirt pattern by Itch to Stitch Designs. Read about it here. I fell in love with the fit of the top, but wanted to do something a bit more dramatic. After making Simplicity 8084 and seeing this dress, the idea for a Bonn maxi dress was born.

dsc_0479
Wooden buttons purchased from Arrow Mountain.

dsc_0485

While I love a good curve hugging dress, they often aren’t practical for me to wear outside of special occasions.  I wanted this dress to be a bit fitted around the bust and fall straight down from the hips. With that silhouette in mind, modifying the Bonn Shirt to a maxi was really quite simple.The Bonn pattern actually includes a knee-length dress option, but modifying the shirt pattern pieces worked better for my specific fit goals.  At the hips, I widened the front pattern pieces by 1″ and the back pieces by 1.5″ to give a comfortable amount of ease. I made notches in the pattern to match the front and back pieces at the hips. Once the notches were made, I added about 40″ to the length ( I measured my desired length at the center back and at the underarm seams to determine this). I added the length straight down from the hip line on front and back, continuing the front button placket all the way to the hem. I added the same amount of length to the placket interfacing piece. I love the way my Simplicity 8084 maxi buttons to the knee and used a total of 12 buttons to copy that look.

dsc_0581

Modifying the Bonn Shirt pattern turned out to be the least challenging aspect of making this dress. I’ve been working with lots of deadlines and only allowed myself to work on this for an hour or two after meeting my productivity goals for other projects. This led to a lot of late night sewing mistakes.

First, The back dress piece on a loose pin and created a  0.5″ hole right in the middle. Solution number 1: I sliced a 1″ strip out of the back and pieced in a new strip. The wild print is great at hiding my Frankenstein style strip and it’s really not noticeable unless you’re within 10 inches of my back.

Second, I cut the left sleeve completely crooked. Honestly, I don’t even know how it got so crooked. it was off by inches. Solution number 2: This one was easy. I had just enough leftover fabric so I re-cut the sleeve. While this was a simple solution it still added about a half hour to my limited sewing time.

Third,  I hemmed the dress in the middle of the night and didn’t have anyone to help me mark the hem. I usually don’t have too much trouble with this, but the maxi length combined with the drape of the fabric made it complicated. It ended up taking about three times as long after I cut the hem at a slight angle. Solution number 3: Keep trying.

dsc_0472
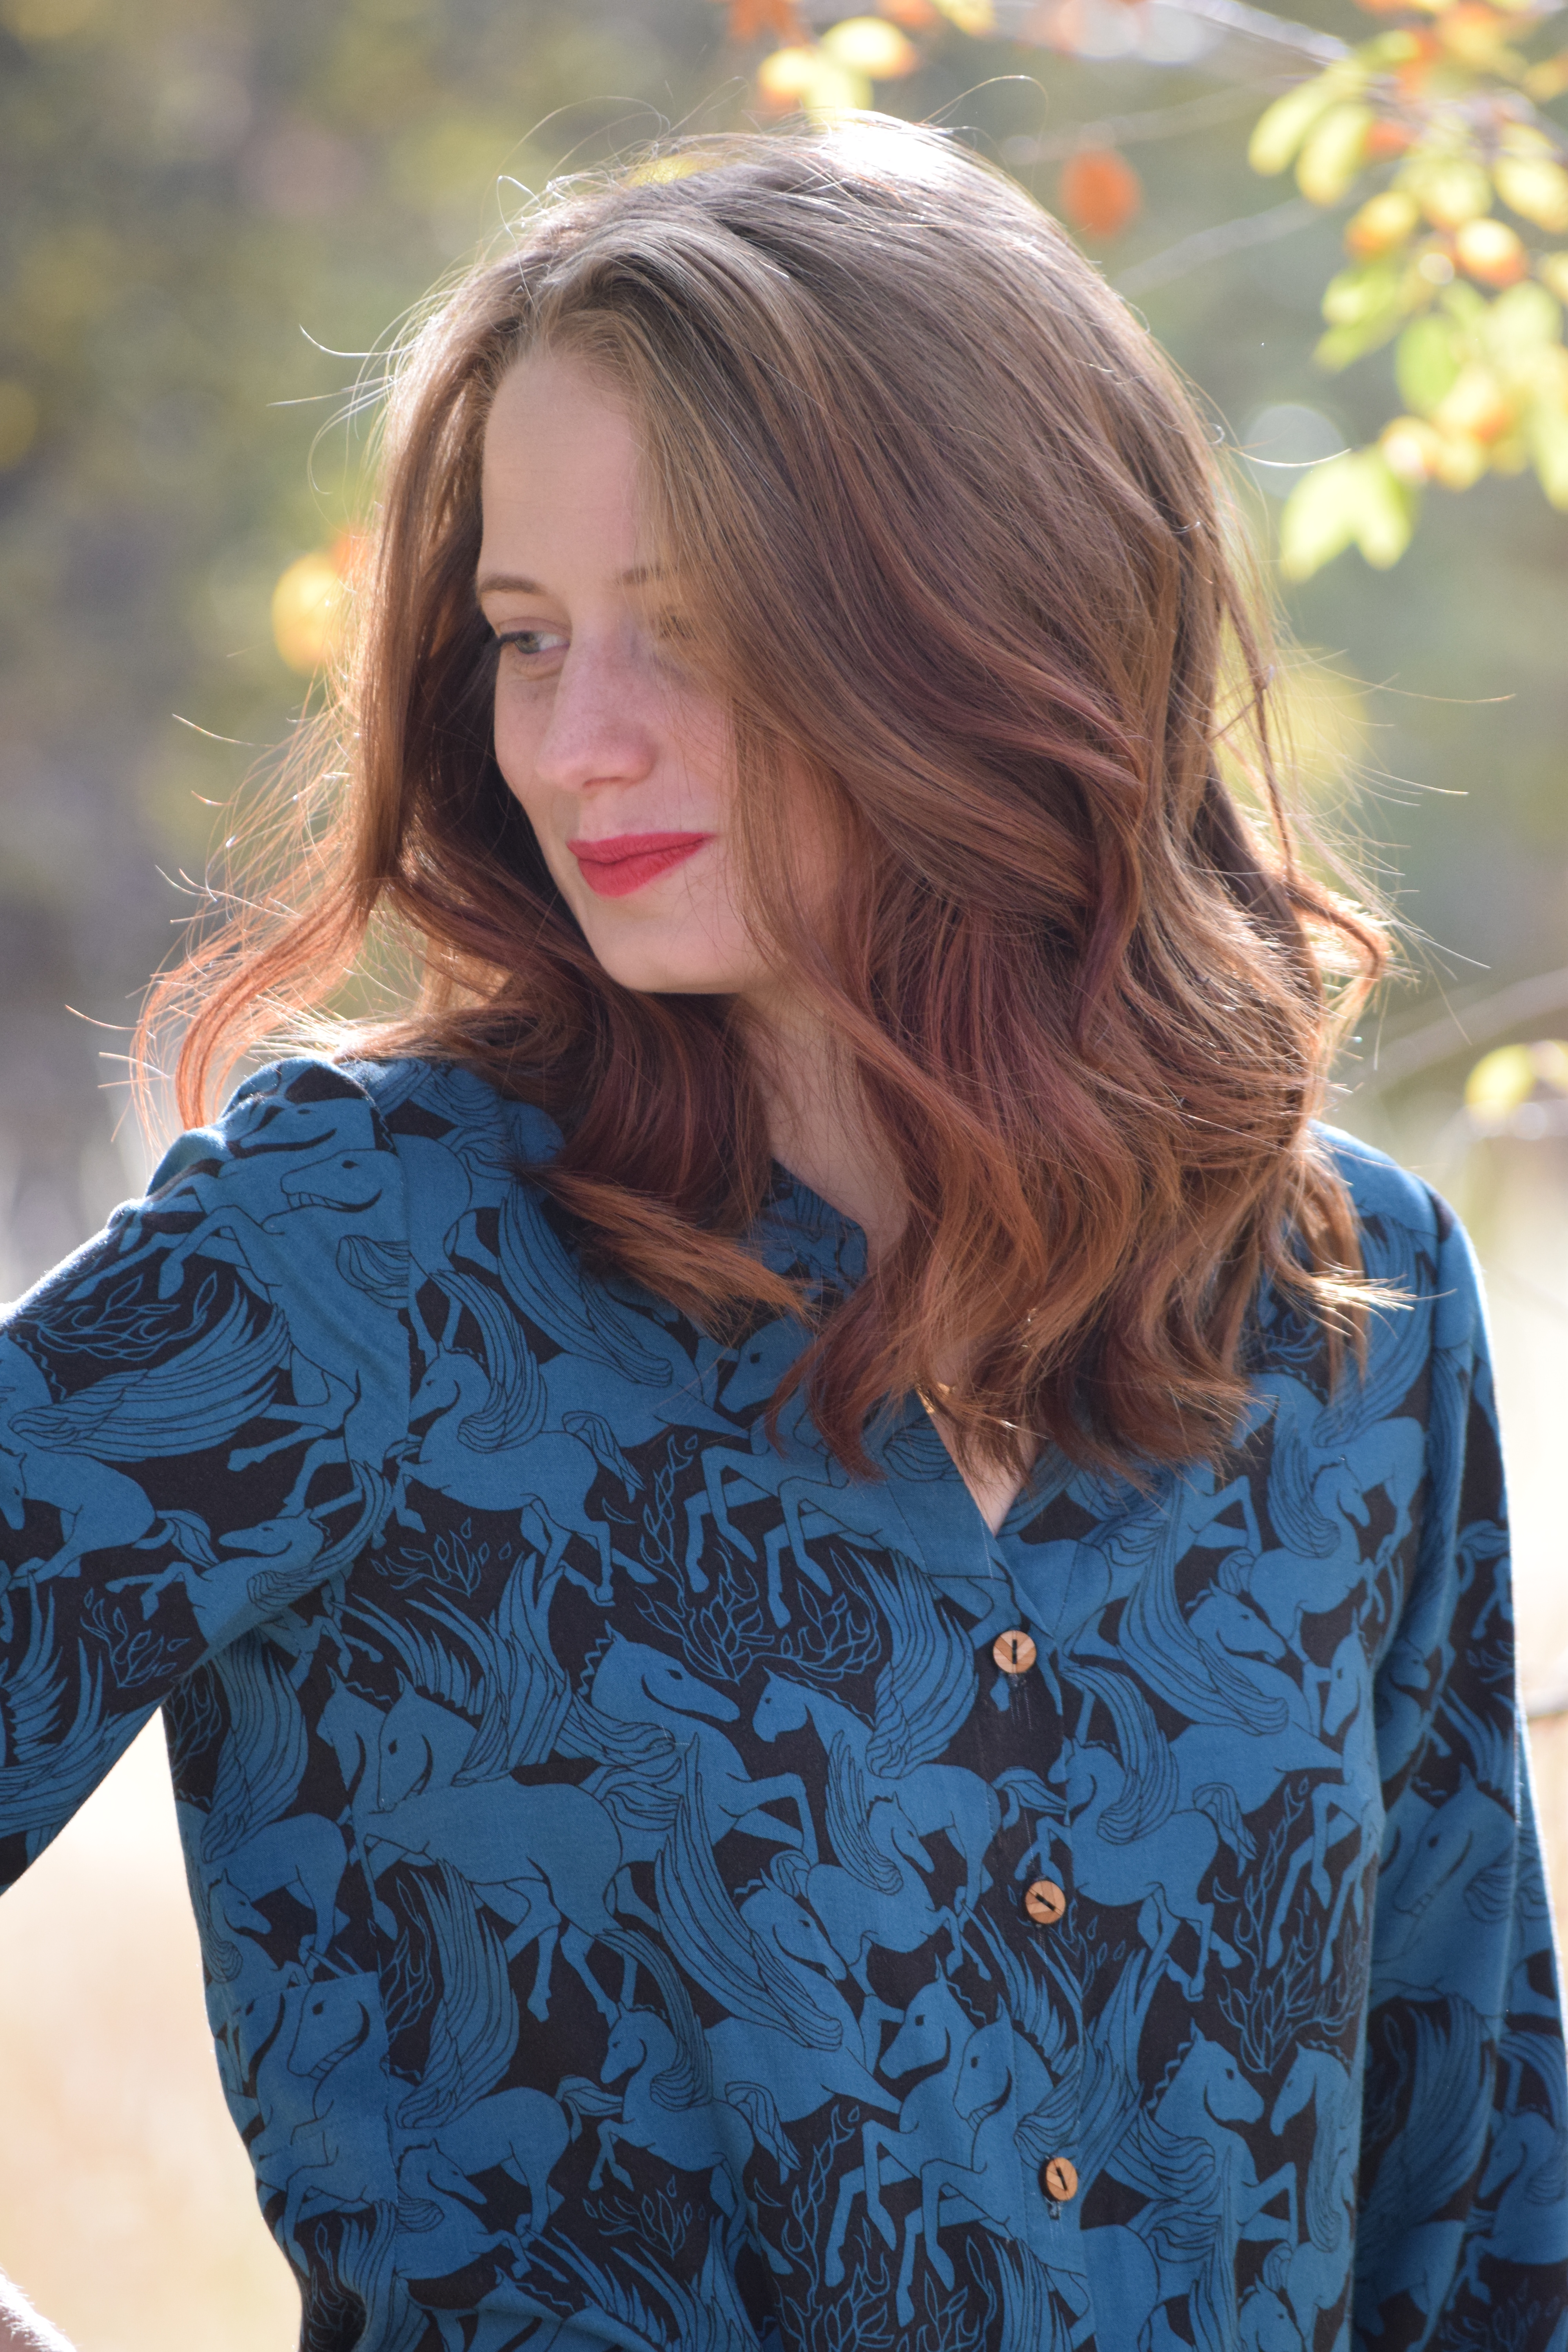
Fabric is Helios rayon by Anna Maria Horner

This dress turned out to be such a rewarding project and I’m delighted that I decided to stick with it through the frustrations.It’s the perfect cross between an evening dress and comfortable nightgown, which is exactly what I’d envisioned. I’ve been anxious while considering so many facets of the future and this dress was therapeutic for me. Taking something and making it my own while working through the imperfections was just what I needed. It was a good reminder that mistakes and difficulties can still combine to make something wonderful. Was that too much? Thanks for sticking with me. Here are a few more photos and a sneak peek at my goofy family.

img_7673

dsc_0465


Bonn Shirt

I had already agreed to another pattern testing commitment when Kennis Wong of Itch to Stitch sent out a call for Bonn Shirt and Dress testers. I knew immediately that I had to apply even if it meant staying up a little later to sew each evening. It was all worth it for this beautifully designed top.

DSC_0711

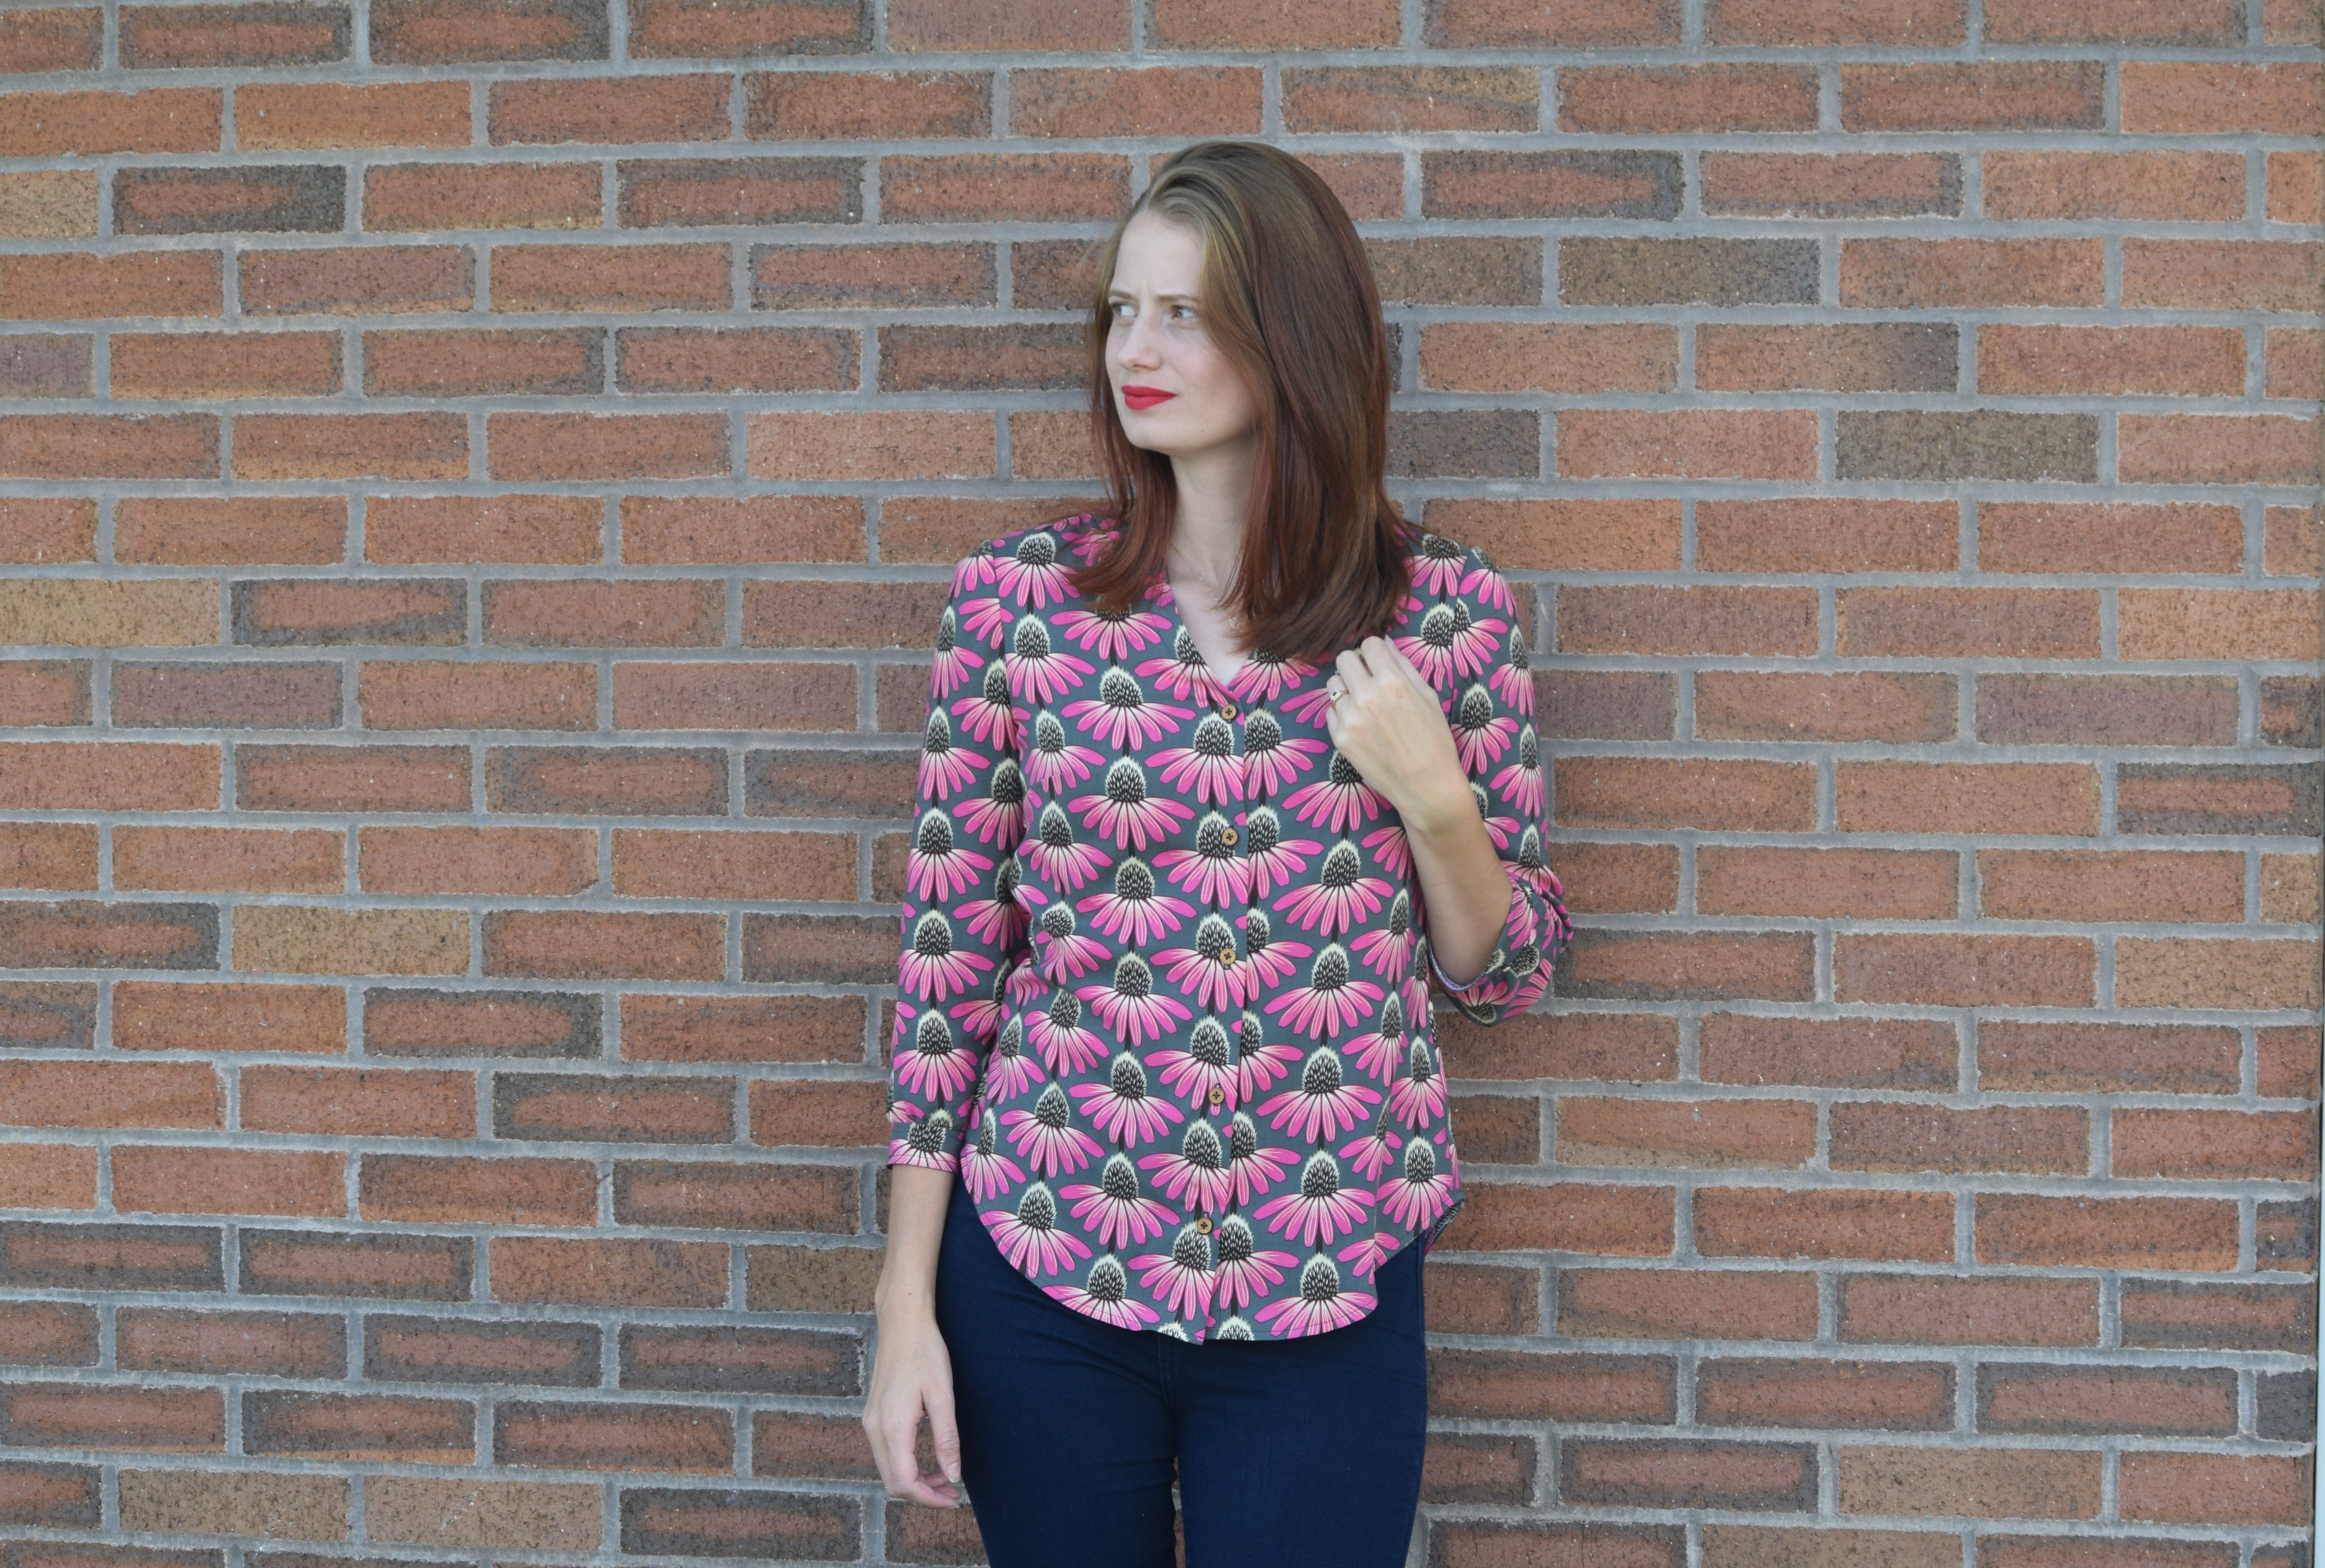
The Bonn Shirt pattern has a dress and top option along with four different sleeve variations. Sizes 00-20 are included in the PDF pattern (purchase here) which is on sale for 20% off (regularly $12). Also included in the pattern are separate bodice pieces for A-DD cup sizes. I sewed the shirt version with 3/4 sleeves in size 2 with an A cup and graded to a 4 at the hips.

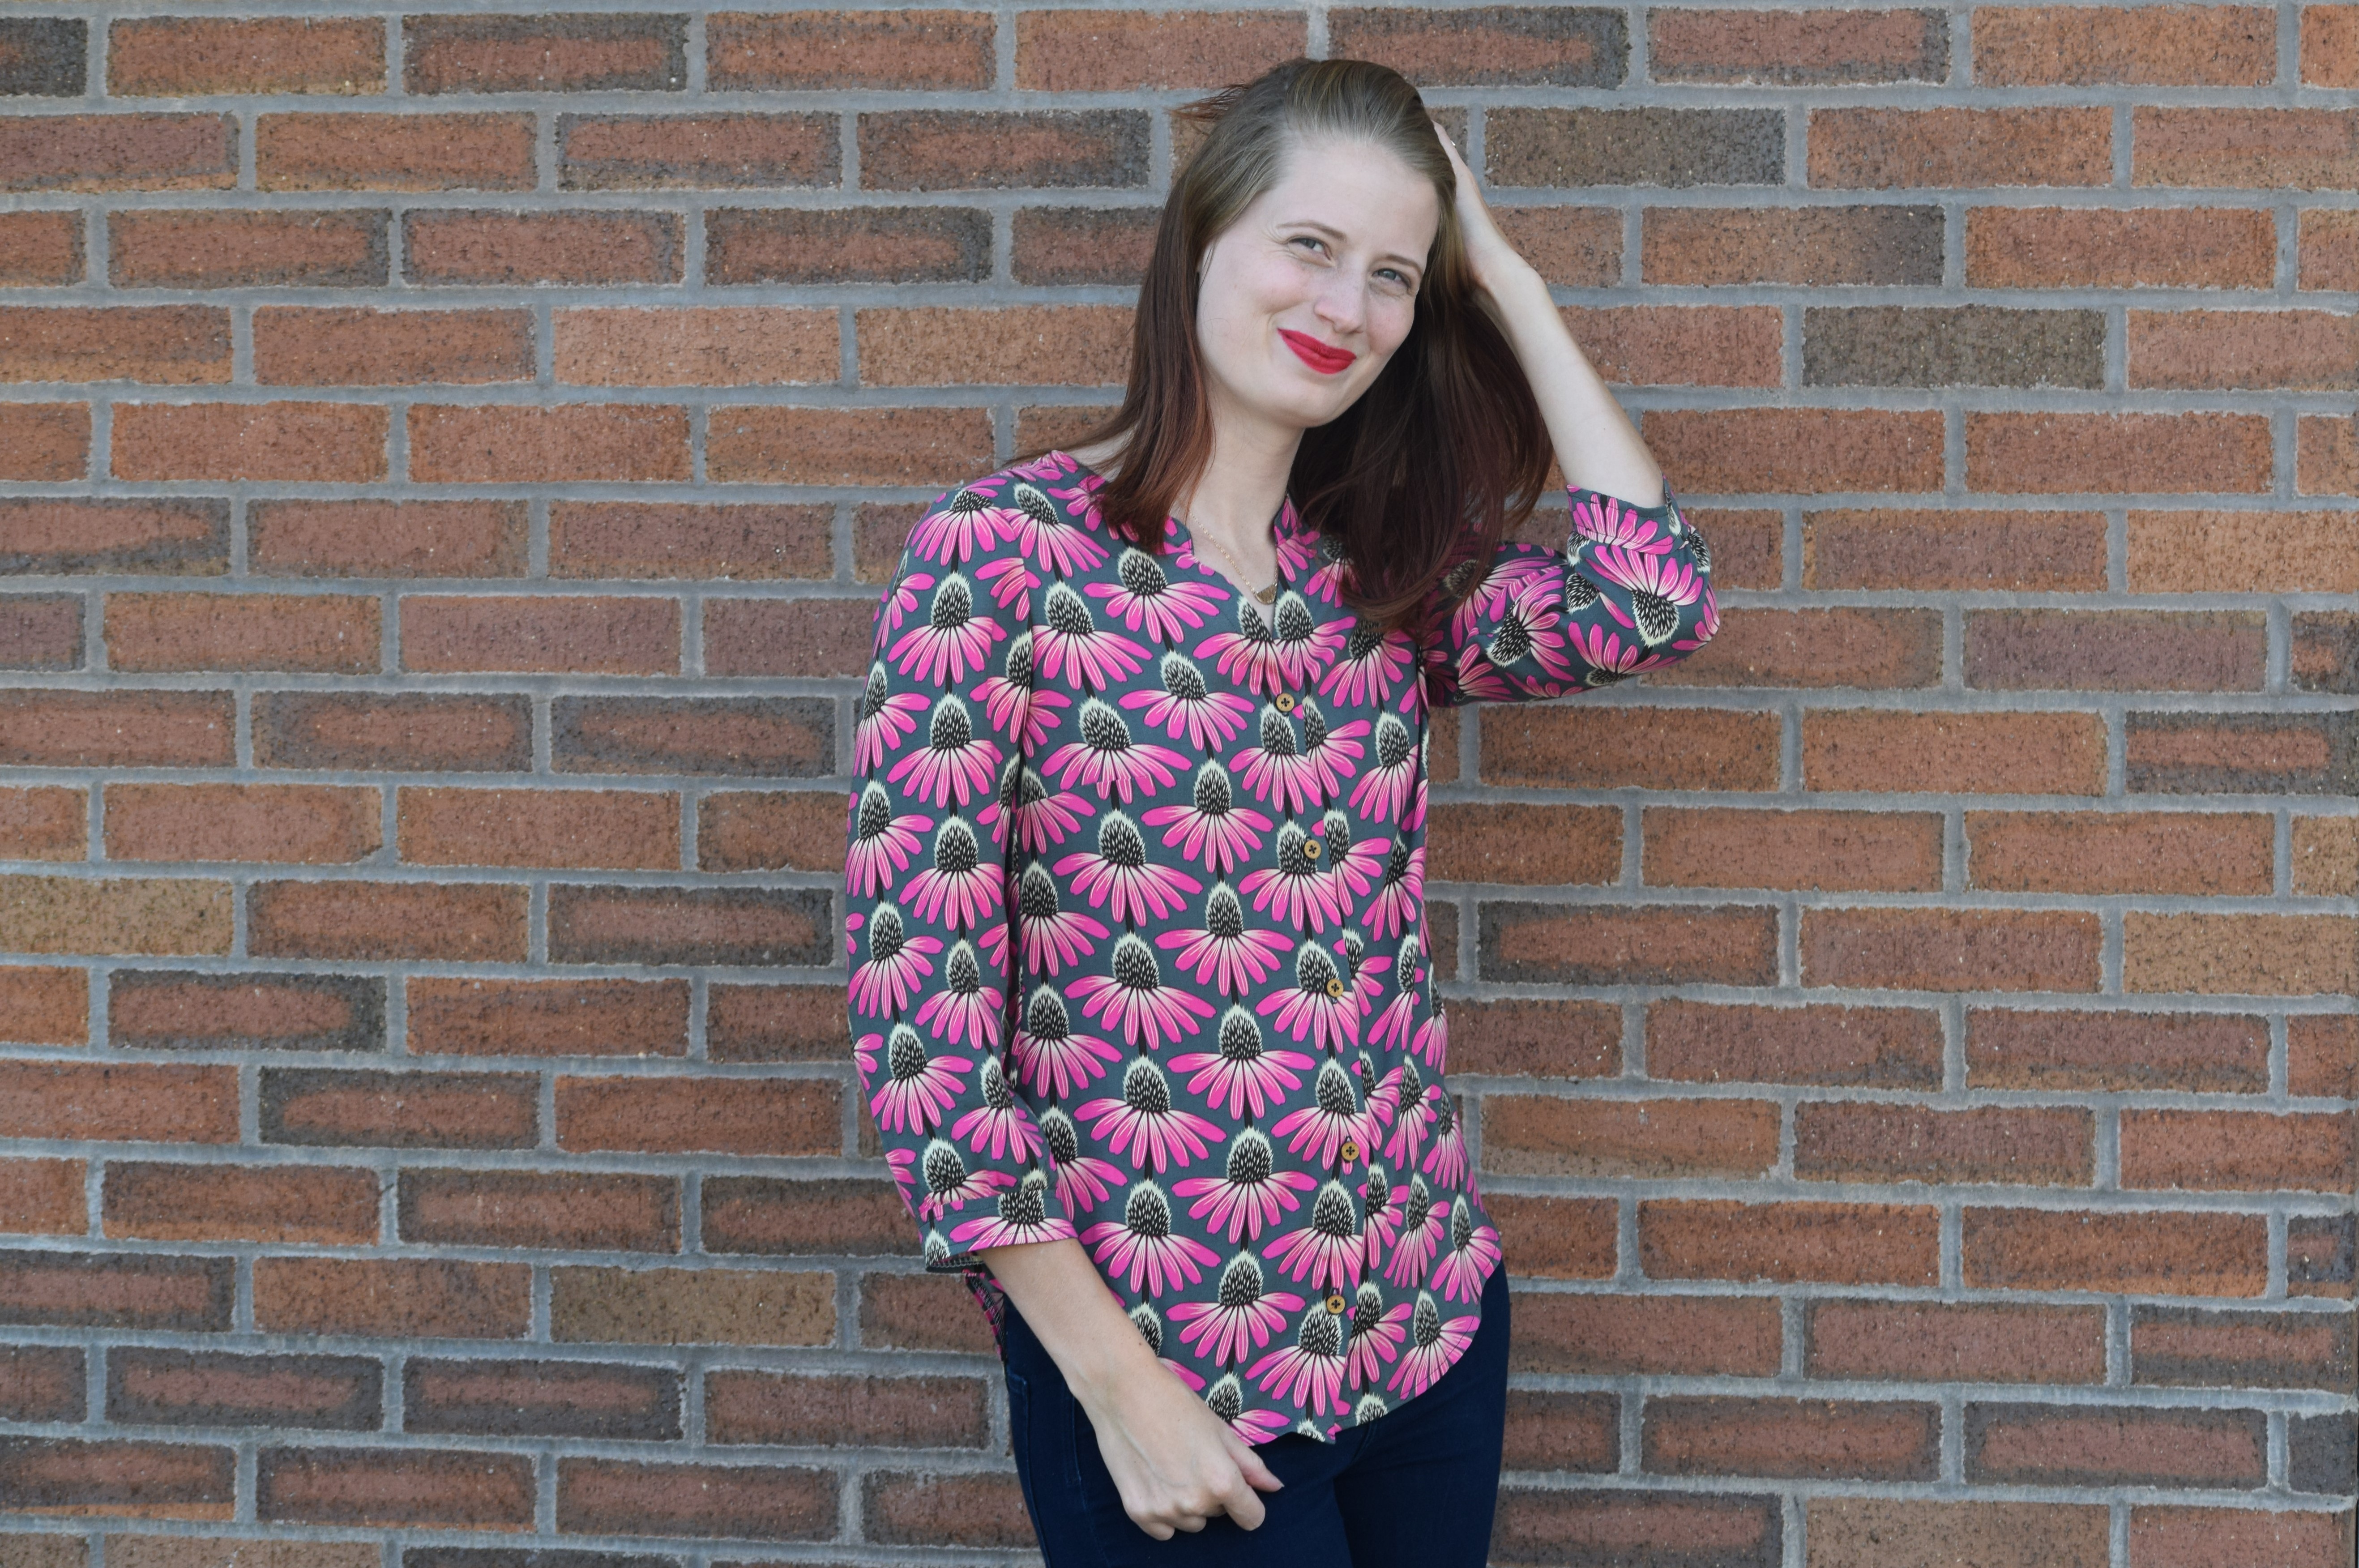
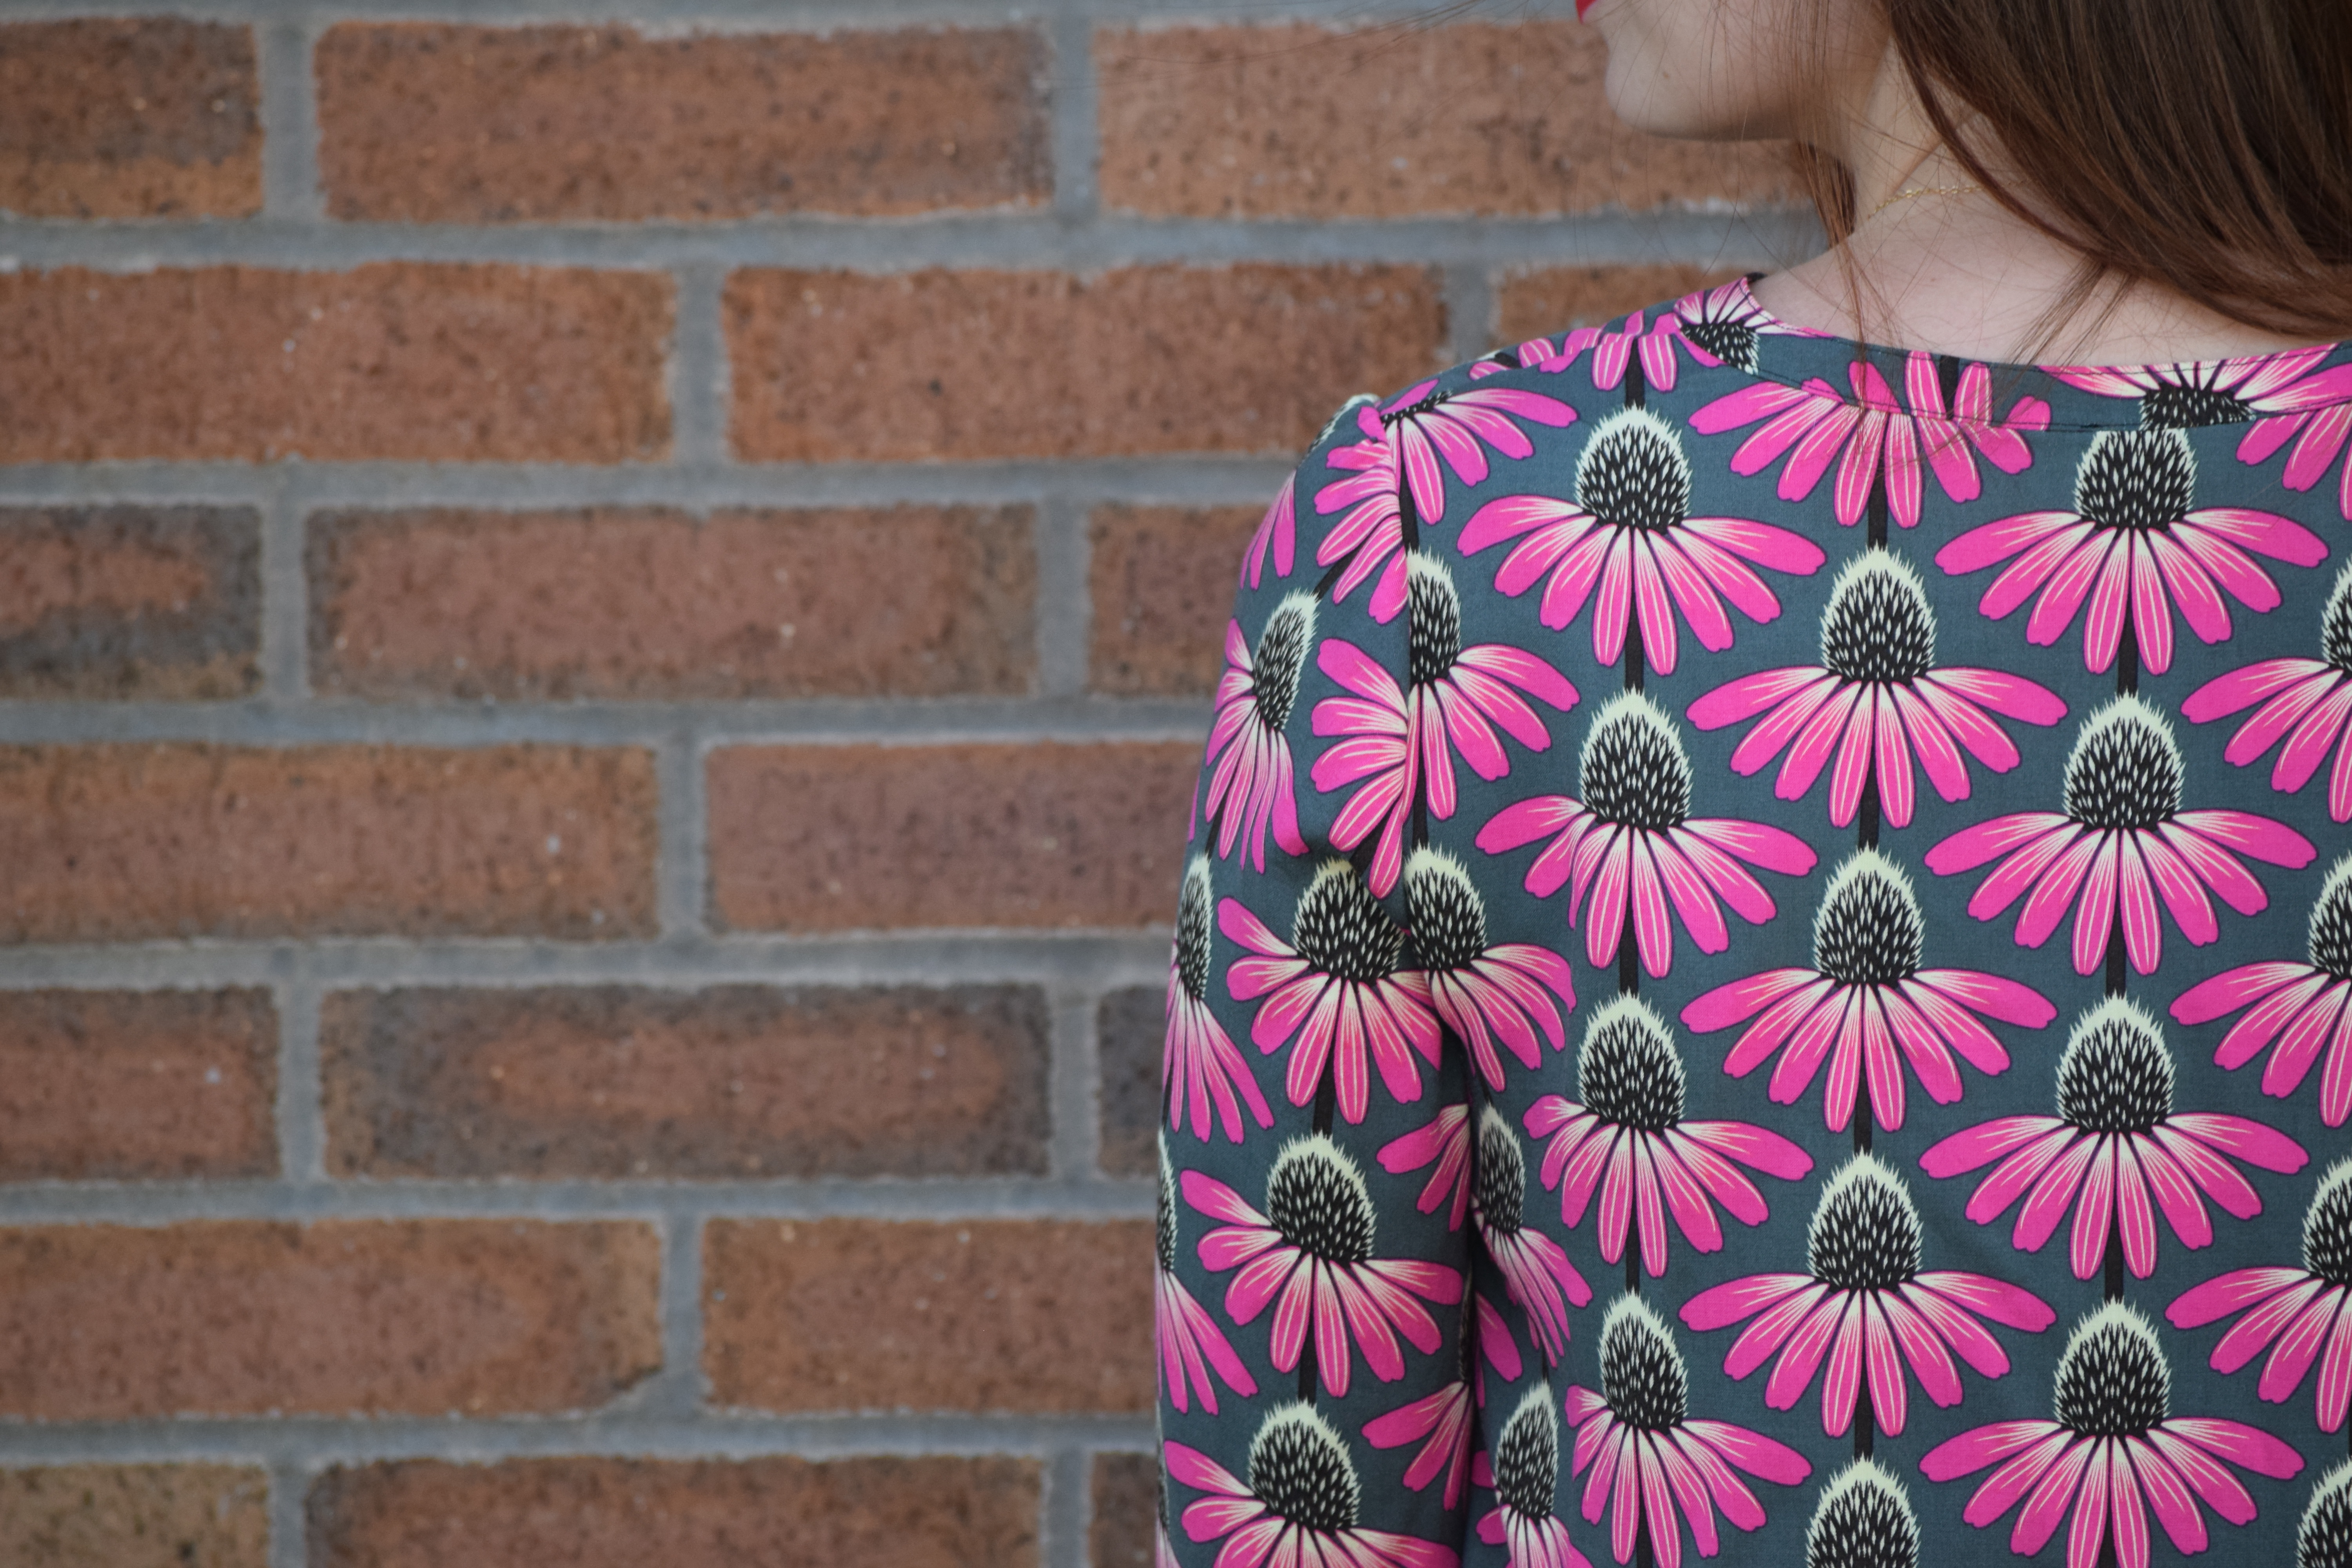
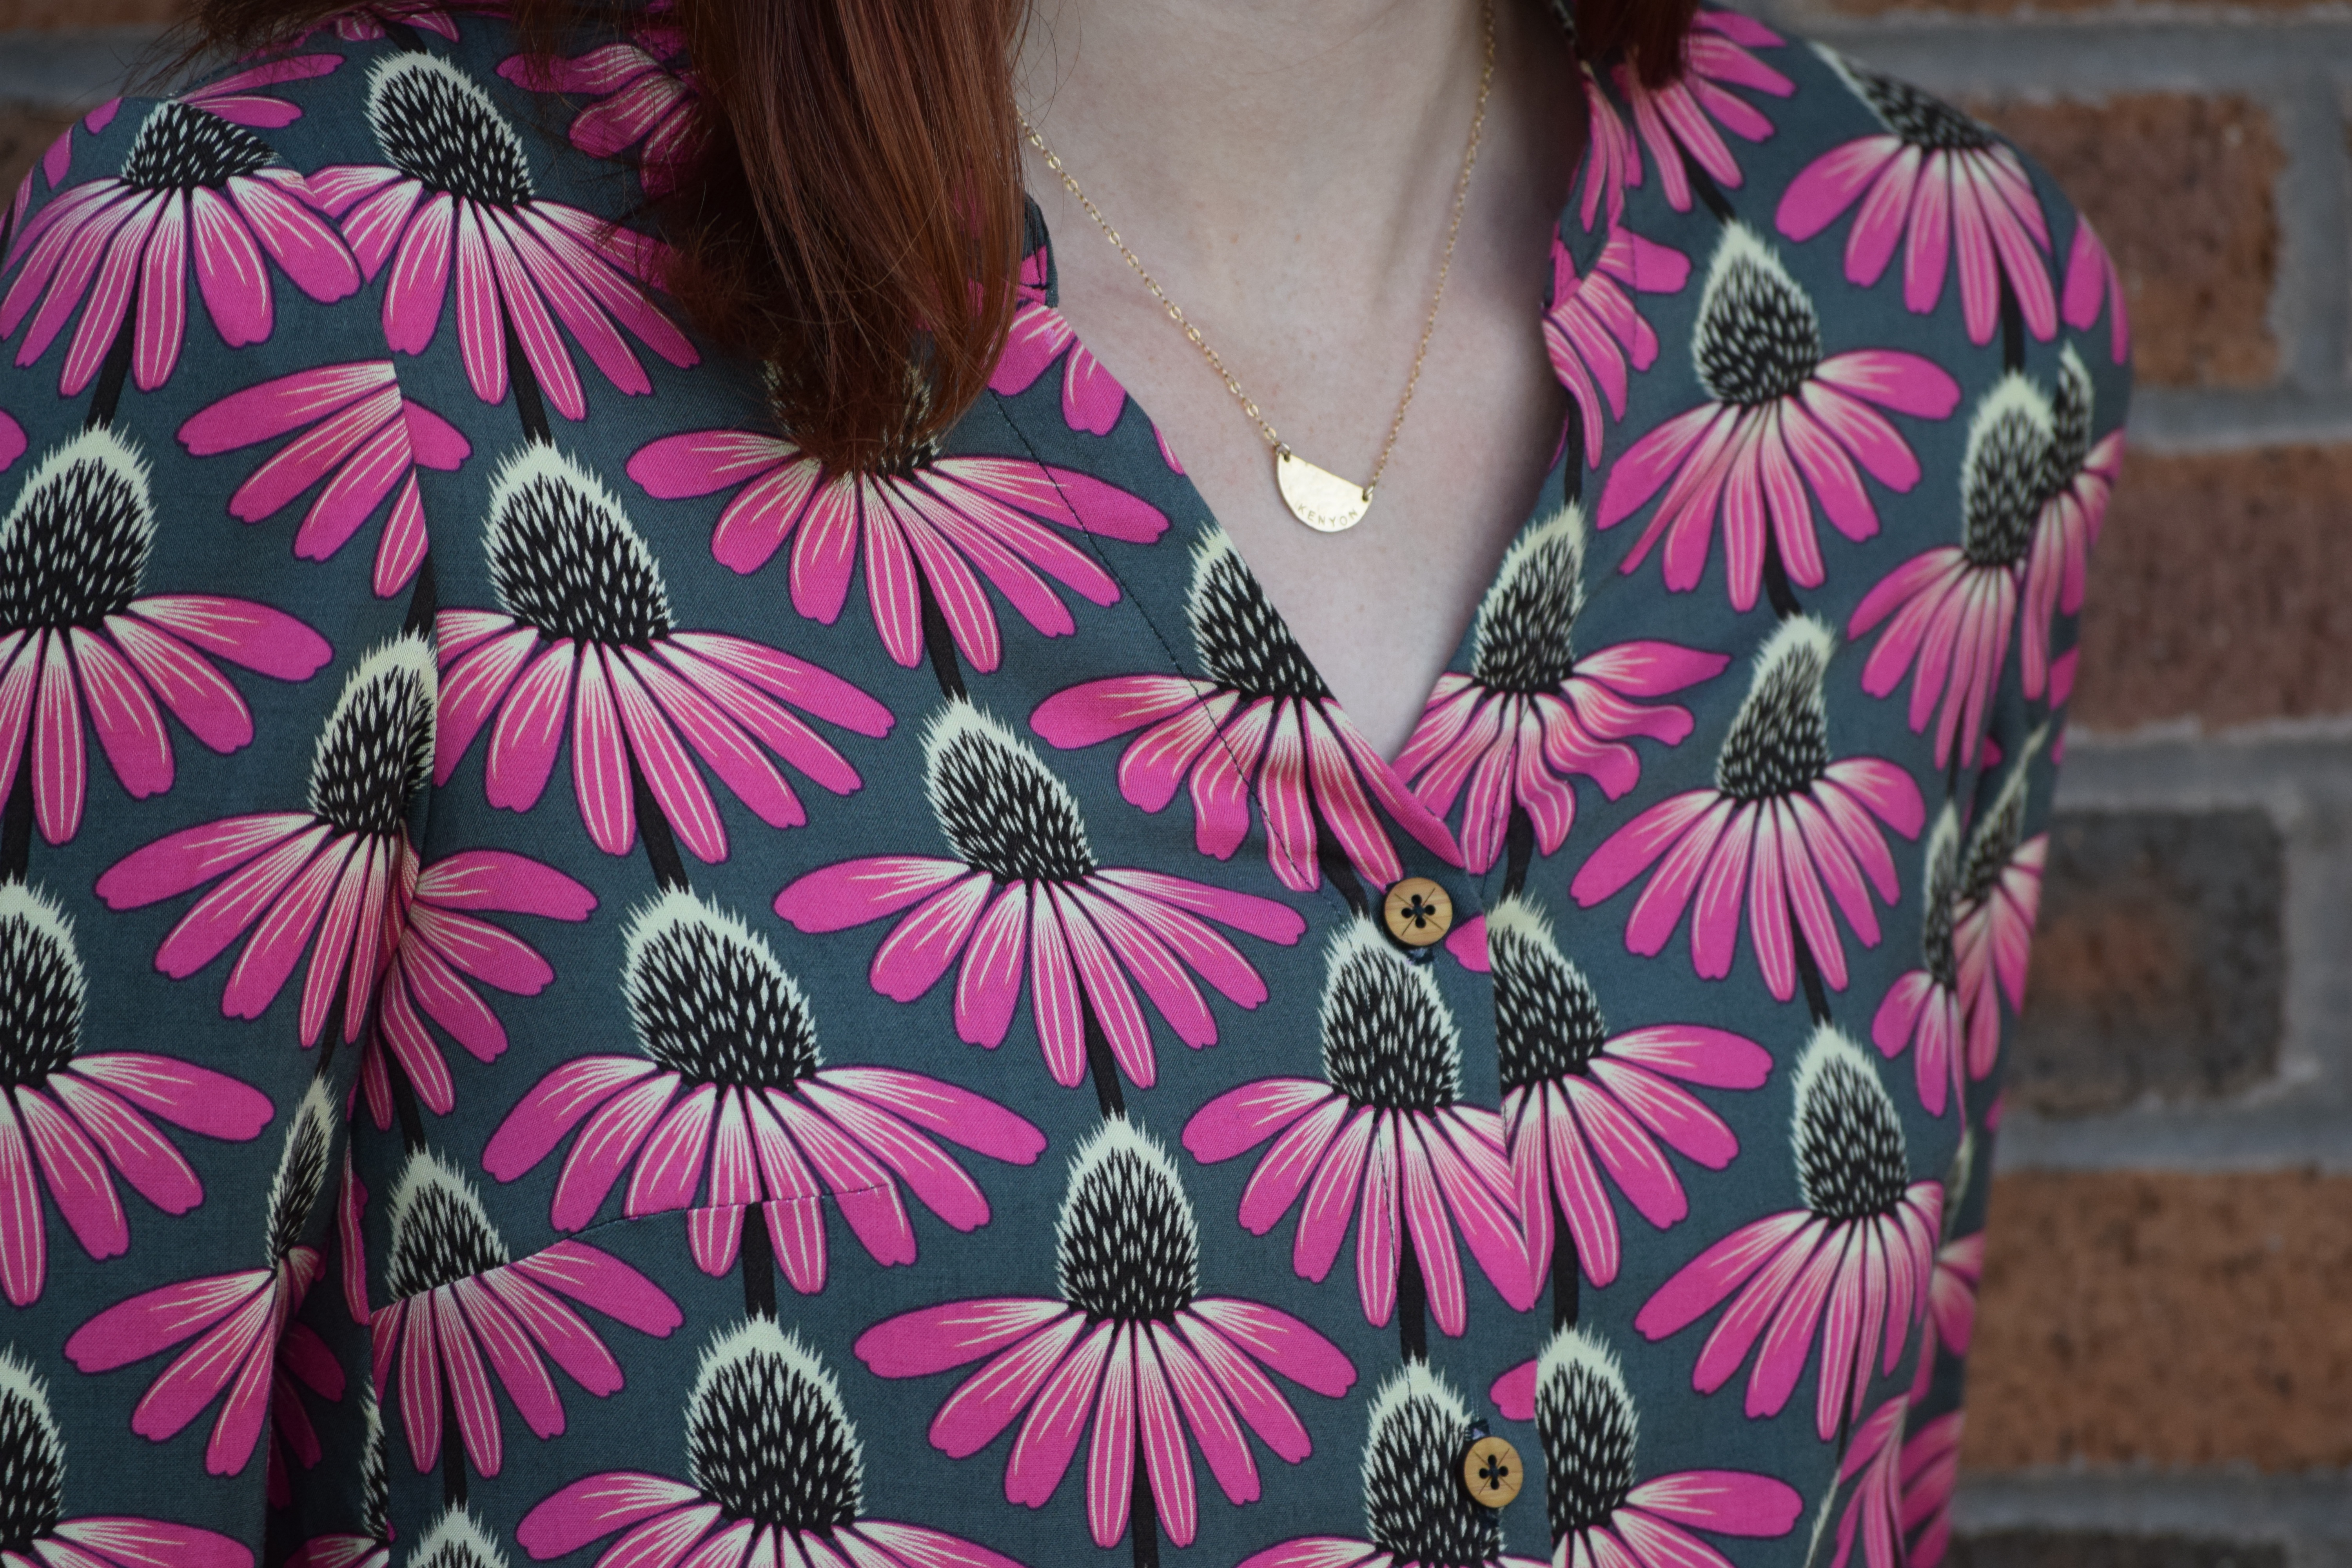
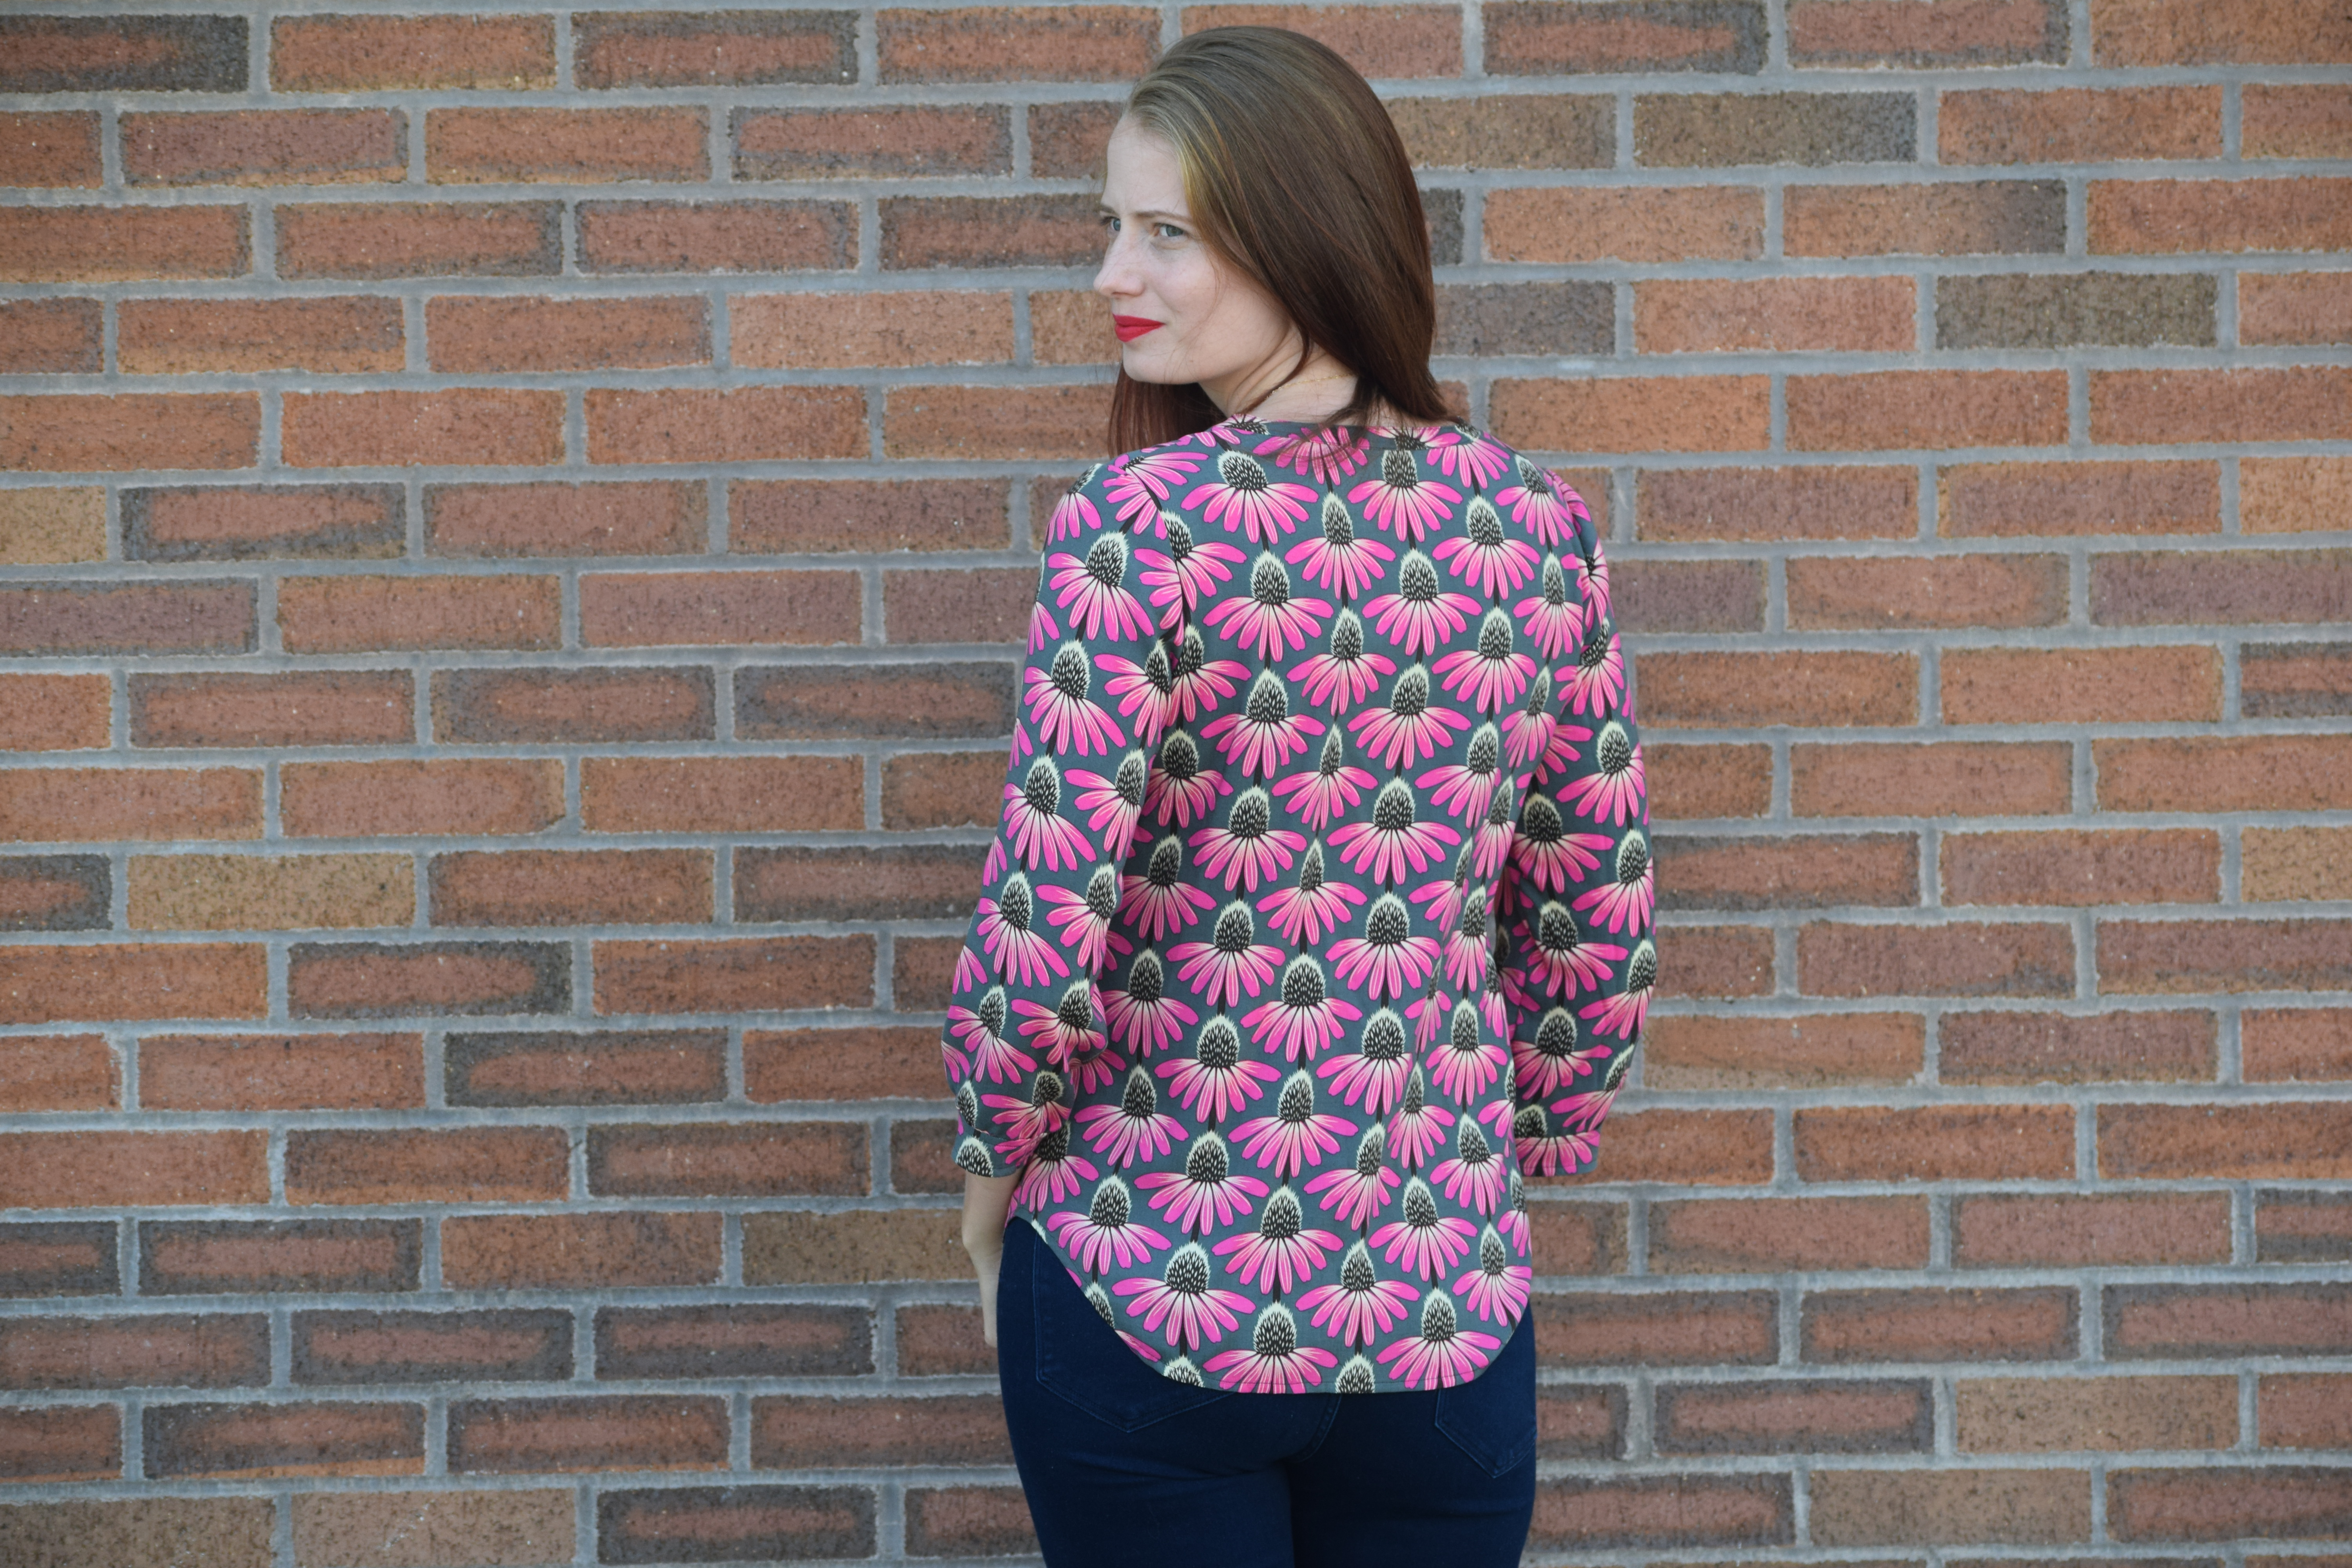
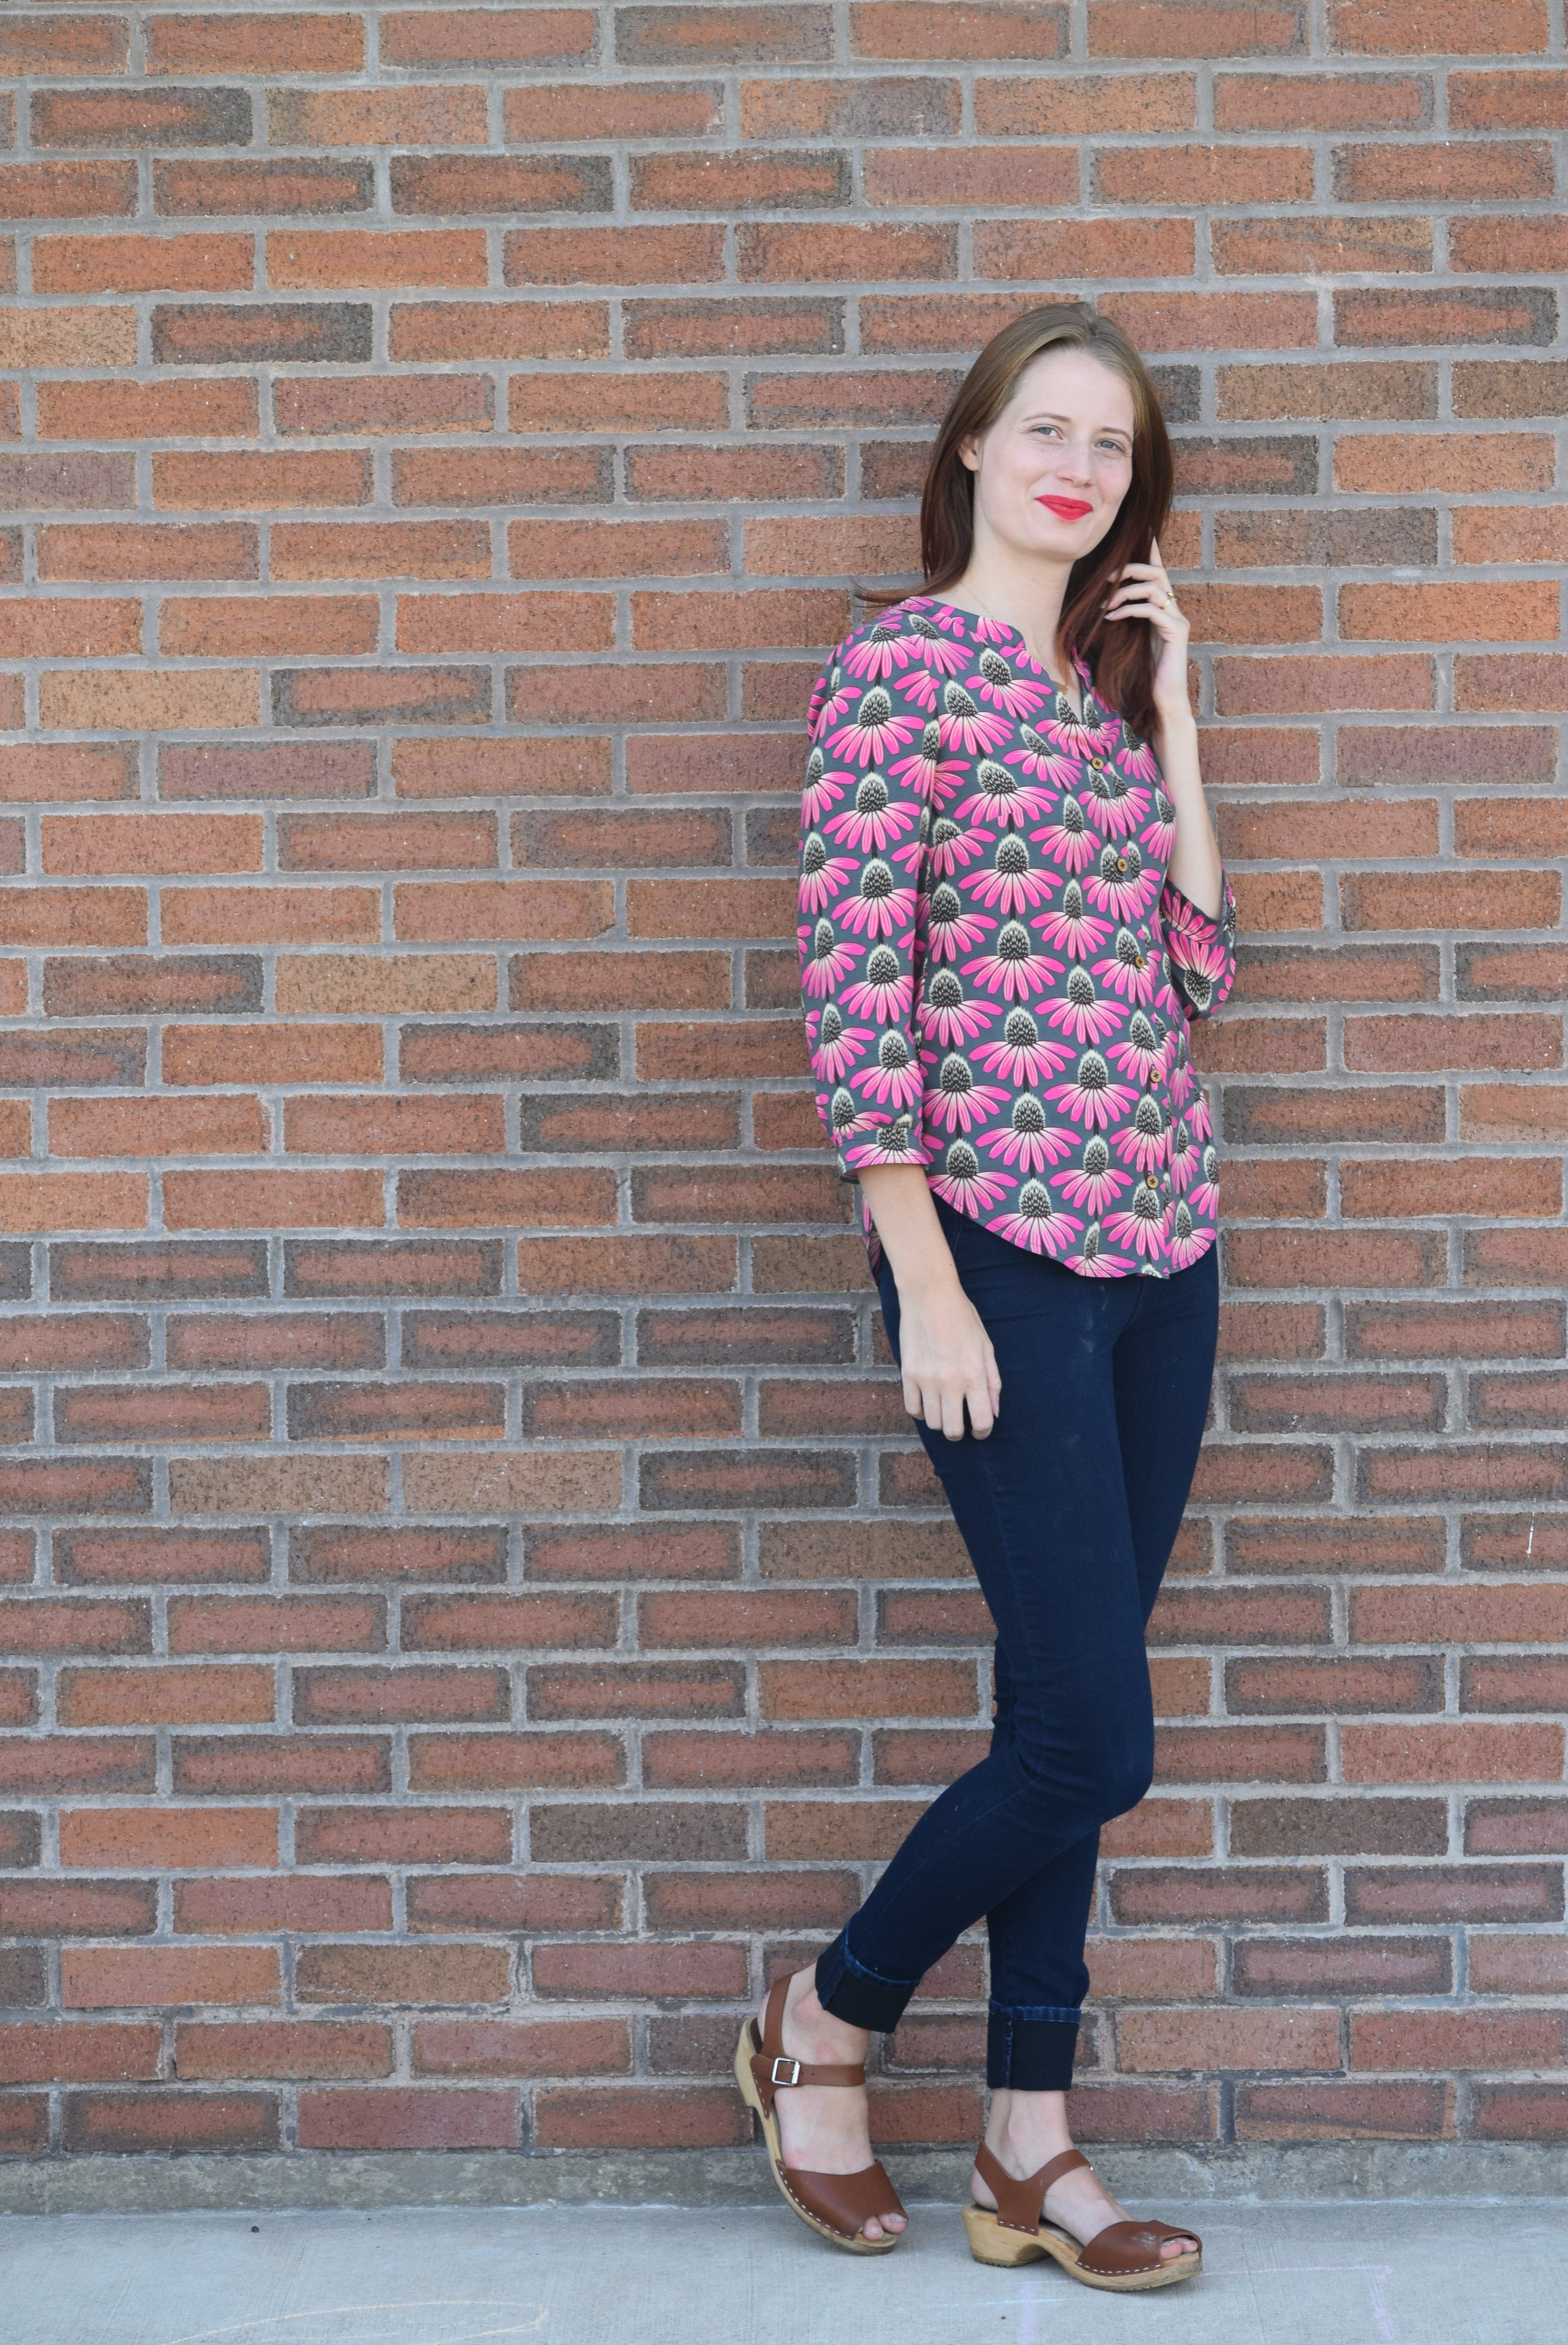
I chose to sew my final top in this Echinacea print rayon by Anna Maria Horner; which is really no surprise if you’ve seen my current handmade wardrobe. The rayon was a little trickier to sew than the mystery poly-cotton blend used for my muslin, but the way the shirt drapes is well worth the extra effort. Let’s just take a moment to appreciate the grandeur of this print.

DSC_0719

My top came together fairly quick and was a satisfying sew. The impeccable drafting on this top made setting in the sleeves simple and stress free. I had the most difficulty when attaching the collar, which was still made simpler by Kennis’s detailed instructions and diagrams. There are also several skill tutorials on the Itch to Stitch blog that make things like setting in sleeves and attaching collars much easier. Even if you’re not planning on sewing up a Bonn Shirt or Dress you should plan on visiting her blog to find well-written tutorials on commonly used techniques. I’ll leave you with a few more photos of my Bonn Shirt so you see more angles and more fully appreciate the lovely drape of this rayon.

DSC_0726
I’ve become a wooden button convert after ordering these round shirt buttons from Arrow Mountain. I’ve already got another Etsy cart full of them and cannot wait to order more for use on some exciting future projects.


DSC_0690DSC_0714DSC_0738

Thanks for reading!