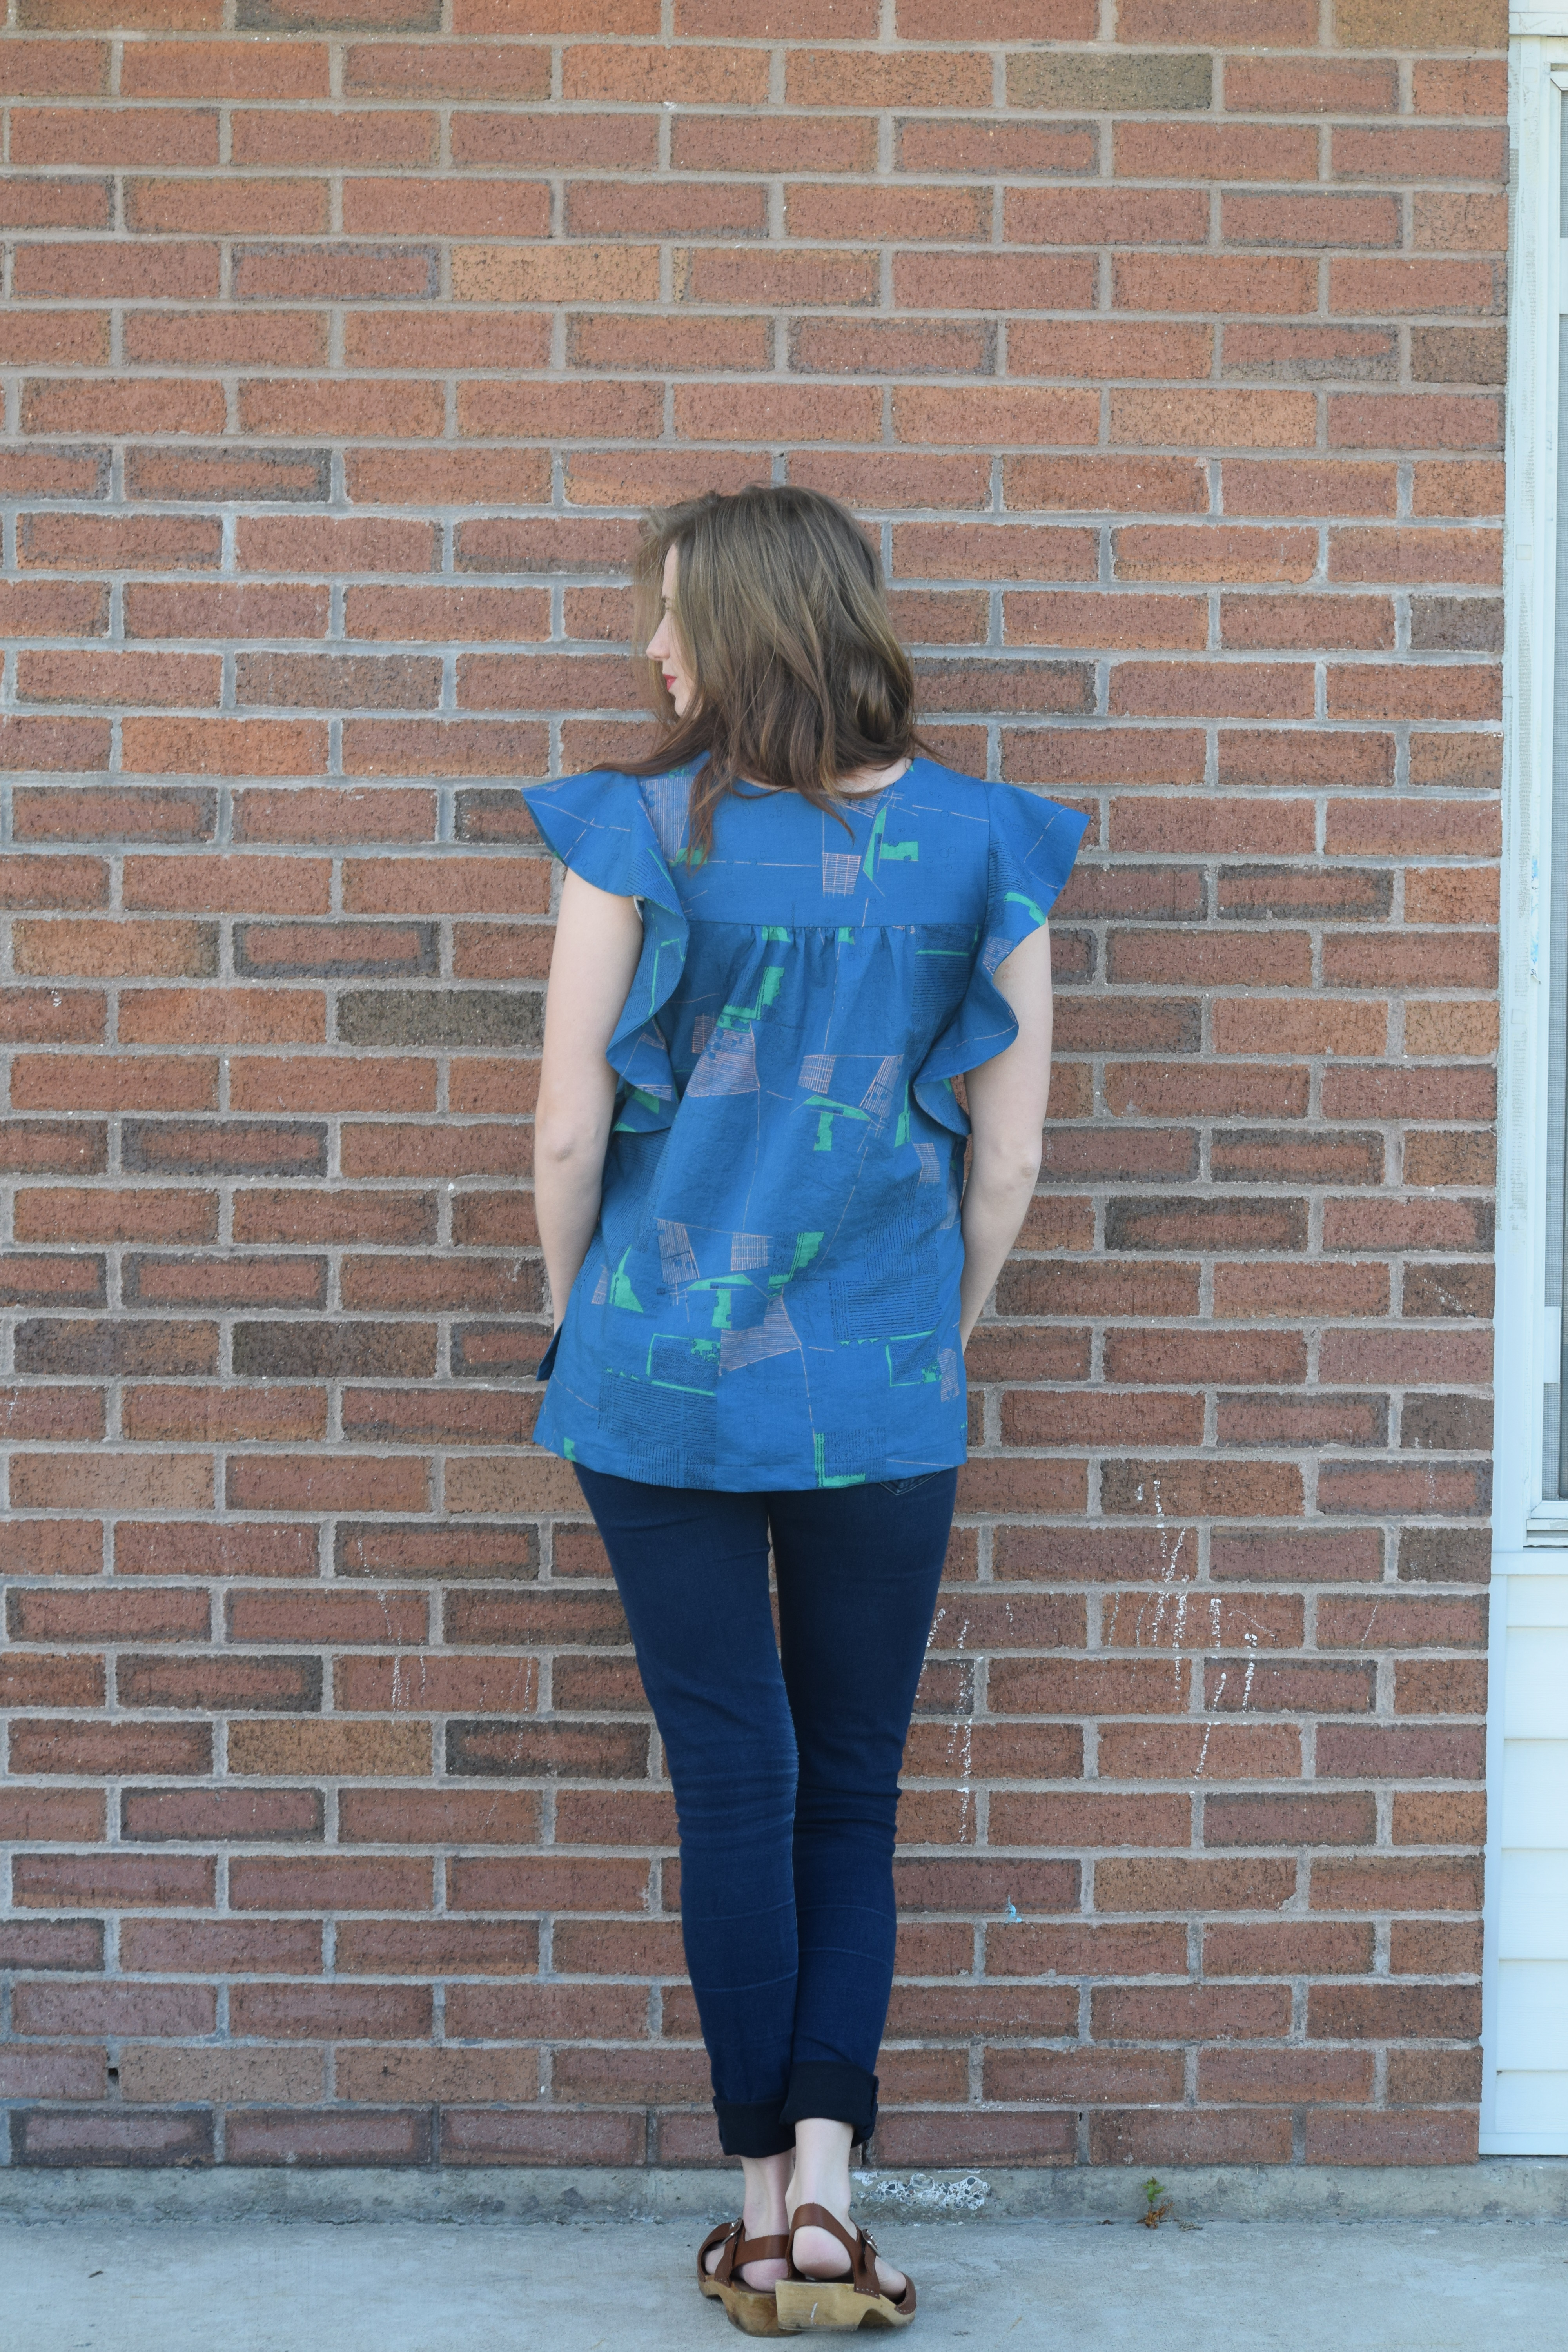
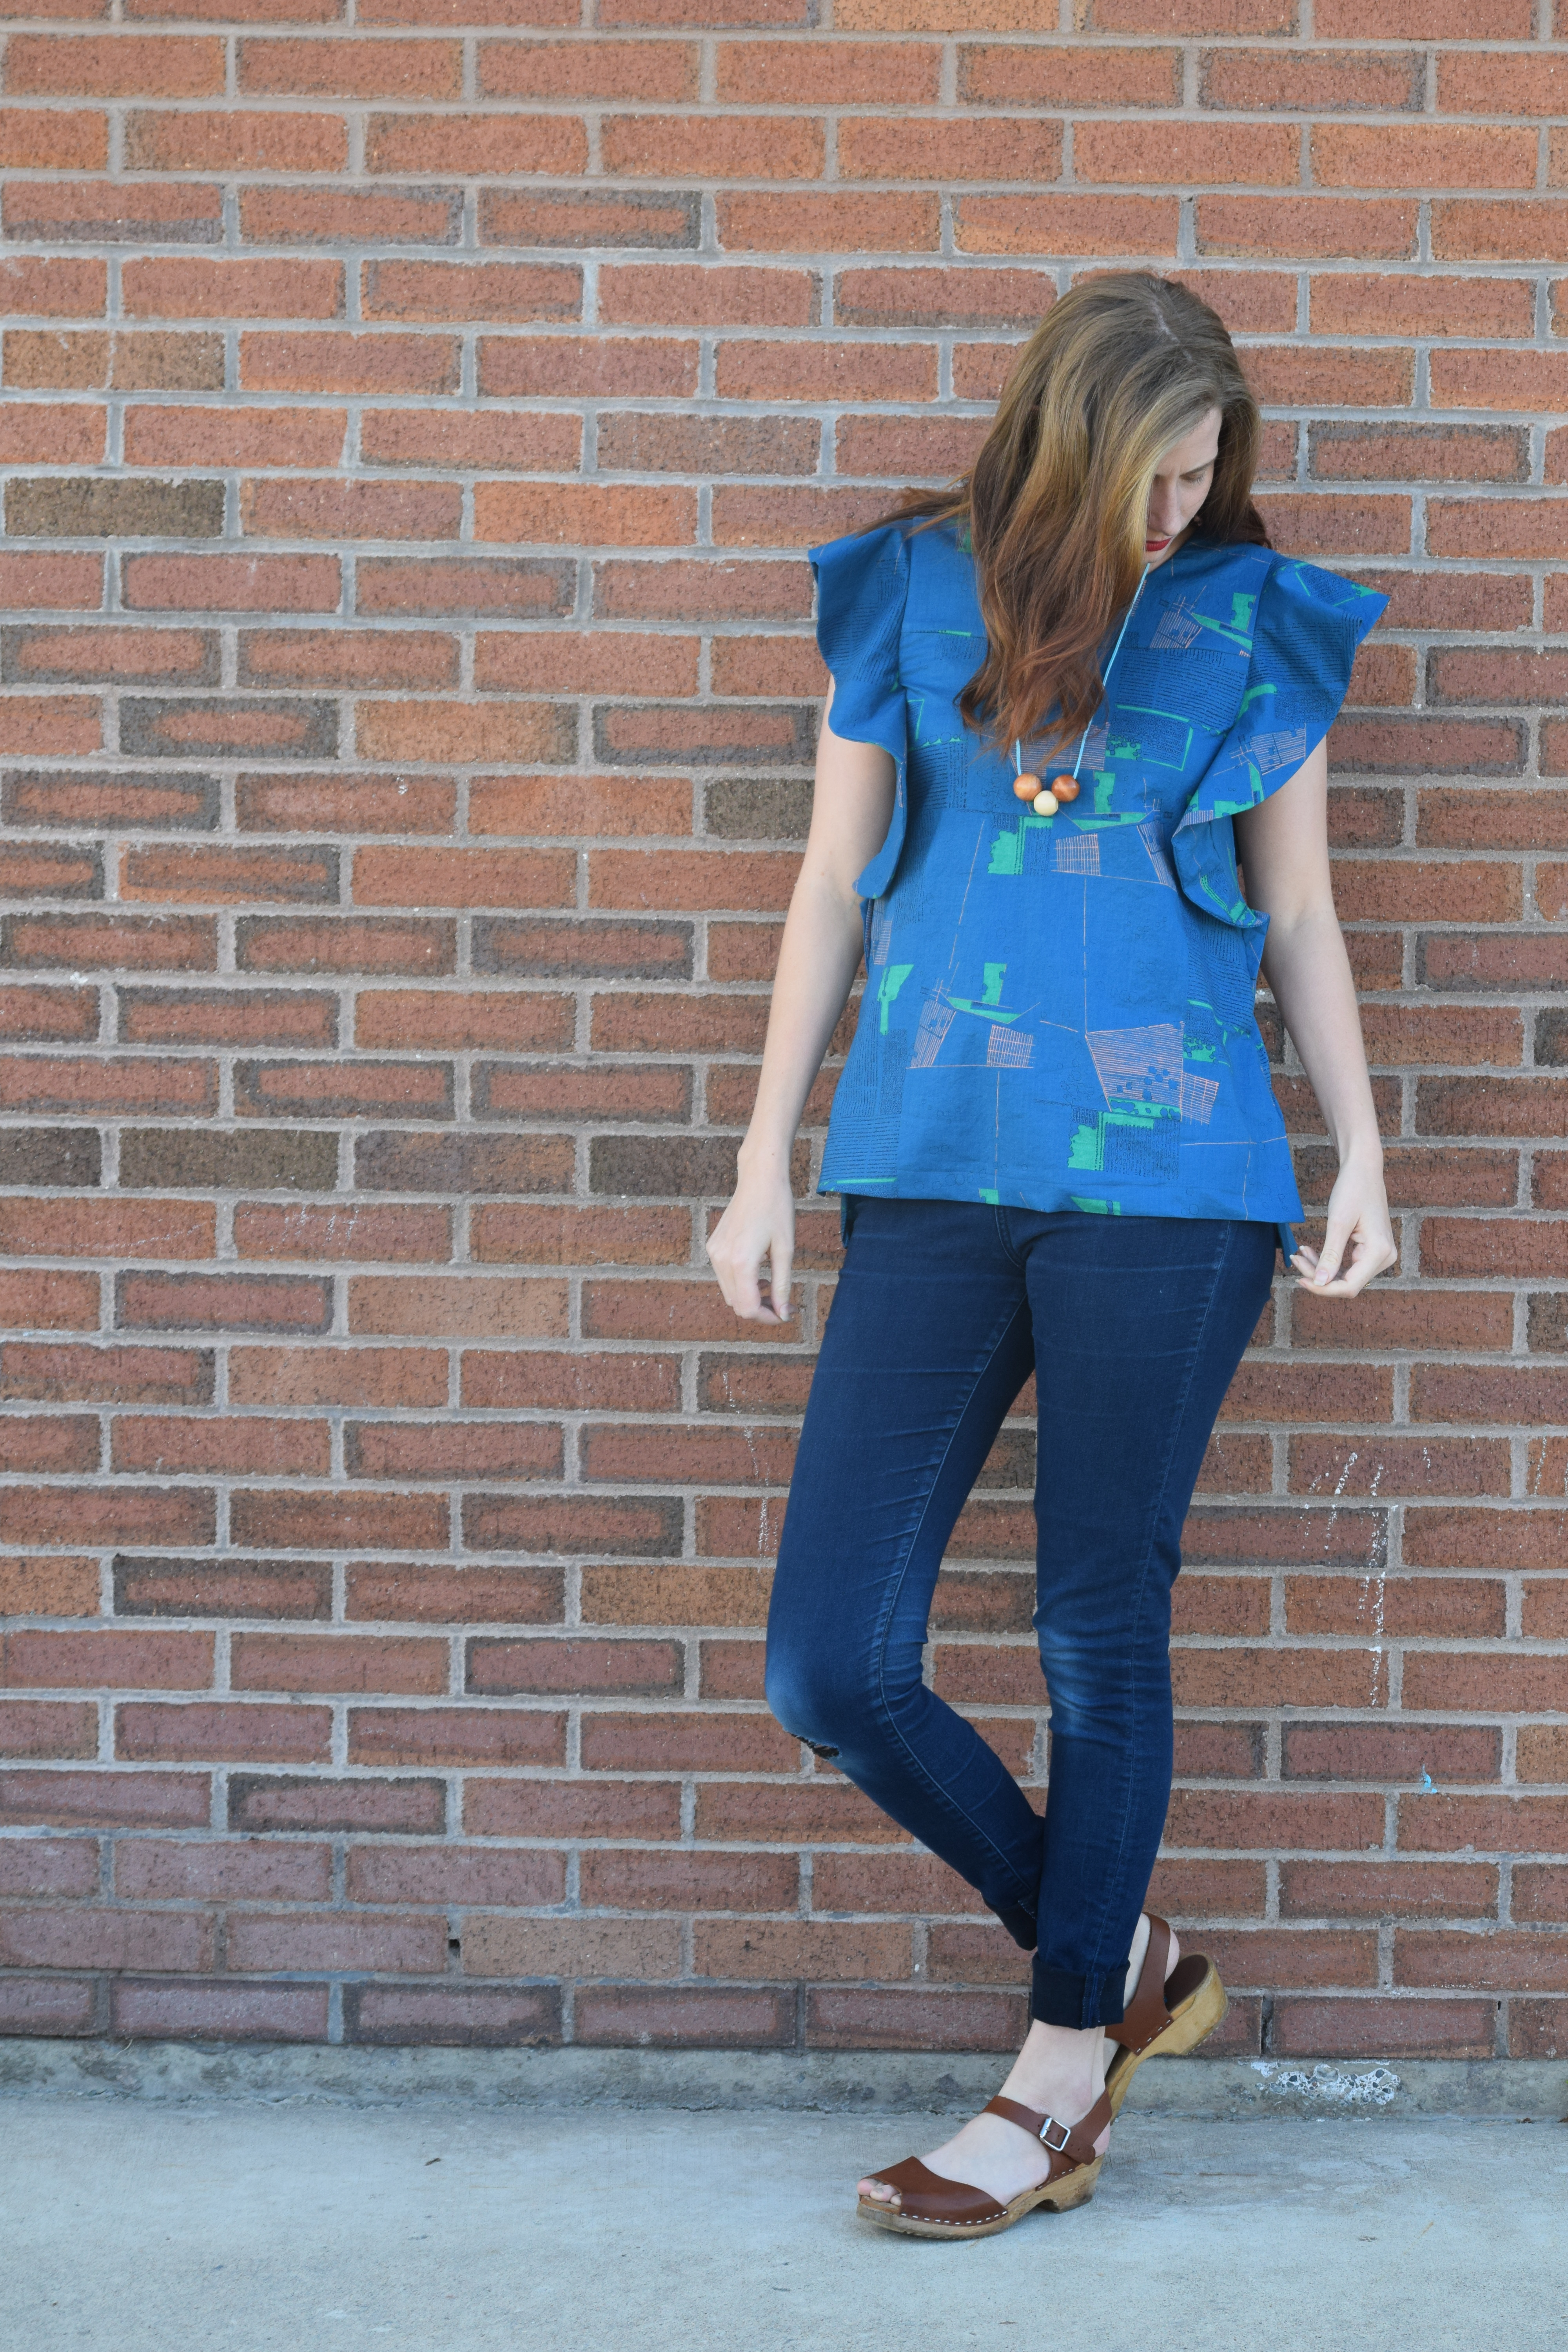
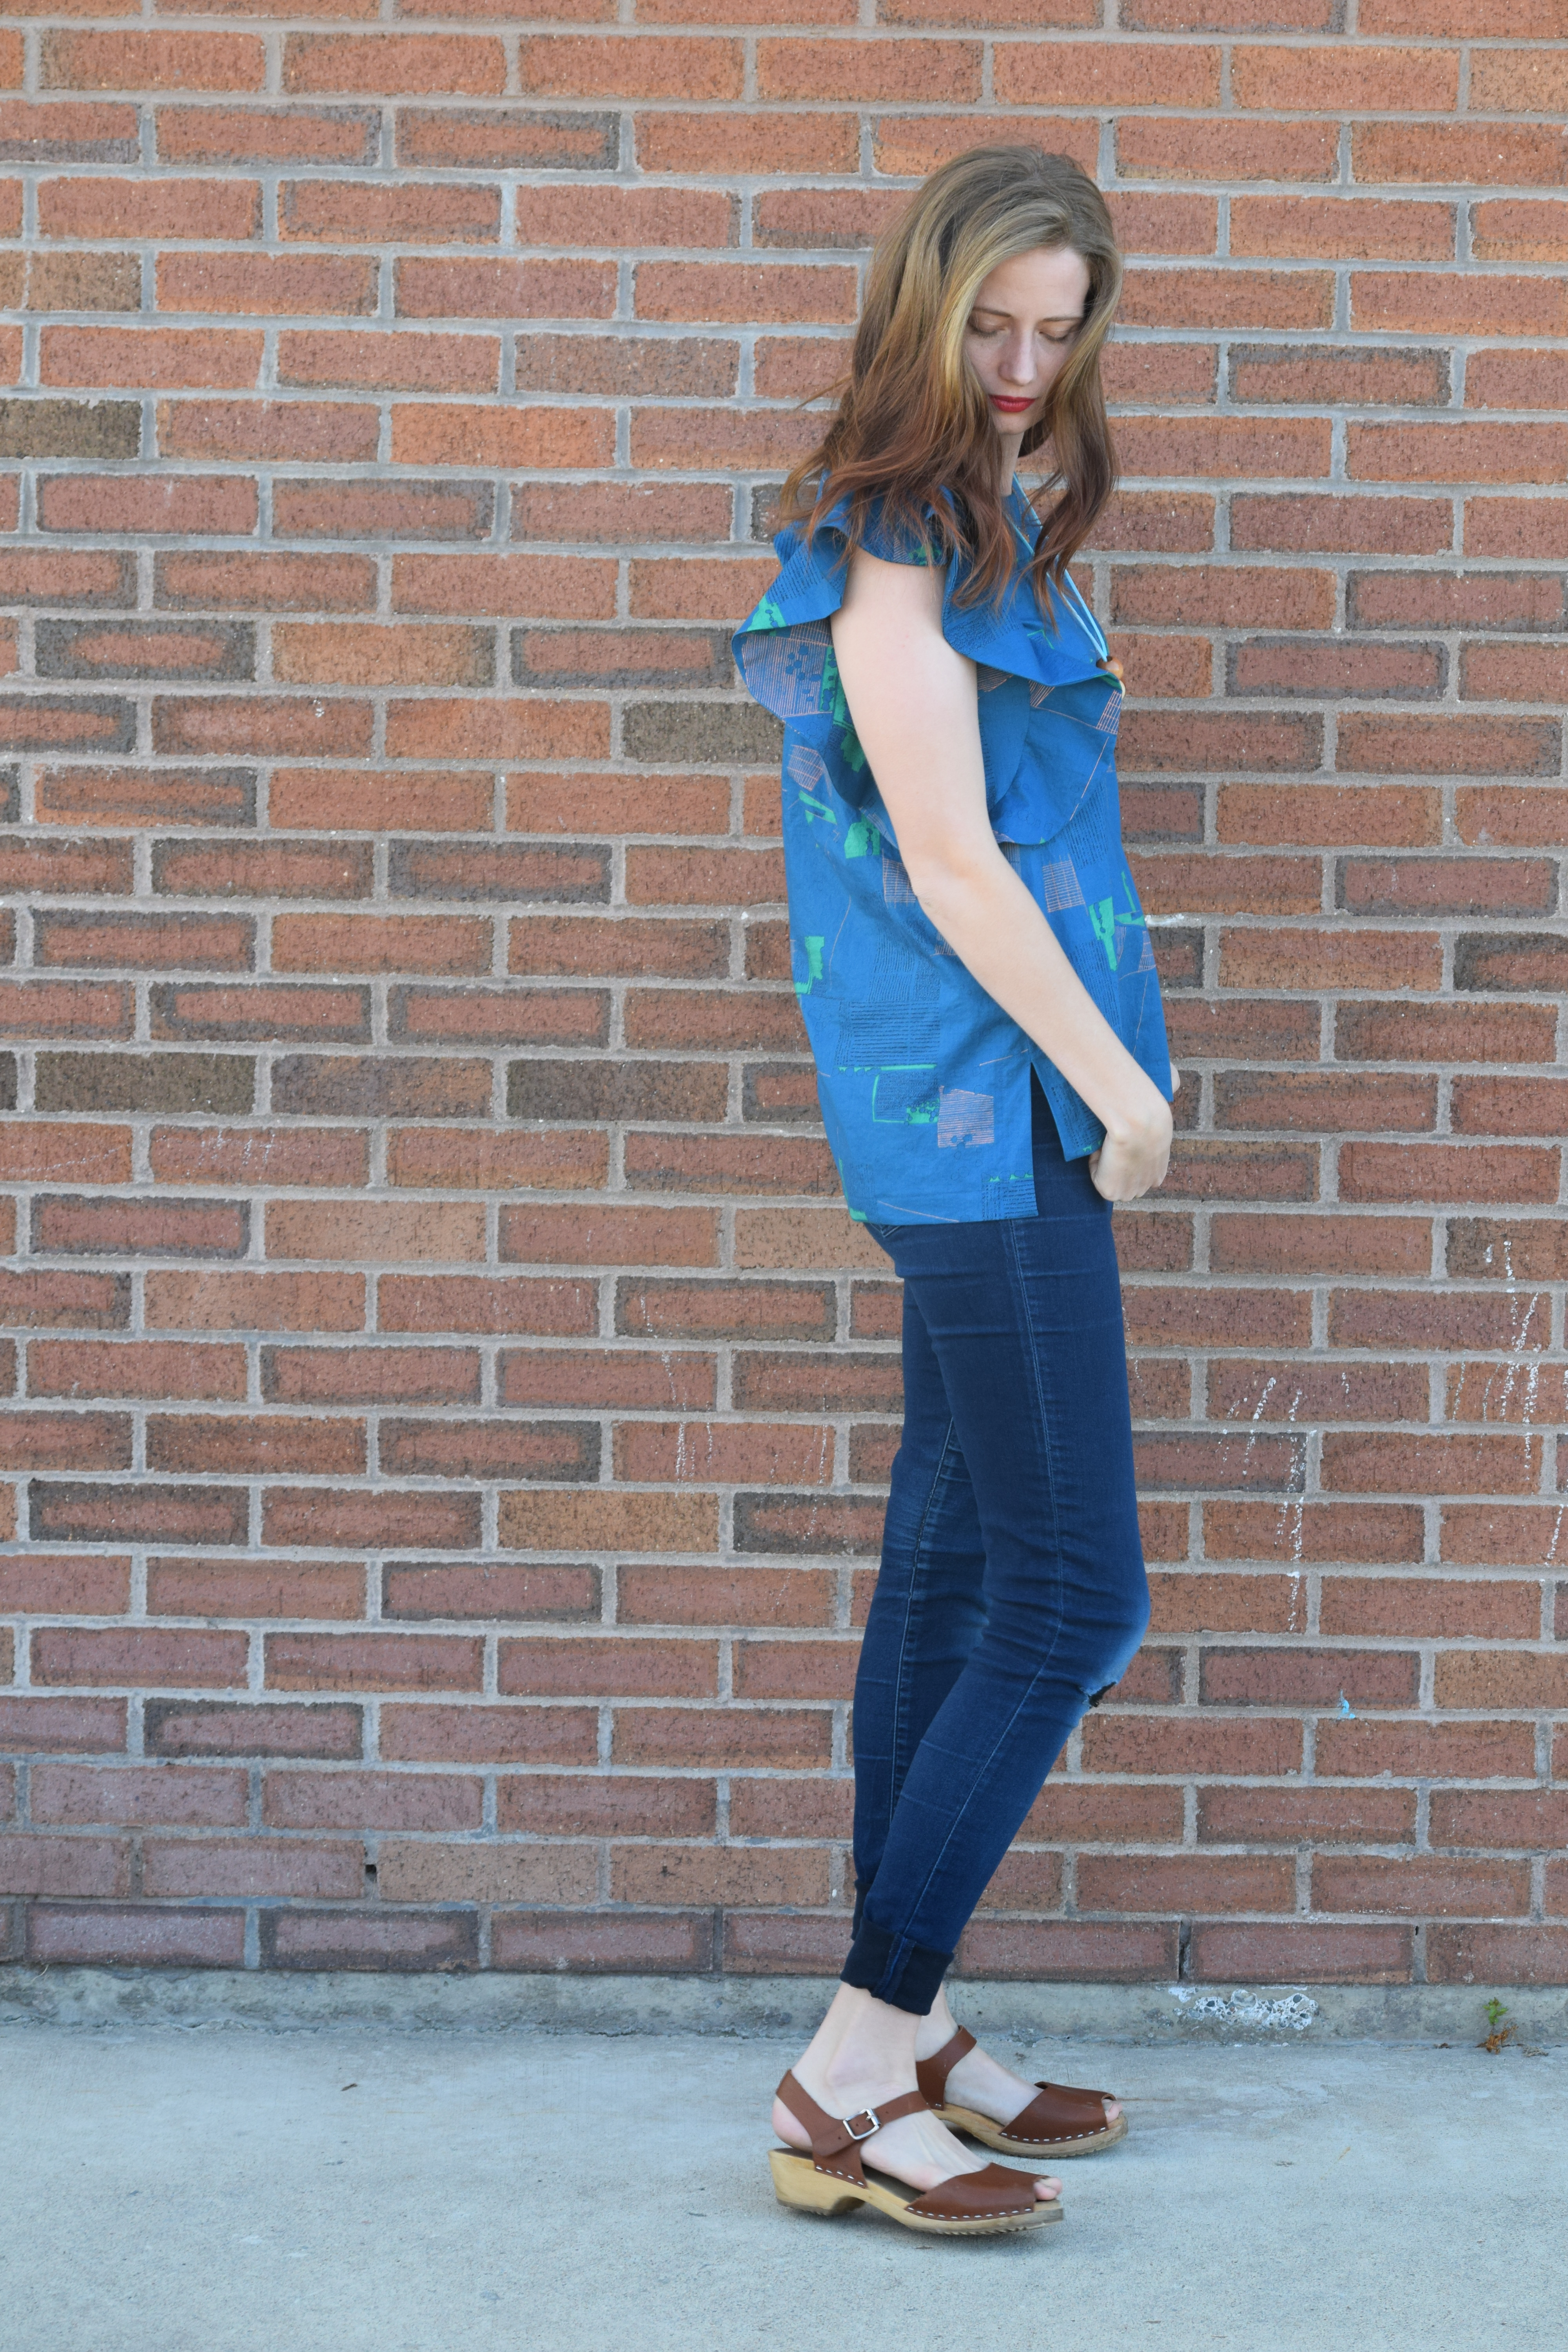
Clementine Top and Crew Trousers

Disclosure: The pattern for the Clementine Top was given to me in exchange for a review and I received the Crew Trousers in exchange for my participation in the pattern test (no obligation to promote). All opinions are honest and my own.

Hello all! Today I’ve got a couple of my latest makes to share with you: The Forget Me Not Patterns Clementine Top and the newly released Chalk and Notch Crew Trousers. Combined these two make a look that I’d describe as business casual. My current work environment (as a seamstress and SAHM), only requires that I’m clothed and looking alive for daily activities. However, if I did work outside the home, I have a feeling that this is how I’d want to represent myself. Maybe I’ll pull this out for date night instead. Ready for all the details? Let’s get to it.

Clementine Top

Fabric

I purchased one yard of this marbled scuba knit from Stylemaker Fabrics (sold out but check out their current selection of scuba knits here) in January 2018. Originally, I intended for it to be a Lodo hacked into a top. It never happened and this fabric languished on my shelf for 18+ months. Fast forward to a few weeks ago when it dawned on me that this scuba would be the perfect pairing for the Forget Me Not Clementine Top. The weight of the scuba gives a modern, stiff drape to the cowl and highlights the structure of the princess seams. Match made in sewing heaven.

Sizing

Based on my measurements, I chose to cut and sew a size 36. Technically, my bust fell in a 34 but, I chose to sew a 36 for simplicity and the sizing turned out great. The photos here don’t highlight it quite as well as I’d like but the fitting on the back is especially fantastic. The princess seams make it fit like a glove with no swayback drooping. My only alteration was adding 1/2″ to the top length at the hems. Other than that, I sewed the pattern up as-is.

Construction

The Clementine pattern instructions were clear and easy to follow. Clear instructions combined with a cooperative fabric made this a quick and simple sew. I spent one afternoon on assembly, then hemmed the top and sleeves the next morning. The cowl neck and princess seams added enough detail to make the sewing process satisfying as well.

Crew Trousers

Fabric

A few weeks ago, along with ladies in my local sewing group the “Salty Sewists,” I made a little afternoon trip to visit Harmony in Provo, Utah. It’s a darling store filled with fabric, yarn, and all the best little gifts packed into a small pioneer age house. Oh, the charm! I picked up this coral pink Tencel Twill and knew it would make the perfect pants. The fabric is opaque, has great drape, AND the front side has a brushed texture that feels suede-like. Working with it was fairly easy, although I did have one spot on the waistband where I accidentally stretched the fabric, creating some small bubbles along the waistband. Luckily, that’s covered by a pretty bow so it’s not really a big deal.

Sizing and Alterations

Over the last few years, I’ve sewn nearly every Chalk and Notch women’s pattern. You could say I’m a bit of a fan. It also means that I trust in Gabriela’s ability to get sizing and measurements right. Based on the measurement chart and Gabriela’s recommendation, I chose a size 10 for the waist and hips then graded to a 6 at the thighs and legs. I also ended up removing about 1/2″ of the width around the ankles for a slightly larger taper. My other adjustments were standard for me: 1/2″ added to the front and back rise, 1″ length added at the above knee lengthen line, and 1/2″ length added at the below knee lengthen line. Just going to take a minute here and stress the importance of lengthen lines above AND below the knee on pants. Everyone’s legs are proportioned differently. My calf length is likely not the same as another person of my height and may be the same as someone shorter or taller. If you are thinking about designing a pants pattern, it will make everyone’s life easier when you include both. There we go. Off my soapbox now.

Construction

Despite sewing 90% of my wardrobe over the last several years, I wouldn’t consider myself a quick sewist. Many experienced sewists can whip up a tee shirt in an hour. Often, it takes me two. Pants are no exception. I’ve made probably 10 pairs over the last year and still find myself taking my time to get each step finished well. With that in mind, sewing these pants took me somewhere between 6-7 hours total.

I sewed these over the course of a day while also taking care of my son, getting him off to school, picking him up, cooking dinner, cleaning dishes, and while sitting across the table from my mother (so I might have gotten distracted with chatting). As per usual, Gabriela’s instructions were concise and included plenty of illustrations. This made inserting a lapped zipper (the hardest part: which is totally doable for an advanced beginner) a breeze.

My favorite detail is in the pocket construction. The pockets are shaped and sewn so that they’re secured at the top of the center front. This makes them stay nicely in place and keeps them from flopping around inside the pants. I didn’t know this was something I needed in trousers until now.

Final Thoughts

Do you have a desire to look semi-professional while still feeling comfortable? If so, this pattern combination just might be the one for you. I know it’s the one for me. If I wasn’t wearing a bra with this outfit, I might have worn it to bed. Seriously, that good. Both patterns felt suitable for the advanced beginner. Instructions were clear and I would gladly recommend both.

Here’s the deal: yes, I received both of the patterns in exchange for either a review or testing but; the time, effort, and cost of fabric used in these projects is worth far more than the price of these patterns. I genuinely like both of these patterns and hope you will too!

Thanks for reading!

Anna Allen Philippa Pants and Cropped Fringe Dress Top

In the midst of the #sewfancypants craziness last month, I also managed to finish a sixth pair of pants that couldn’t be shared until now. I had the absolute pleasure of testing the newly released Anna Allen Clothing Philippa Pants. You likely already know my obsession with the Persephone Pants so I was thrilled to be selected as a tester for this new pattern.

Pattern Details

The Phillipa Pants are a high-waisted tapered leg pant meant for use with non-stretch bottomweights. The pants are a simple, fuss-free style with rectangular back pockets, back darts, and no front pockets. I opted to use the new zipper expansion (works for Persephone Pants too!) for this pair and the instructions produced a beautifully finished fly front.

Fabric Choice

Last fall, I won this 11.5 oz Cone Mills Denim in Dark Indigo from Imagine Gnats. After years of wearing skinny jeans with a decent spandex content, I was nervous to try making and wearing a pair of tapered jeans without stretch. The denim does tend to relax a bit after a few hours of wear. This makes my Philippa pants quite comfortable, but also gives them a slightly looser fit. If using this fabric, I suggest making your pants just a bit tighter than you’d like so that they’ll fit perfect after a bit of wear.

Fitting

This specific pair was made from the first testing draft of the Philippa Pants pattern, and Anna has made a few changes since then. As such, I can only speak to this pair and not the final pattern. Before the end of the month I will hopefully complete a pair using the final pattern will report back on fit then. I will say that I found the size chart to be fairly accurate. Anna has even included calf and thigh measurements in the finished measurement chart to help sewists decide whether grading is necessary in the legs.


Fringe Cropped Top

Last summer I ordered 12 yards of this gorgeous yarn-dyed woven designed by Anna Maria Horner. After using just over 11 yards for living room curtains, I was left with a little under 1 yard. Sure, I could’ve used it to make something for my son, but I loved this fabric so much that I wanted something for myself. I used my finely tuned pattern tetris skills to squeeze this Fringe Dress Crop top hack out of it. This “hack” isn’t really a hack at all. In fact, all I did was add 8 inches to the bodice length, straighten the hem, and omit the waist darts. I also rounded off the bottom of the front neckline facing instead of having an unnecessary straight piece running down the center. Just a note: If you’ve been gifted with a bust larger than my forever A-cups, and want to use this hack, rotating the waist darts to the side seams might help you achieve less pulling in your final fit.

Once my alterations were made, I simply sewed the top according to the bodice instructions in the Fringe Dress Pattern. I hemmed the bottom by turning it up 1/4″ and then another 1/4″ and topstitching. That’s it. World’s easiest “pattern hack” and a fun, quick sew for all those smaller cuts burning a hole in your stash.

The Outfit

Wearing this outfit makes me feel a combination of 1970’s free spirit and modern mom. Is it the colors? The silhouettes? Now that I’m thinking about it, 1970’s free spirit meets modern mom might just be my fashion goal. Whatever the vibe is, I’m digging it.

Thanks for reading! Check back soon or follow me on Instagram to see what I’ve got up my sleeve for February.

Orchid X Parasol Jumpsuit Collaboration by Chalk and Notch and Ensemble Patterns

Happy Wednesday! This Wednesday is an especially good one because I get to share my latest jumpsuit with you. Last month, Gabriela of Chalk and Notch invited me to be a tester for this  Orchid Midi and Parasol Jumpsuit collaboration with Celina of Ensemble Patterns. When I found out this collaboration included a jumpsuit, my answer was an emphatic “Yes!” I can’t put into words, why I feel so strongly about jumpsuits except to say that they make me feel like my best and most true self. Couple that with the fact that I never regret sewing up one of Gabriela’s designs, and testing this jumpsuit was a no-brainer.

First, let’s chat fabric choice. I currently have three other jumpsuits in my wardrobe, all of which are quite bold in color and/or pattern. This time, I opted to make a simple black jumpsuit. With the holiday season around the corner, I wanted something both elegant and fun for parties or date nights. The fabric is a linen/rayon blend purchased from JOANN. I can’t seem to find the exact fabric online, but it does seem to be available in most of their brick and mortar locations. It has just enough weight to be opaque, more drape than a 100% linen, and the light, soft feel of linen. I’ve been hoarding several yards of it since spring when I was able to purchase it for $7/yd. It’s become a favorite for making wearable muslins and finished products alike. 

Now that I’ve raved about fabric, let’s move on to talking about this dreamy mash-up. This collaboration includes 3 bodice options, 3 pant length options, and 1 skirt option. I opted for the long sleeved Orchid bodice paired with the Parasol long pants option. I also chose to add belt loops and the waist tie.

The way the bodice pieces are gathered and attached to the front and back yokes is one of my favorite features. It’s a simple, feminine detail that feels just right. You may have noticed that I’ve been having moment with wide-leg pants and the pants on this jumpsuit fit in nicely with my latest makes. The final feature that sold me on this pattern is the roomy pockets. Nothing ruins my day faster than putting on a one-piece outfit and realizing it has no pockets. Ok, so maybe it doesn’t ruin my day, but I don’t like it either. 

The wrap front makes adding a closure unnecessary; which makes for a delightfully quick sew. It can, however cause a bit of difficulty when getting undressed. After a couple years of jumpsuit wearing, I’ve come to the conclusion that a well-fitting jumpsuit simply takes a bit of practice to get on and off. Over the years, I’ve developed a technique I like to call the “Jumpsuit Shimmy.” First, you will have a side of the jumpsuit that seems easier to get on or off. Usually this is the side that wraps over the top. On my jumpsuit, this is my right side. I drop my right shoulder, and using my left hand, gently tug on the sleeve until it is off my shoulder. I then remove my right arm from the sleeve. Dropping your left shoulder, and using your right hand, repeat for your left side. Once you’ve freed your arms, I’ll let you figure out the rest. Now you know the “Jumpsuit Shimmy.” We can all try the dance (while keeping our jumpsuits on) with a virtual Instagram dance party celebrating the release of this collaboration. Just post a video on your grid or stories and tag me @nf_merritts on IG and #thejumpsuitshimmy . There are no prizes in it for you or me, but a 100% guarantee of fun and laughter. Join me? 

Whenever I wear a jumpsuit, someone will ask the inevitable question: “What do you do when you have to visit the bathroom?” Ladies and jumpsuit-loving gentlemen, I am here to tell you that the bathroom conundrum really isn’t as much of an issue as you might think. Sure, having your top half uncovered while using the restroom may not be ideal, but it’s literally 1 minute of your day. Are you willing to give up the joy of jumpsuits for a few minutes of awkwardness ( in which nobody else will actually care or notice because you’re by yourself in a stall)? I say, “No!” Honestly, does anyone truly feel comfortable in a bathroom stall any way? Jumpsuit or no jumpsuit? I’ll step off my soapbox here. I’m just really passionate about jumpsuits, ok? 

I’m now realizing that I’ve rambled on and on without notes on sizing. I’ll leave you with a few notes. My measurements put me in a 4 at the chest and a 10 at the hips. In order to make this jumpsuit work, I started with a 4 at the shoulders and bust then graded the bodice to a 10 at the waist. I then cut a straight 10 for the pants. I added 1″ in length to the bodice, 1/2″ to the rise on the pants, 1″ to the sleeve length, and 3″ to the pant length. These alterations are all standard for me, and I found the original drafting consistent with the size chart. 

If you’ve made it all the way to the end here, I’d just like to say, “Thank you!” My feelings about jumpsuits can be intense and I truly applaud you for reading all the way to the end. 

Special thanks to my Instagram (and real life) husband, Marshall for taking these photos. He’s been stepping up his photo taking skills over the last year and it’s been a lot of fun learning this photography thing together. 

Fringe Dress by Chalk and Notch

I had been anxiously awaiting the release of the Fringe Dress and Top since Gabriela posted this teaser photo months ago. I applied to be a tester practically the moment she submitted the call. Working with Gabriela is always a pleasure and I love her detailed instructions and interactive tutorials. The Fringe Dress pattern is no exception.

IMG_9421 copy

The Fringe pattern includes two views with a dress or top option for each view. You can see both views sewn up in the photo above. My beautiful and multi-talented friend Rachel of Little Fish sewed up view A. You can read a more detailed post about her version here on her blog. I decided to make view B because I was intrigued by the unique neckline.

IMG_9391 copy

Let’s take a quick detour and talk about fabric. For this version I used a soft and slinky rayon challis designed by Anna Maria Horner (buy it here). I purchased the fabric from my very favorite store Suppose. Suppose has just added a ton of amazing apparel fabrics to their Etsy. Many of them, like the fabric used for my Fringe, are out of print and nearly impossible to find anywhere else. I buy at least 80% of my fabric at Suppose and am regularly asked where I’m able to find such a great selection. I worked at Suppose for 5 years and used to joke that it was basically my secret stash. Now the secret is out and I’m happy to share it with all of my online friends.

IMG_9430 copy

Whenever I’m selecting a pattern, I look for certain details that make set a pattern aside from others as well as meeting my requirements for fashion and function. One detail I love about the Fringe is that it’s semi-fitted. The bodice contains both front and back darts that add a bit of shape to flatter many body types. It is just fitted enough to look like a dress and not a sack, but loose enough to make every day activities comfortable. There is also waist tie option if you would like to make the waist a bit more pronounced. The pull over style of the dress makes it a fairly quick sew as no closures are necessary. I know a few of the testers and even Gabriela herself just sewed the button placket of View A closed for some of their versions.

IMG_9433 copy

I’ve already worn my Fringe 3 or 4 times since making it a few weeks ago. It has transitioned seamlessly from church, to the playground, to a night out. It’s my perfect “mom” dress and I plan to make myself a view A dress in the future. There are about a million more great things  I could say about Chalk and Notch and the Fringe pattern, but I’ll just let the photos and other reviews speak for themselves.

IMG_9386 copy

A quick note on sizing: I sewed up a size four with minor adjustments for my height. I’m somewhere between 5’9″ and 5’10”. I added 1/2″ to the bodice length and 3 1/2″ to the skirt length for my desired below knee length. These are the only adjustments I needed and Gabriela included great instructions for adjustment right in the pattern instructions.

Photos by Rachel of Little Fish and Heather of Feathers Flights.

Want to see more items I’ve made with Chalk and Notch patterns? Check out my Waterfall Raglan hack here or my Farrah top here.

Farrah Top by Chalk and Notch

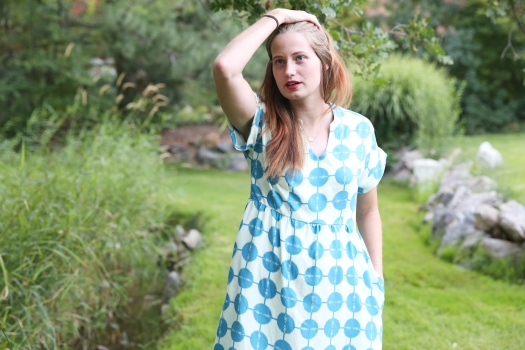
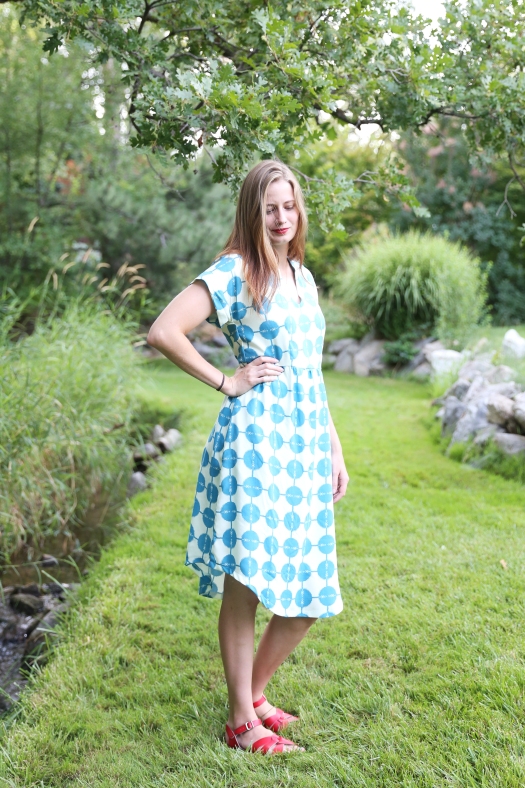
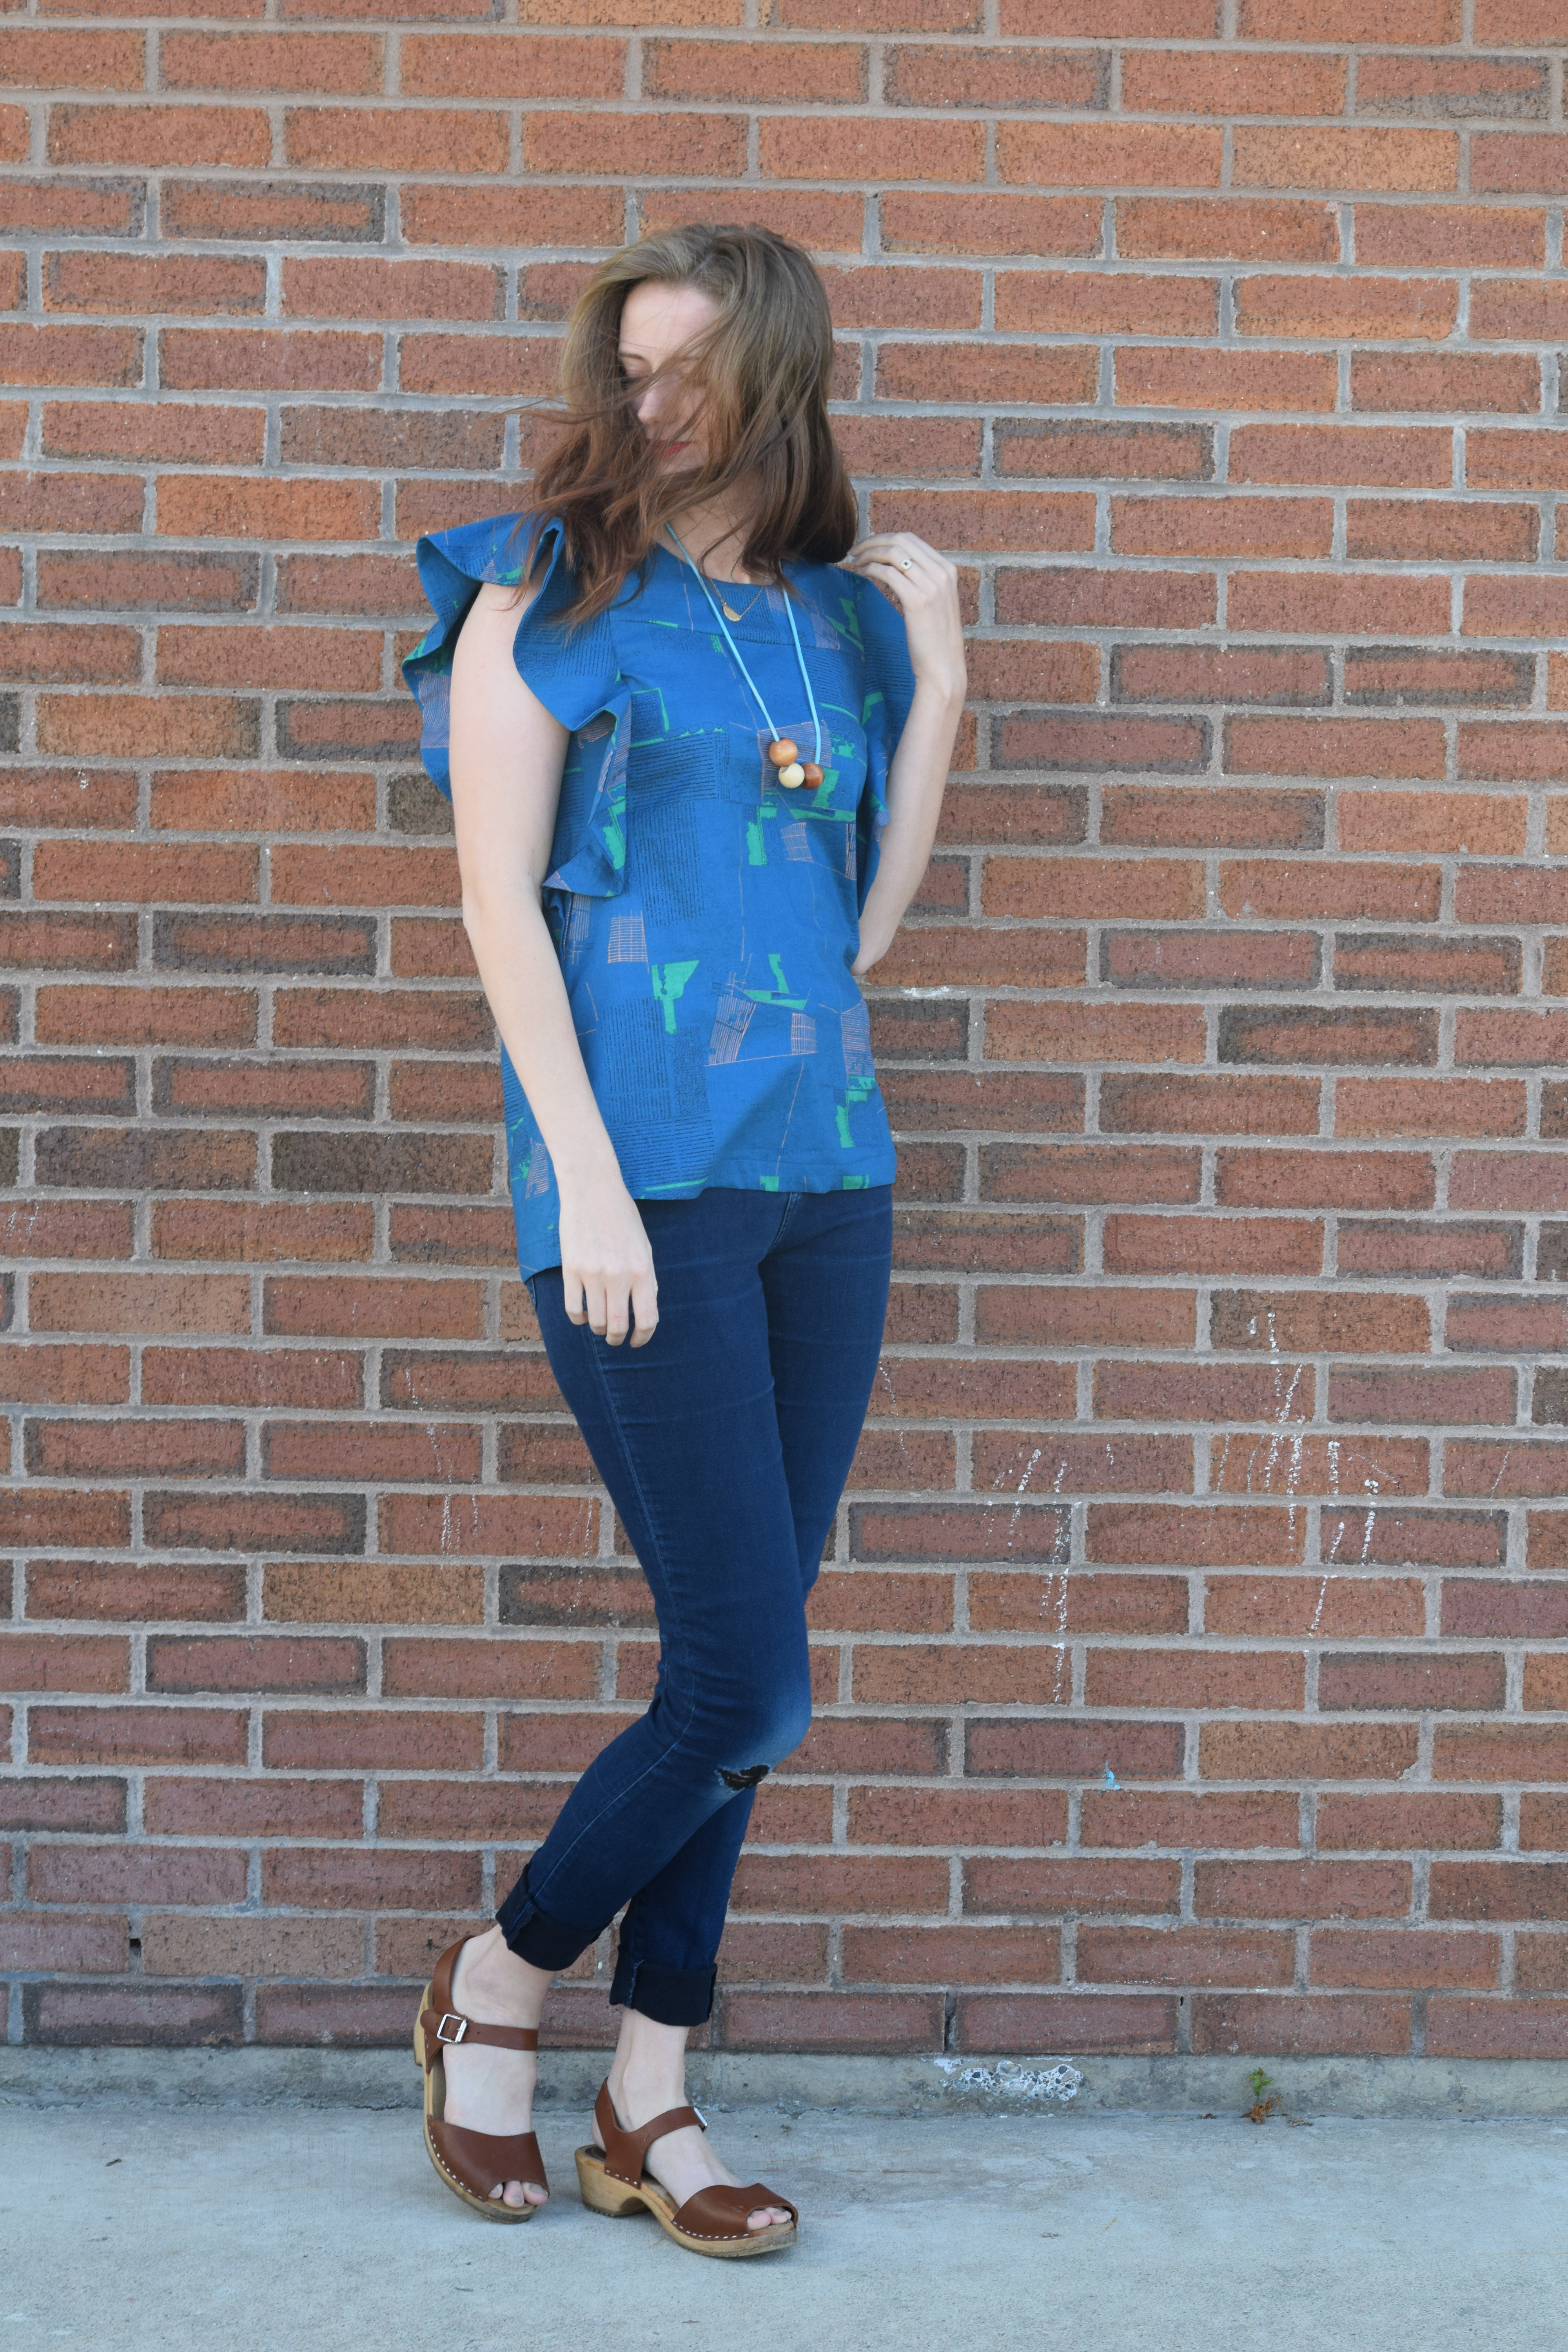
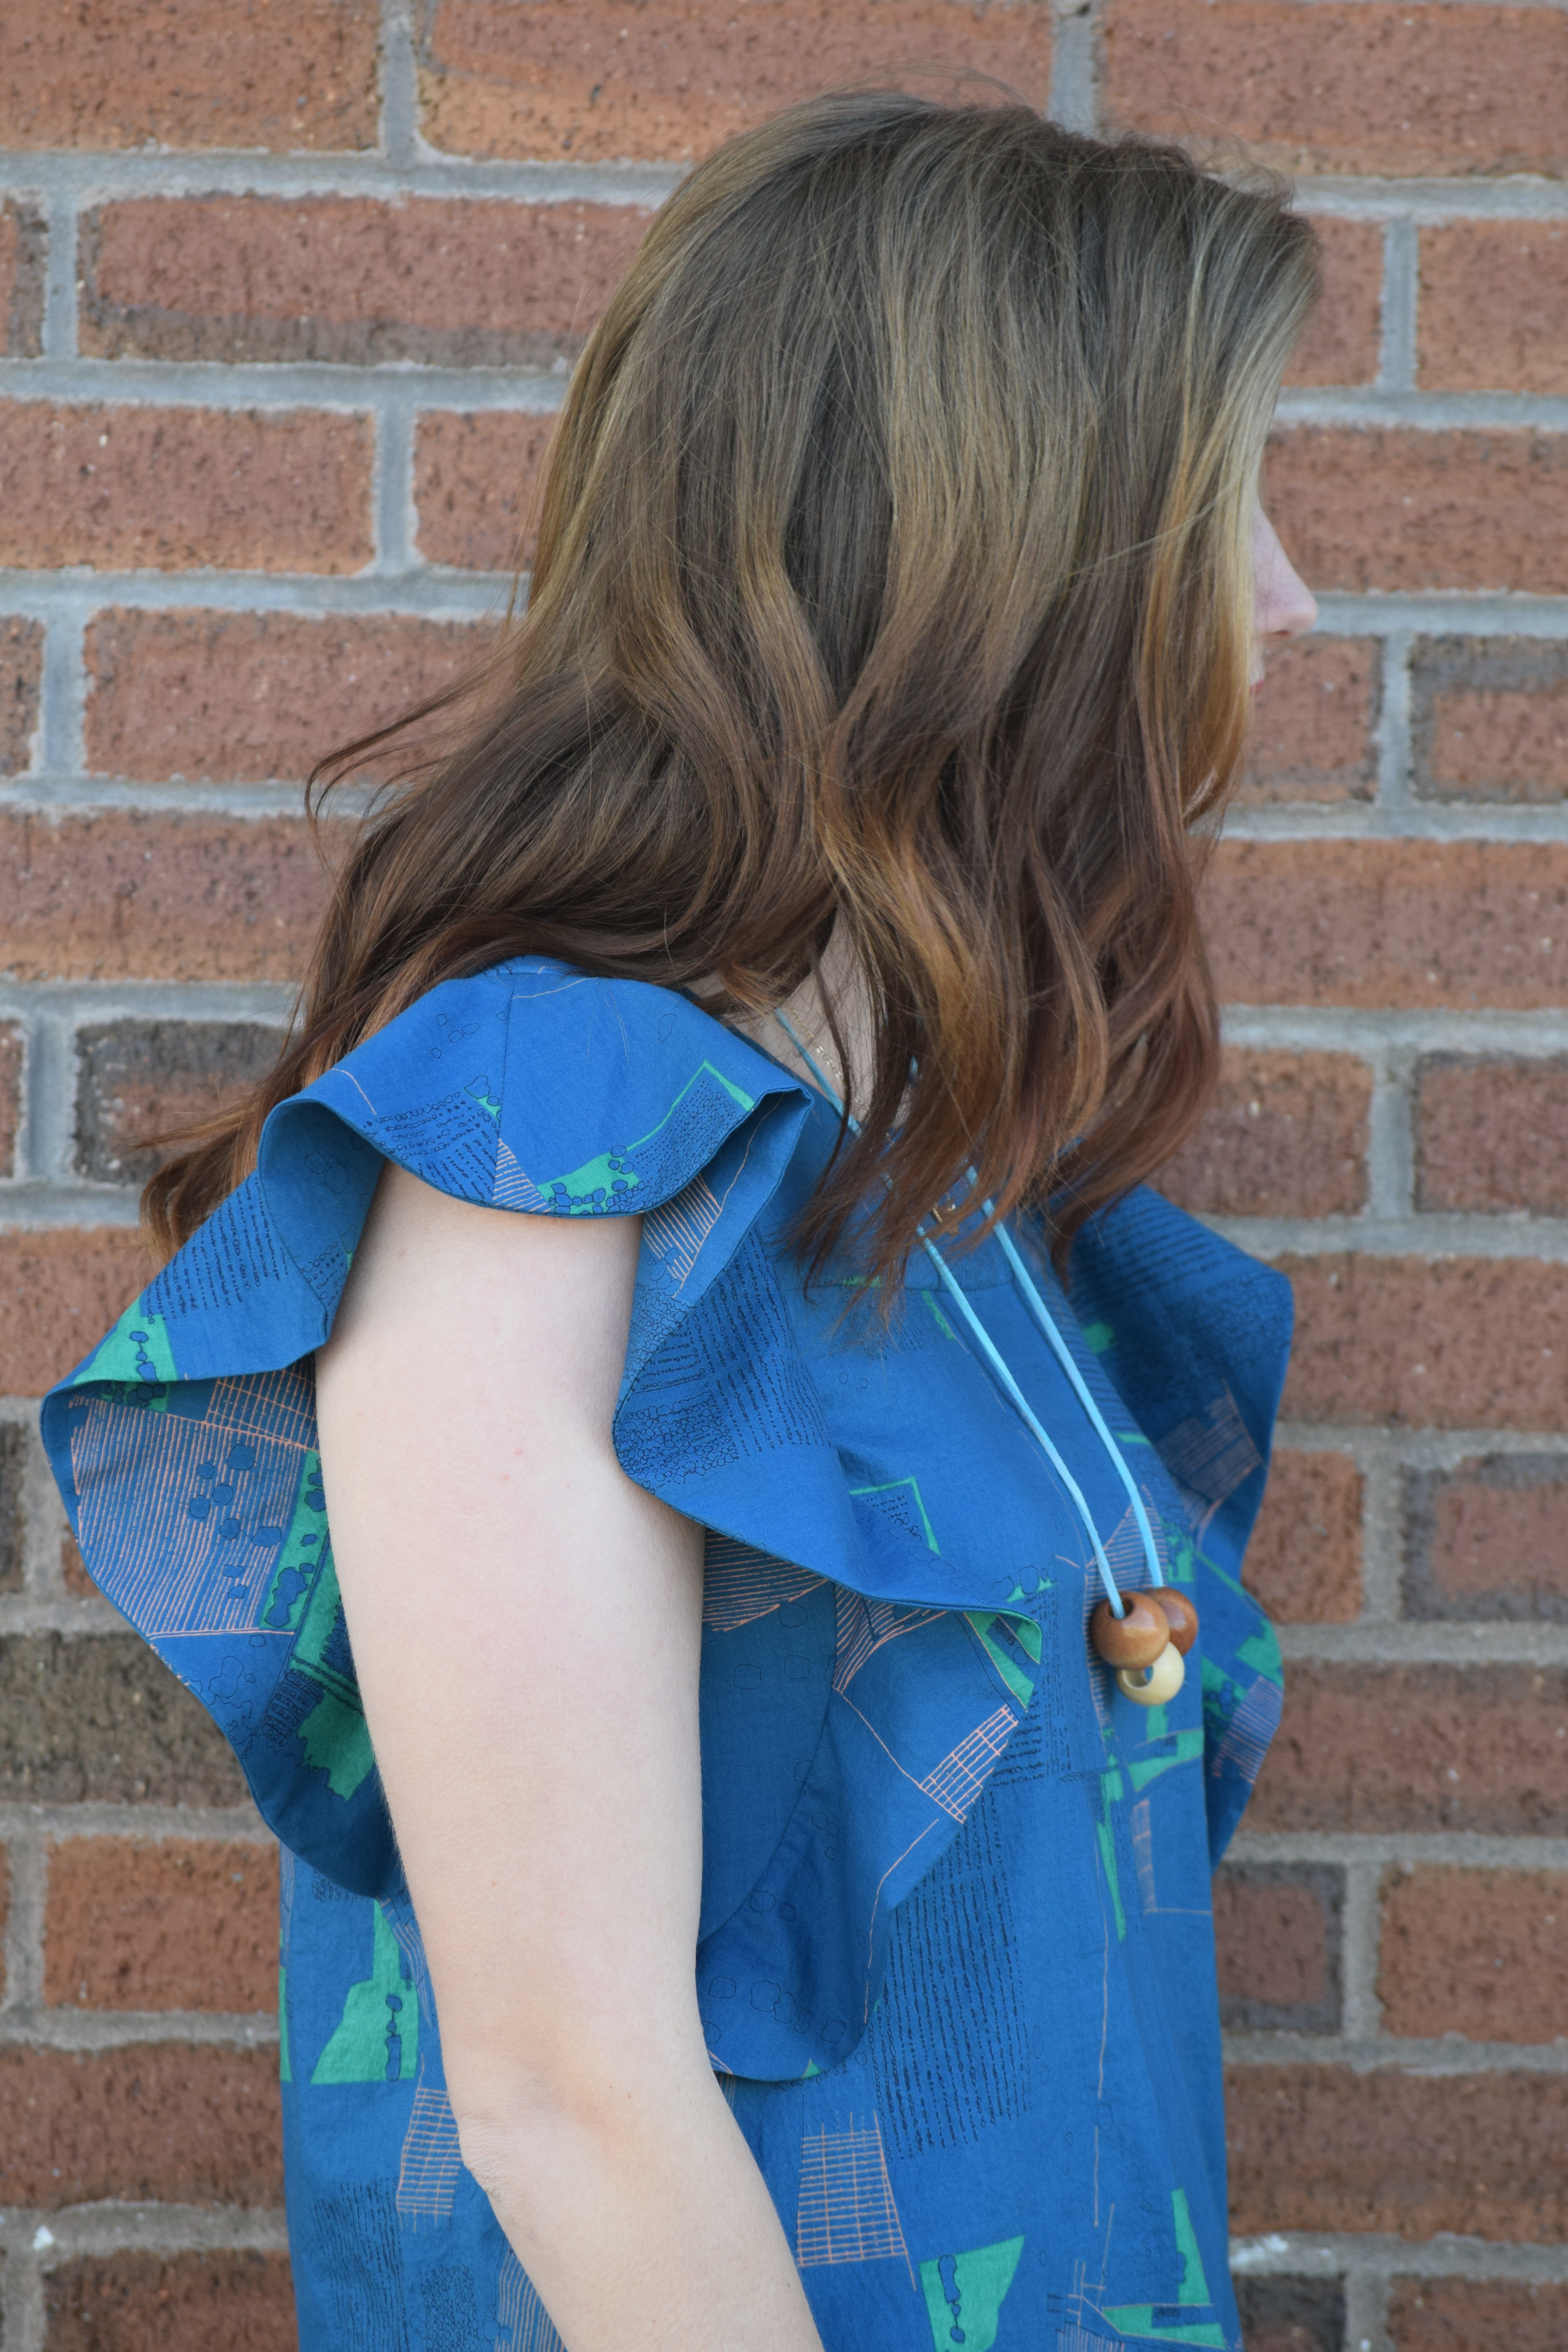
Today I’m looking forward to showing you my version of the newest release by Gabriela of  Chalk and Notch. The Farrah Pattern has top and dress options for two different views. I opted to make the top in View A. I sewed a straight size 4 with no alterations. This is an intermediate level pattern with sleeve ruffles, underarm gusset, and a mitered split hem. I was unsure about whether or not this style would suit me, but now I’m thrilled to say it’s my new favorite.

DSC_0276

Let’s talk fabric for a minute. I selected a cotton lawn by Carolyn Friedlander. I’ve been anxiously awaiting the release of these lawns since they were announced last fall. I bought it almost immediately once it Arrived at Suppose. Lawn has a lightweight, almost silky hand. It doesn’t have the same graceful drape as a rayon, but it is much easier to sew. Lawn presses beautifully and I love the way it exaggerates the ruffles in this design.

DSC_0291

DSC_0301

The fact that this top slips over the head and has no closures, doesn’t make it any less interesting. It’s a great skill builder with the ruffles, gusset, and mitered hem. My favorite is the mitered high-low hem. I’ve only sewn a mitered hem once before this top, but I love it. It makes the finish look and feel professional. Gabriela’s clear pictures and tutorials make trying new techniques less intimidating and more satisfactory.

DSC_0285

The pattern releases exclusively on UpCraft Club today and will be available through Chalk and Notch later this week. Be sure to check out the #farrahpattern on Instagram for more inspiration and to see more of the fantastic tester versions.

DSC_0289

Make it Mine Tour: Waterfall Raglan Flutter Sleeve Hack and Tutorial

img_8379
Hello! Today I feel a bit nervous to be surrounded by so many talented makers and bloggers participating in the Make it Mine Waterfall Tour hosted by Gabriela of  Chalk and Notch. I’ve been a fan of the Waterfall Raglan pattern since the girls’ pattern was released last fall. I don’t have a daughter of my own, so I immediately commented and expressed my interest in a women’s version. To my delight, she quickly obliged and has just released the Women’s Waterfall Raglan pattern. There’s nothing I love more than a well-drafted basic pattern that can be made and hacked again and again.

dsc_0195

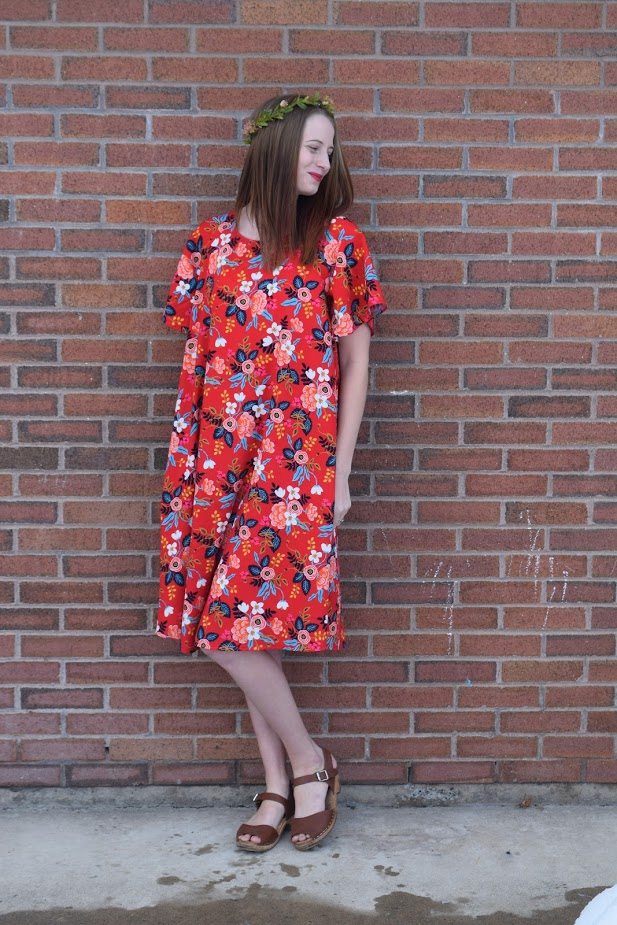
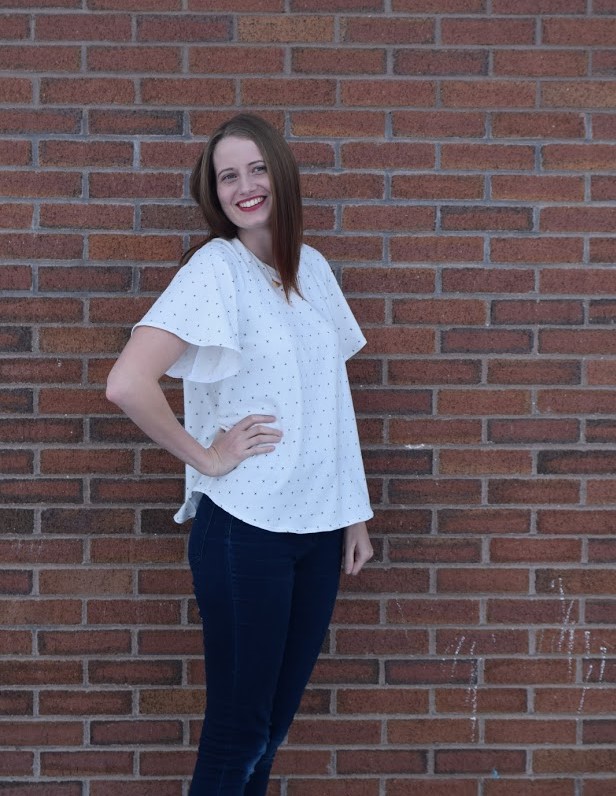
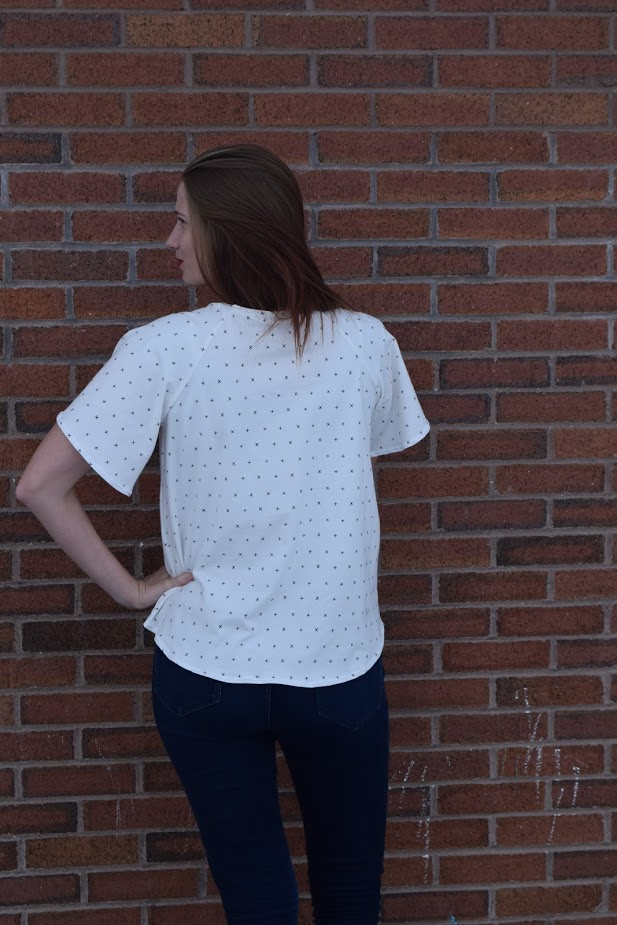
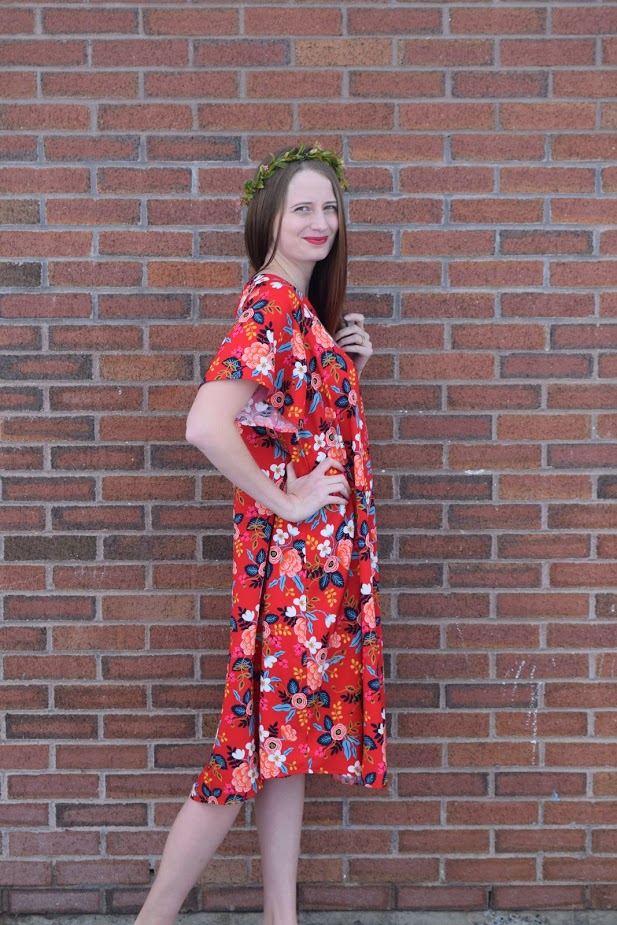
The moment I finished my first Waterfall dress, I knew that it was destined for a flutter sleeve version. I omitted the bottom ruffle as having both flutter sleeves and the ruffle seemed too girly for the desired end result. The pattern comes together so quickly that I couldn’t resist making both a dress and top version of this hack. The dress is made from Les Fleurs rayon by Rifle Paper Co. for Cotton and Steel and the top is made from a cotton/spandex knit by Art Gallery Fabrics. Both fabrics were purchased from my favorite local shop Suppose.

dsc_0100-2

Both my top and dress have been worn multiple times since their completion last week. I love the loose flowy fit of the top and the bit of style it adds to a relaxed day look. I’m sure it will get regular wear once the weather warms up a bit.

dsc_0111

My dress, however, is a new favorite and will likely be my go-to dress this summer. A few years ago, I used to commonly wear body-hugging fitted dresses and skirts. Then I had a child. I still love a good fitted dress, they’re just much less practical for chasing my son at church or the park and end up just sitting in my closet waiting for a special occasion. Last summer I made this dress and wore it to the zoo, park, weddings, church, etc. and loved the ease of movement and effortless style it provided. I’m looking forward to this new Les Fleurs dress providing me with the same style and ease this summer.

I’ve been putting my flat pattern drafting skills to work lately by designing a bit of children’s clothing, but was still nervous to redraft the sleeve as a flutter sleeve. It’s not something I’d attempted before and turned out to be easier than expected. Are you ready to give it a try? If so, continue reading for a tutorial on how to make your own flutter sleeve Waterfall Raglan.

dsc_0168

Head to the end of my post for details on a couple of great giveaways. If you’re not quite ready to make your flutter sleeve dress or top, check out these other talented Make it Mine Tour ladies and their pattern hacks.unnamed


Continue reading “Make it Mine Tour: Waterfall Raglan Flutter Sleeve Hack and Tutorial”