Blueprints Geodesic and “Letting it Go”

I’ve been admiring the Blueprints for Sewing Geodesic Sweatshirt pattern for quite a while now. I just couldn’t get myself to pull the trigger on buying the PDF version, so I nearly jumped for joy when a printed version was announced. I purchased my pattern the day they arrived at Suppose and couldn’t wait to get started.

IMG_0970

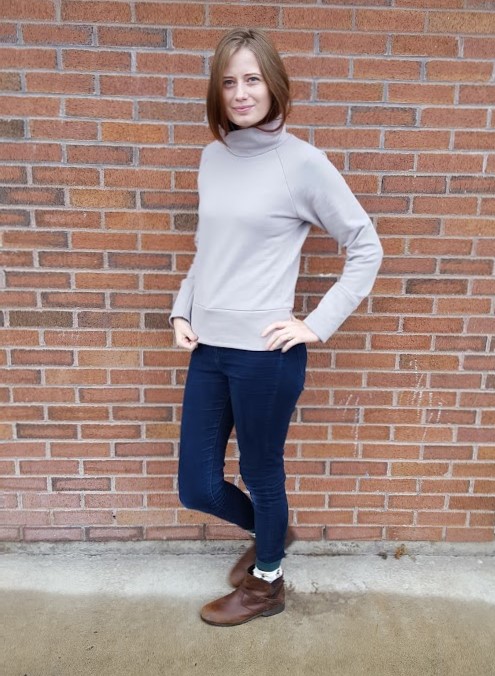
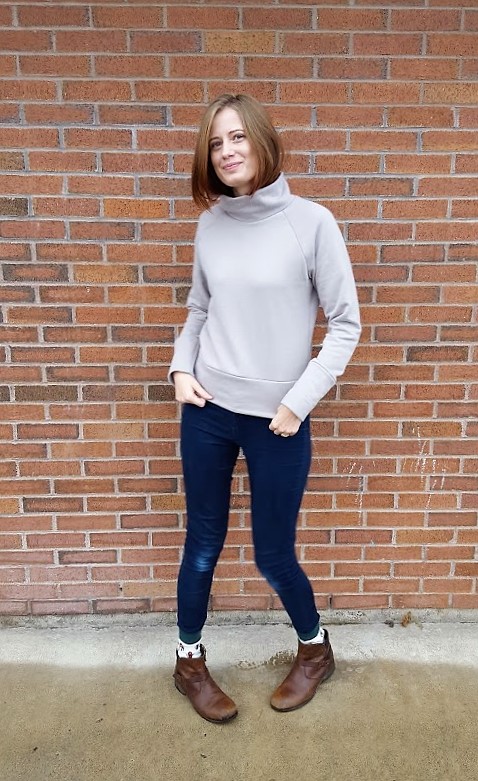
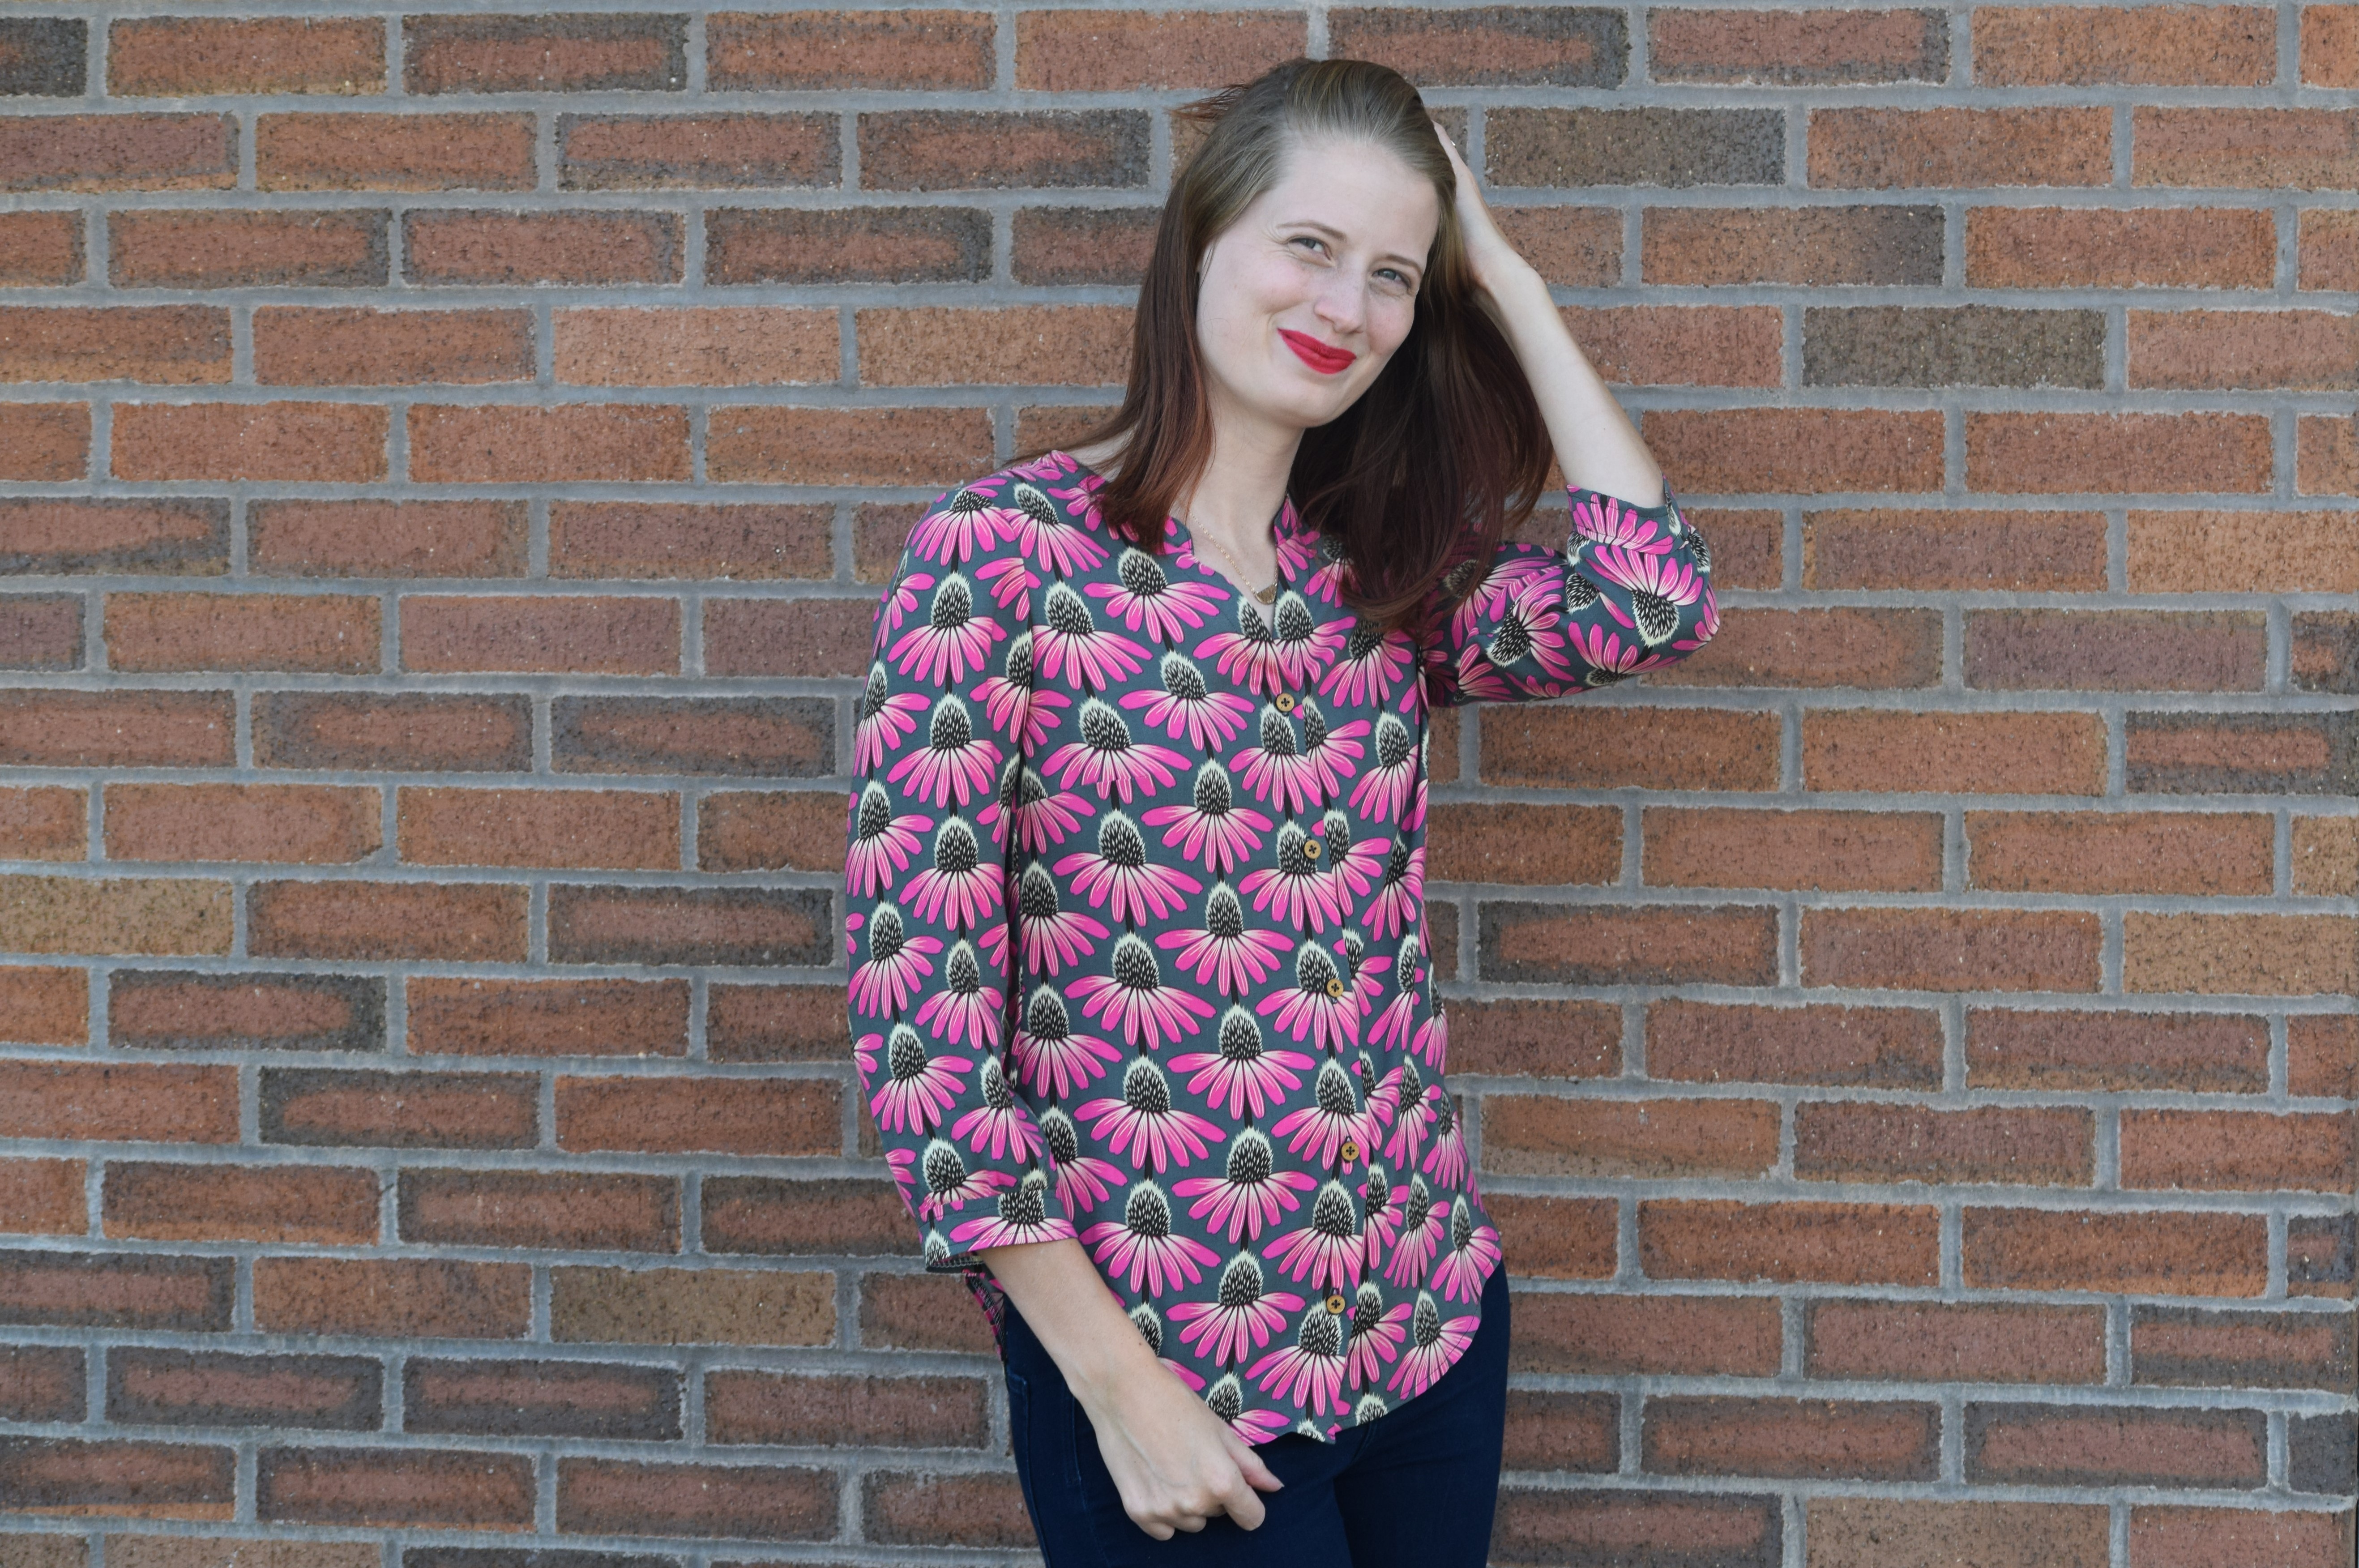
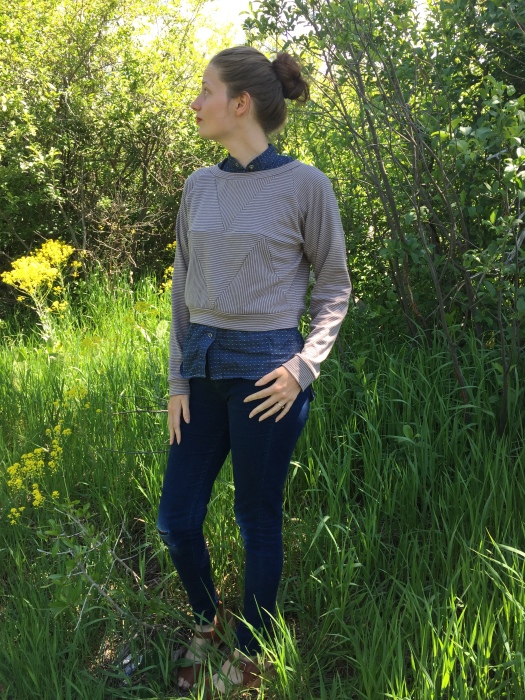
I chose to to make a cropped version for easy layering on cool summer mornings/evenings. The fabric used is an organic cotton interlock made by Cloud 9 fabrics and purchased from Suppose. I would consider it a medium weight which is perfect for this pattern. It’s not quite as bright as the fabrics that I’d usually select, but I’m making a concerted effort to add more neutrals into my wardrobe.

IMG_0980

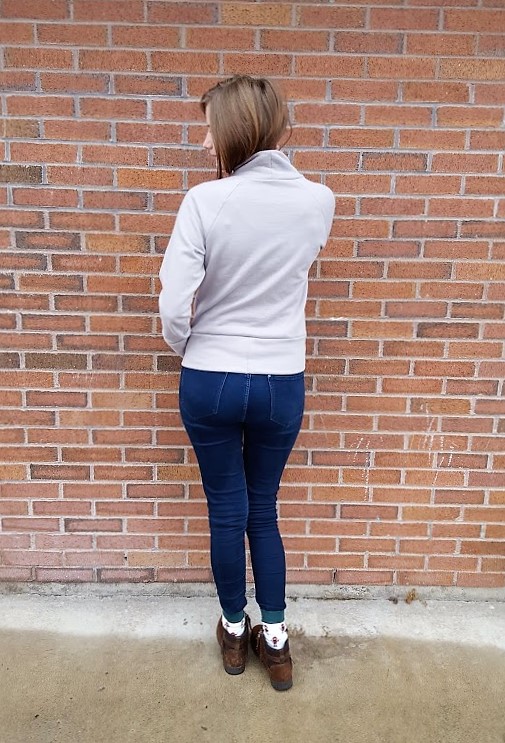
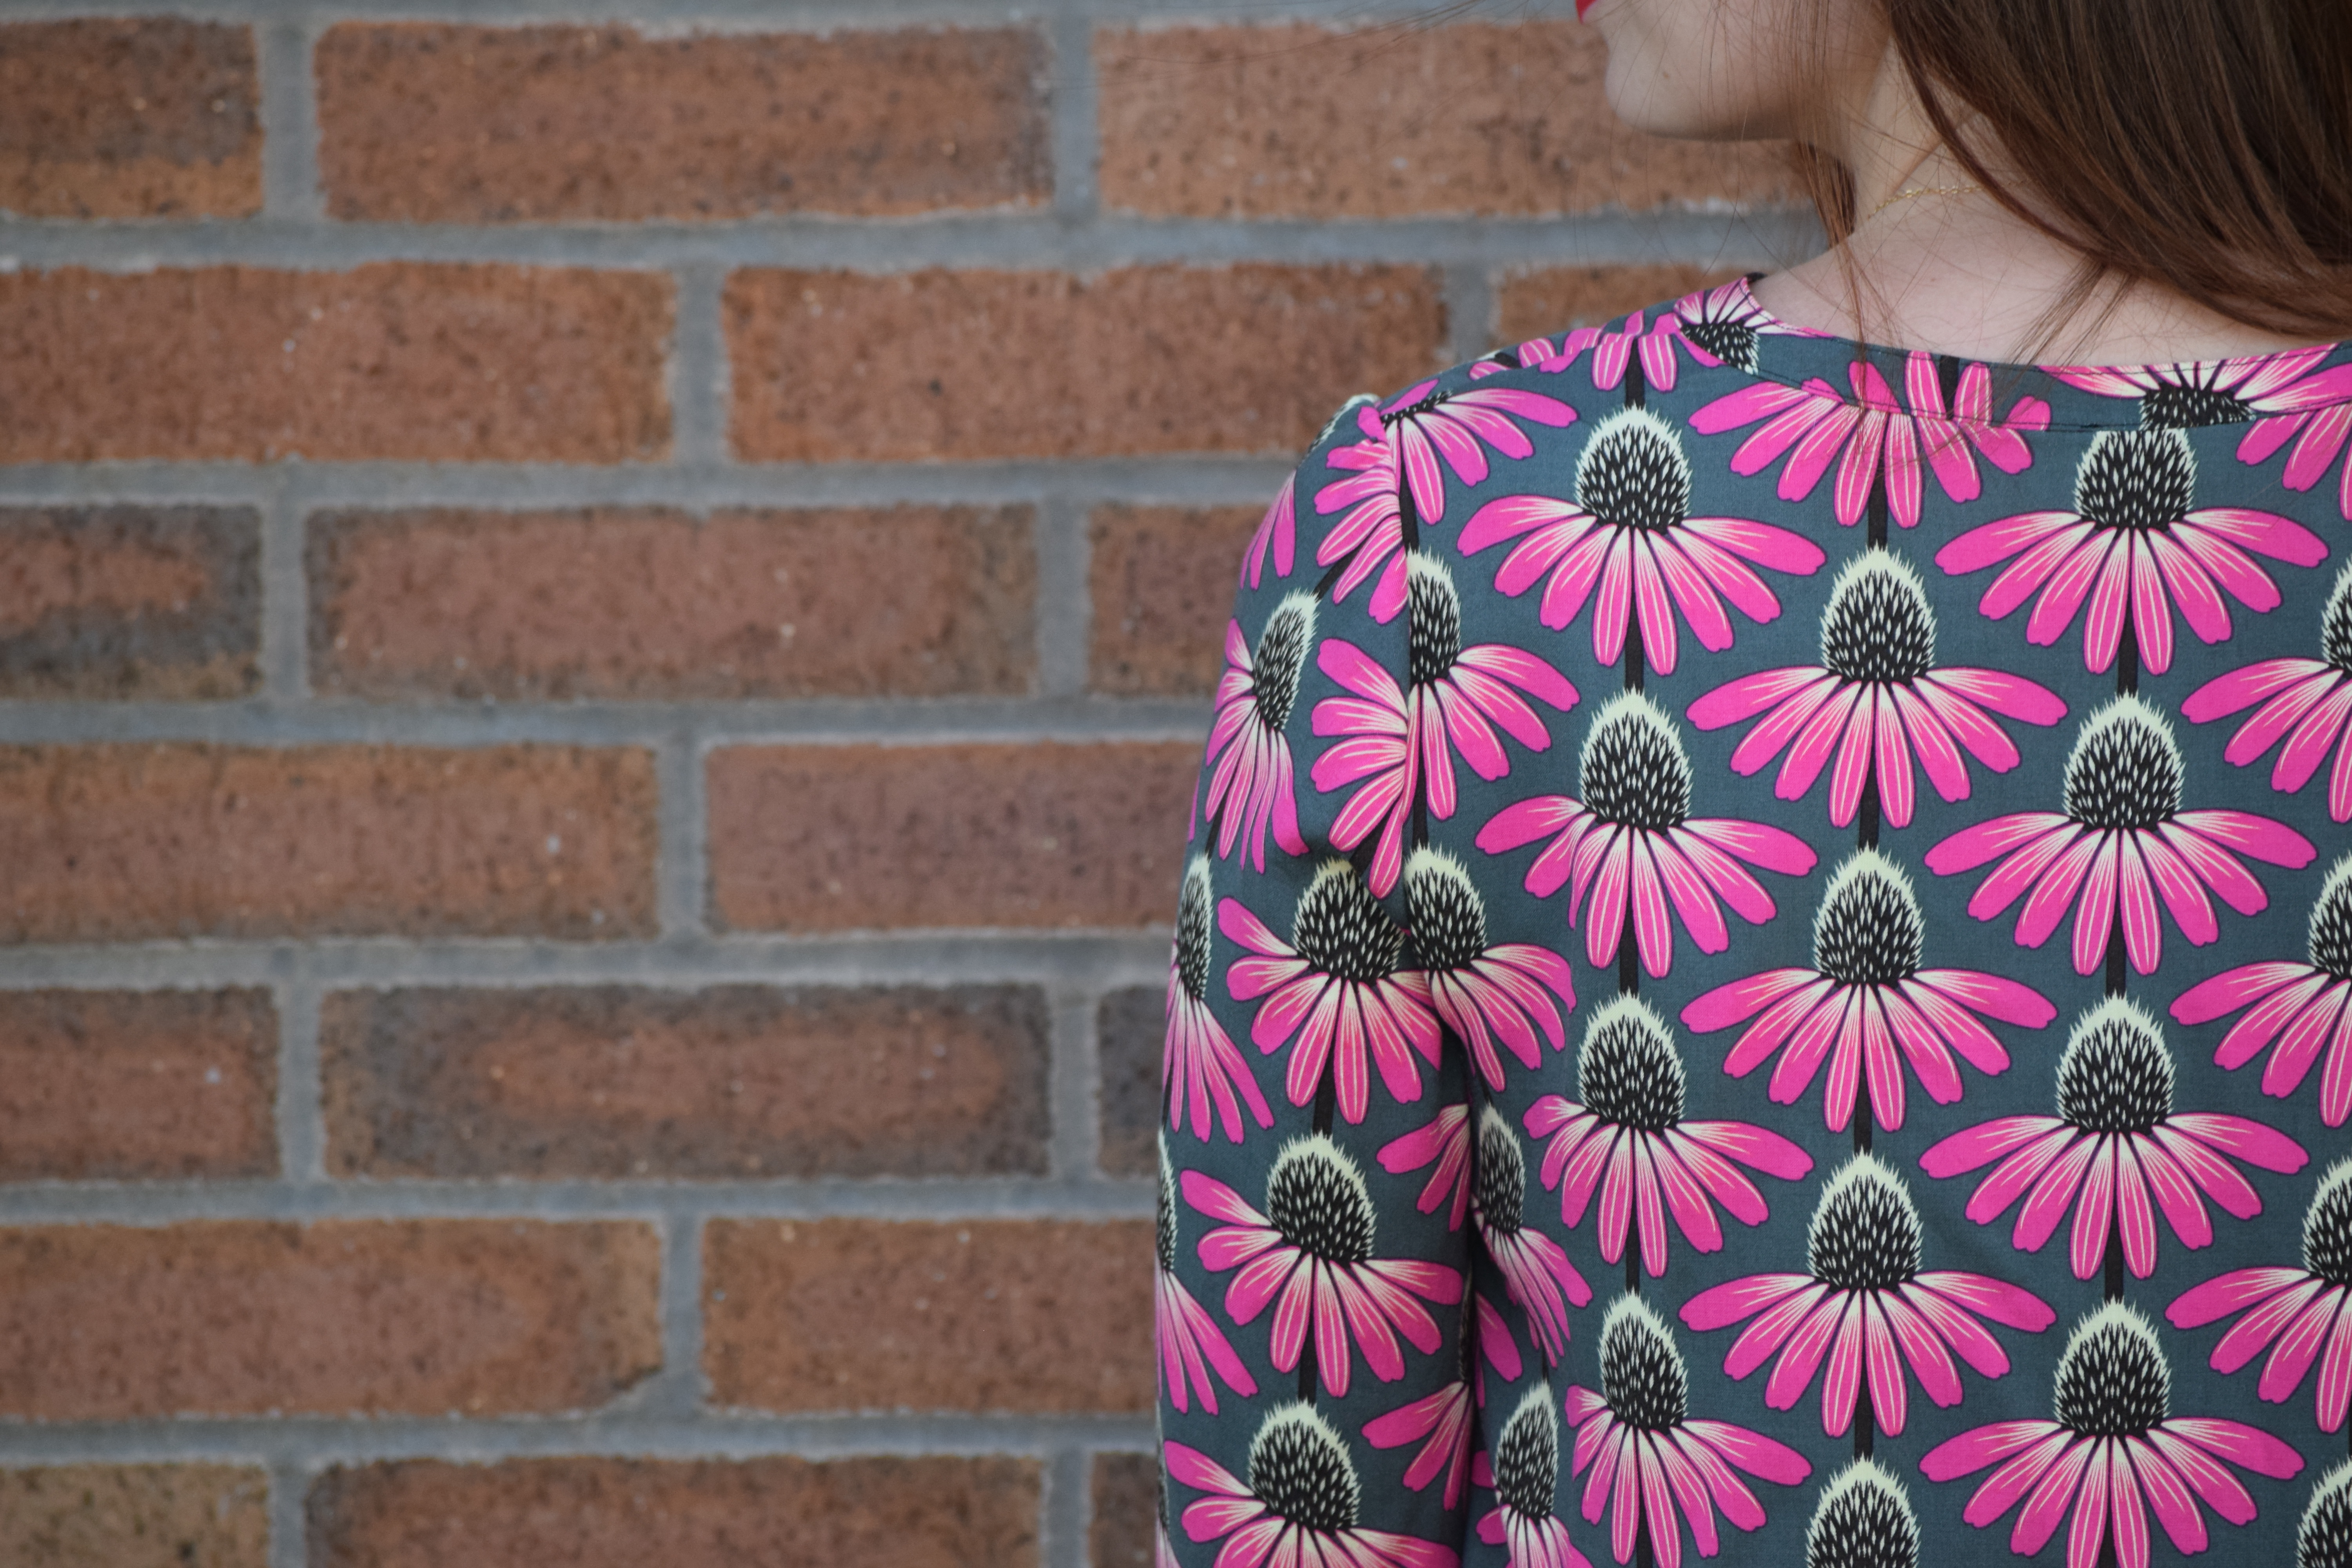
Let’s talk a bit about my construction process. This sweatshirt was sewn in small snippets of time over the course of about two weeks. The last month has been chaotic to say the least, and I needed a simple stress-free project. When cutting the triangles, I decided to alternate the stripe direction in order to add a bit more interest and eliminate the need for stripe matching.

You may notice that my version has a slightly different layout than the illustration on the pattern cover. Can you spot the difference? Look at this photo and see if you can find it. Found it? My version has the bottom row of triangles upside down. This was a blunder I found only after sewing up the side seams. Whenever I make a sewing mistake, I ask myself three questions: Does this ruin the fit? Can I live with it? Will I still wear it? If the answer to the first question is yes, then I immediately work to remedy the issue. If not, I move on to the other two questions. Often I can justify keeping the mistake if it doesn’t affect the actual fitting of the garment. This was one of  those times.

IMG_0960

Anxiety sometimes tries to get the best of me when I goof up. In order to calm myself, I repeat two phrases:

“Done is Fun”- Alison Faulkner (The Alison Show)

“Let it Go” (Can’t say that one without singing the “Frozen” theme)

These phrases remind me that my errors often aren’t as glaring as they may initially seem. Life is really too short to waste time fixing an error that doesn’t have to be seen as an error. It’s a design decision, right? It is likely that the only people who may notice the error are those who are familiar with the pattern. Overall, I’m happy with the look of my Geodesic and isn’t that what matters in the end?

IMG_0978

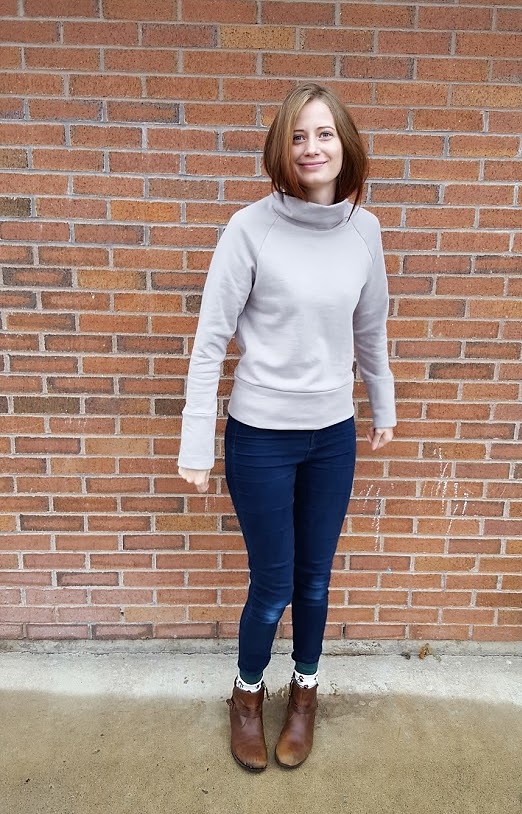
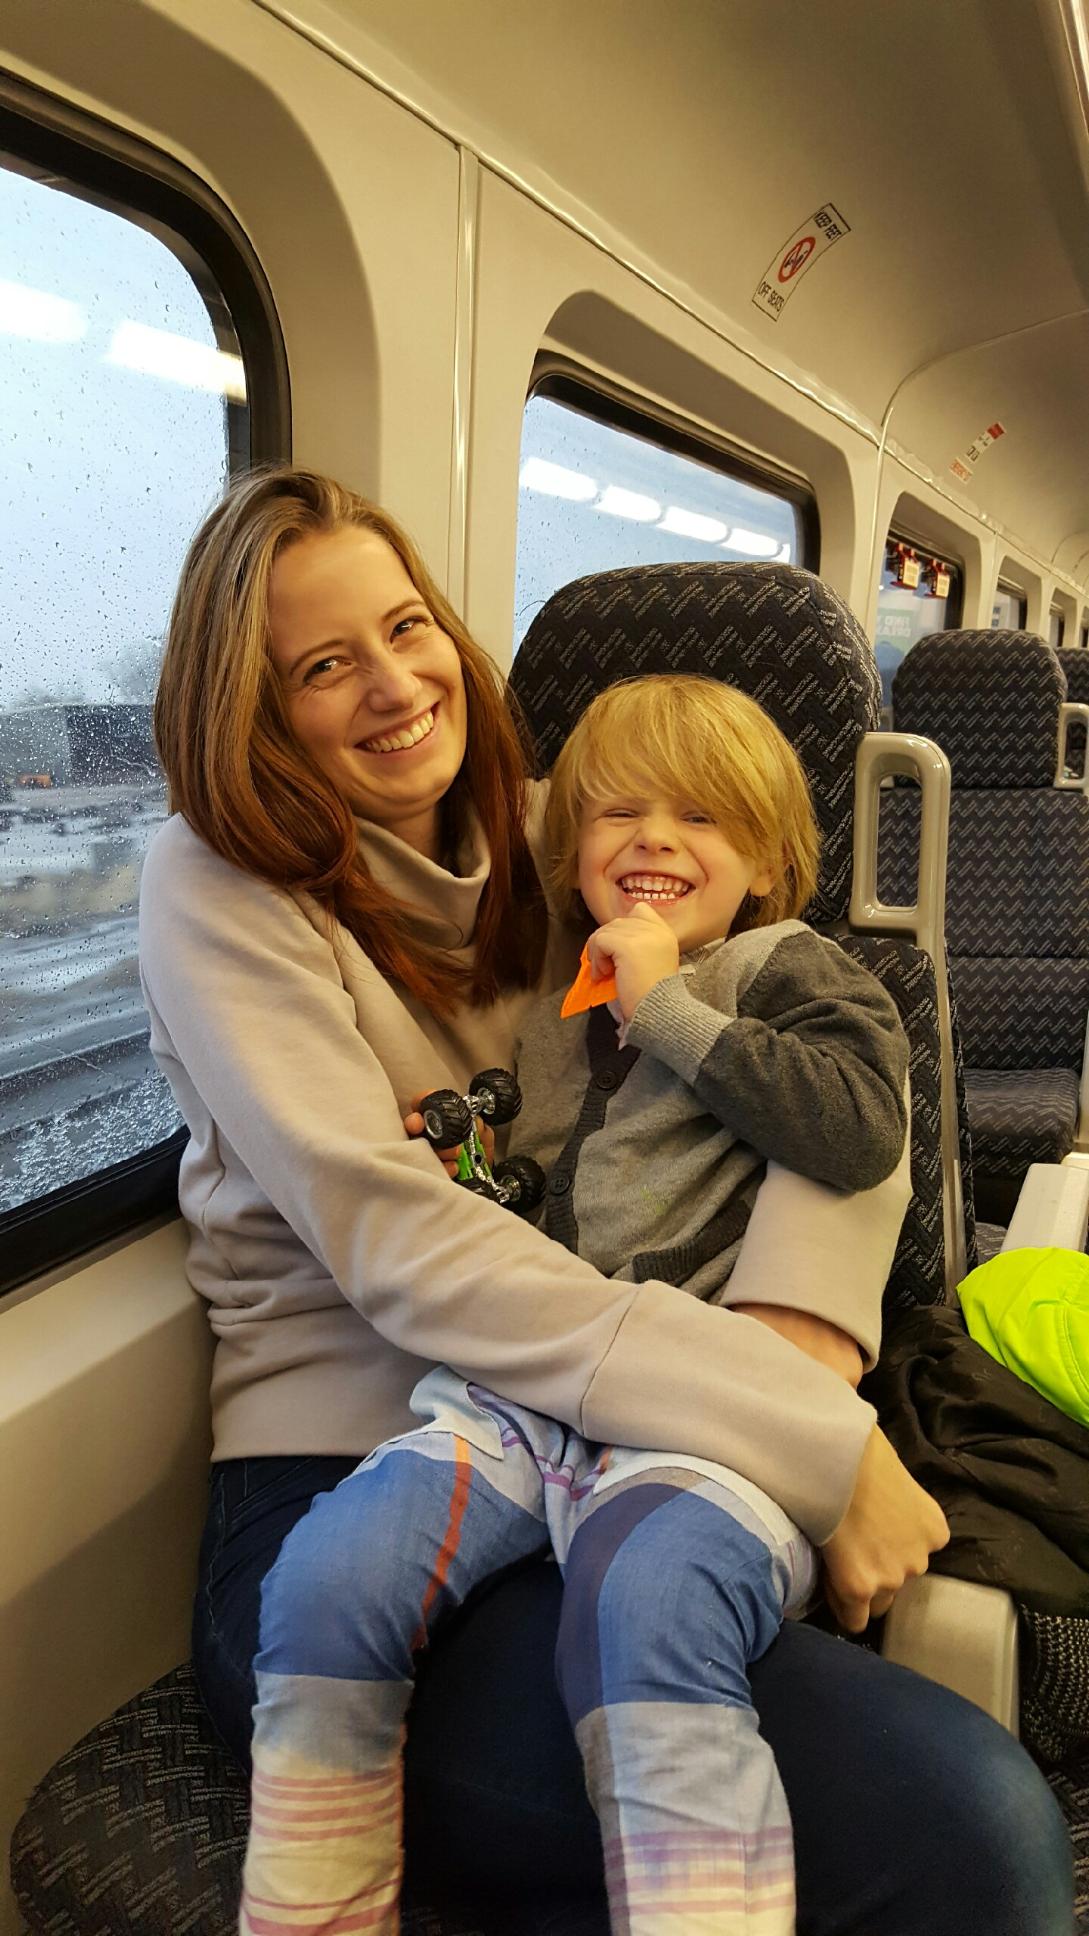
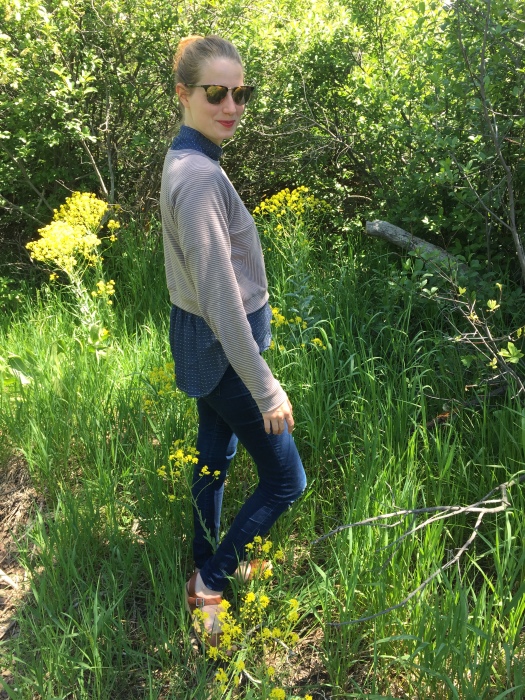
These photos were snapped during a short getaway to the cabin. My husband proposed to me in this place and our wedding reception was held on the property. I always leave wishing we could spend just a little more time here. My clothes are a bit wrinkly because my son and I woke up and walked the property while watching the sunrise. By the time my husband was available to help take pictures, I’d spent half the day wearing this outfit. I’ll leave you with a blurry, but lovely self-timer photo snapped during our sunrise walk.

IMG_0942

Toaster Sweater #1


November and December were hectic months in the Merritts household. My husband and I both had exciting interviews, he graduated college and started his career, my baby sister got married, and I finished up a decent amount of commission sewing work. I got far too little sleep and most of those months are a bit of a blur, but I’m proud of what we were able to accomplish and the lessons we learned in those challenging months. During especially busy weeks/months, I find that my sanity is restored with a bit of “just for fun” sewing. This Toaster Sweater #1 by Sew House Seven was one of my sanity saver projects in December.

20161216_092742

One morning I had just dropped off the last of my commission quilts at the quilter and was waiting for fabric to arrive for my next assignment. My husband and I were going on our first date in months that evening and I wanted something new to wear. I remembered that I had already traced and cut the pieces for a Toaster Sweater and assembly was the last step. Sewing it together took me about two hours including the time taken to feed my 3 year old and assist with potty breaks. The assembly could probably be finished in about an hour with no distractions.

20161216_092750

The fabric I used for my sweater is an organic cotton fleece made by Birch Fabrics. It feels even cozier than my favorite over sized sweatshirt, but looks a bit more stylish. After completion, I tried on my Toaster Sweater and basically didn’t take it off  for the next three days. It kept me warm in my freezing apartment, cozy while waiting for a train in a snowstorm, generally feeling much less sloppy when running errands. I honestly just feel like I need to make several more of the exact same sweater so that I can use it as my winter uniform. I always struggle with feeling stylish in winter because I only want to wear cozy sweats and my husband’s sweatshirts in the freezing weather. A Toaster Sweater uniform just may be the solution to my dilemma. Does anyone else find themselves wearing a “winter uniform?”

20161216_092746

Just a couple quick notes on sizing and alterations:

-I sewed up a size small and added 3 inches to the bodice length. When making this again, I would probably add another inch to the bodice to make a total of 4 inches added. The current length is great with my high waist jeans, but just a bit short for my lower rise jeans.

– I added 1.5 inches to the sleeve length and am very happy with the finished length because I like my sleeves extra long.

20161216_092752

img_8718


Bonn Shirt

I had already agreed to another pattern testing commitment when Kennis Wong of Itch to Stitch sent out a call for Bonn Shirt and Dress testers. I knew immediately that I had to apply even if it meant staying up a little later to sew each evening. It was all worth it for this beautifully designed top.

DSC_0711

The Bonn Shirt pattern has a dress and top option along with four different sleeve variations. Sizes 00-20 are included in the PDF pattern (purchase here) which is on sale for 20% off (regularly $12). Also included in the pattern are separate bodice pieces for A-DD cup sizes. I sewed the shirt version with 3/4 sleeves in size 2 with an A cup and graded to a 4 at the hips.

I chose to sew my final top in this Echinacea print rayon by Anna Maria Horner; which is really no surprise if you’ve seen my current handmade wardrobe. The rayon was a little trickier to sew than the mystery poly-cotton blend used for my muslin, but the way the shirt drapes is well worth the extra effort. Let’s just take a moment to appreciate the grandeur of this print.

DSC_0719

My top came together fairly quick and was a satisfying sew. The impeccable drafting on this top made setting in the sleeves simple and stress free. I had the most difficulty when attaching the collar, which was still made simpler by Kennis’s detailed instructions and diagrams. There are also several skill tutorials on the Itch to Stitch blog that make things like setting in sleeves and attaching collars much easier. Even if you’re not planning on sewing up a Bonn Shirt or Dress you should plan on visiting her blog to find well-written tutorials on commonly used techniques. I’ll leave you with a few more photos of my Bonn Shirt so you see more angles and more fully appreciate the lovely drape of this rayon.

DSC_0726
I’ve become a wooden button convert after ordering these round shirt buttons from Arrow Mountain. I’ve already got another Etsy cart full of them and cannot wait to order more for use on some exciting future projects.


DSC_0690DSC_0714DSC_0738

Thanks for reading!