Named Clothing Gemma Dress

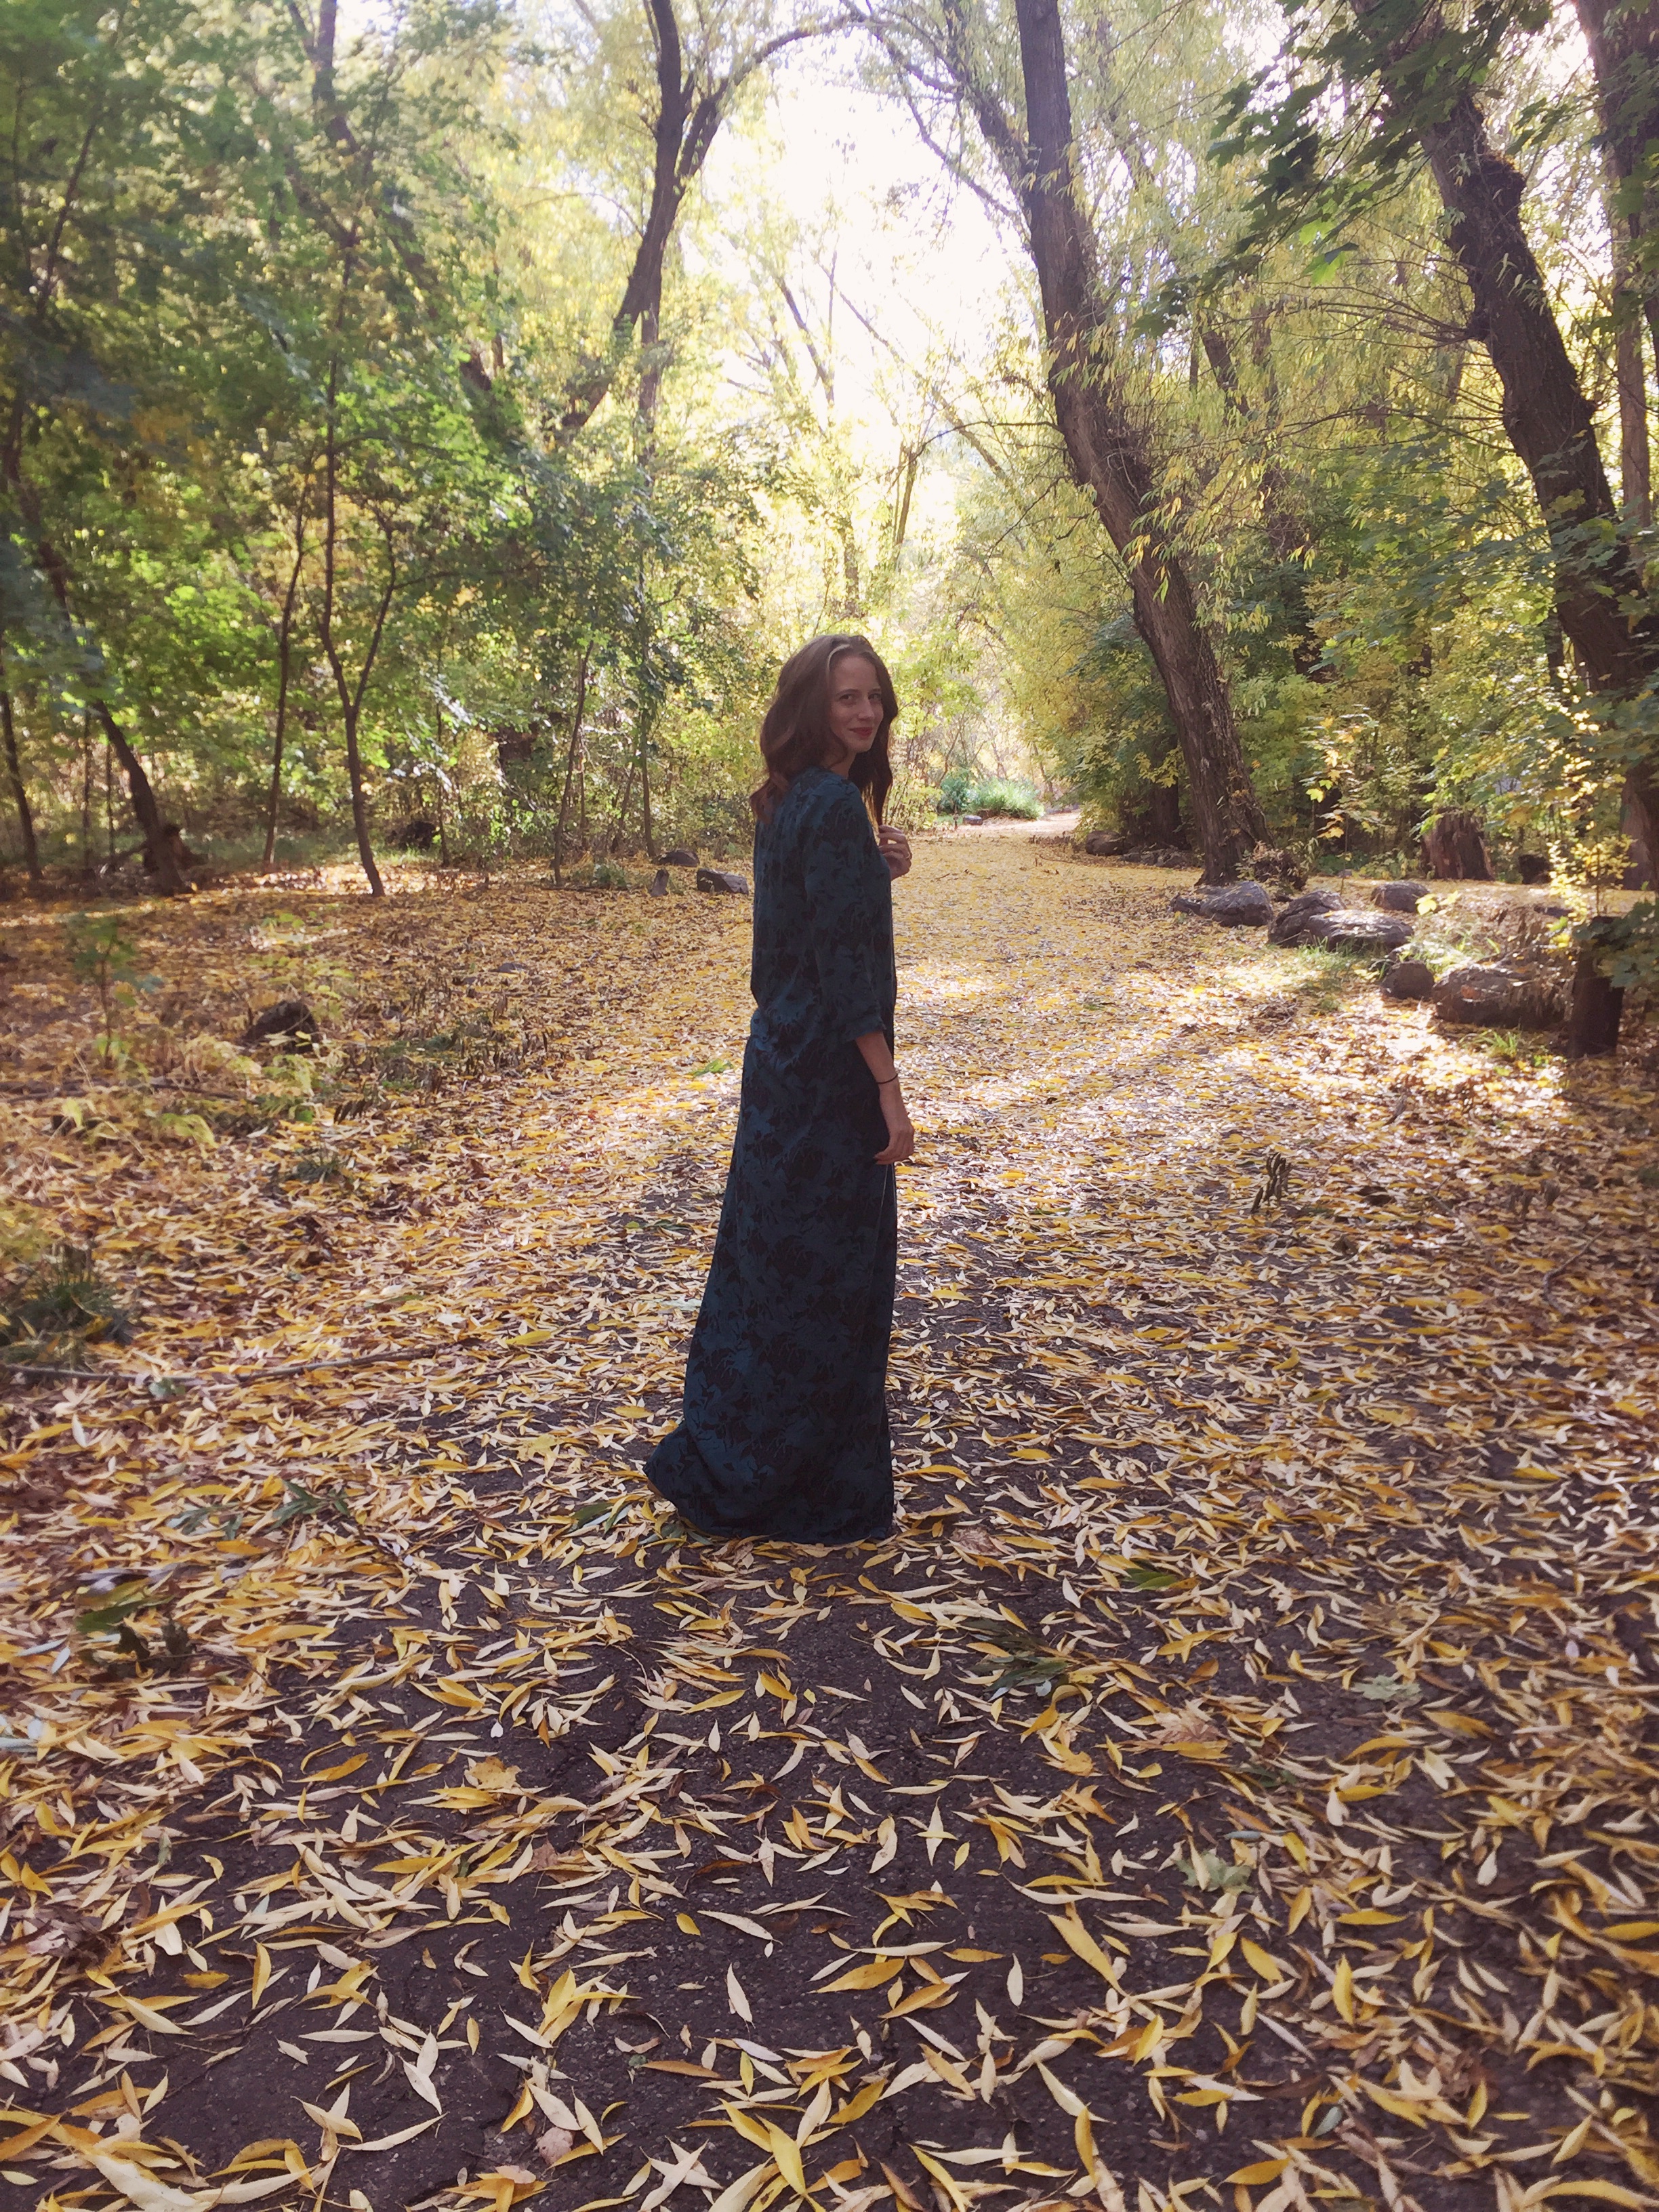
Today I’d like to introduce you to my Named Clothing Gemma Dress. My inner 90’s girl jumped for joy when stretch velvet started making a comeback a couple of years ago. I first fell in love with the sweatshirt version of the Gemma pattern, but have yet to find the perfect fabric combination for it. When my cousin got engaged earlier this year and announced that she’d be married in December, I knew this was the perfect excuse for making a new winter appropriate dress.

IMG_2328IMG_2351

I snagged this olive colored stretch velvet and the Gemma printed pattern from Stylemaker Fabrics during their Black Friday Sale. I ordered on Thursday and had the goods in my hands by the following Monday. Michelle currently has a great selection of stretch velvet available and I’m doing my best to convince myself that I don’t need it in every color of the rainbow.

IMG_2343IMG_2336

Styling this dress presented me with a bit of a conundrum.  You may have noticed that I always wear the same few pairs of shoes. Almost two years ago, I decided to purge and scale back my shoe wardrobe. I had nearly 30 pairs of shoes that were rarely worn or falling apart because they were poorly made. I love a good pair of shoes, but these were just feeling like a waste of my space and money. I made a list of shoes that were necessary in my wardrobe (snow boots, athletic shoes, a pair of dress shoes, etc.) Eventually I whittled my collection down to 8 pairs of shoes. This system has worked quite well for me over the last few years. It’s encouraged me to be more intentional about shoe purchases and creative with my styling. I’m not great at scaling back in many areas of my life, but this one has brought me a little peace of mind. Here’s my little soapbox of the day: You don’t have to Marie Kondo your entire life to feel peace of mind. Find one thing that you can live with less of  (decorations, shoes, pants, t-shirts, pens, etc.) and start there. Maybe you’ll be surprised with what you can live without, or maybe not. I’m really no expert here.

IMG_2324IMG_2350

Now that I’ve presented my little soapbox, let’s get back to my styling conundrum. After seriously considering purchasing a new pair of shoes, I decided to dress the outfit down a bit by wearing my Teva ankle boots. While not the prettiest option, they were certainly my most practical when presented with the thought of walking on ice and winter slush. In order to make it work, I decided on a slightly boho vibe. I selected a pair of simple dangle earrings, patterned tights, and decided on a crown braid for my hair styling. The thought of a crown braid presented me with another issue: I cannot braid to save my life. Enter Vienna: My kind and beautiful friend Vienna of The Late Sew offered to braid my hair and assist me in taking photos. Sewing friends are some of the freaking best, seriously.

IMG_2354IMG_2345

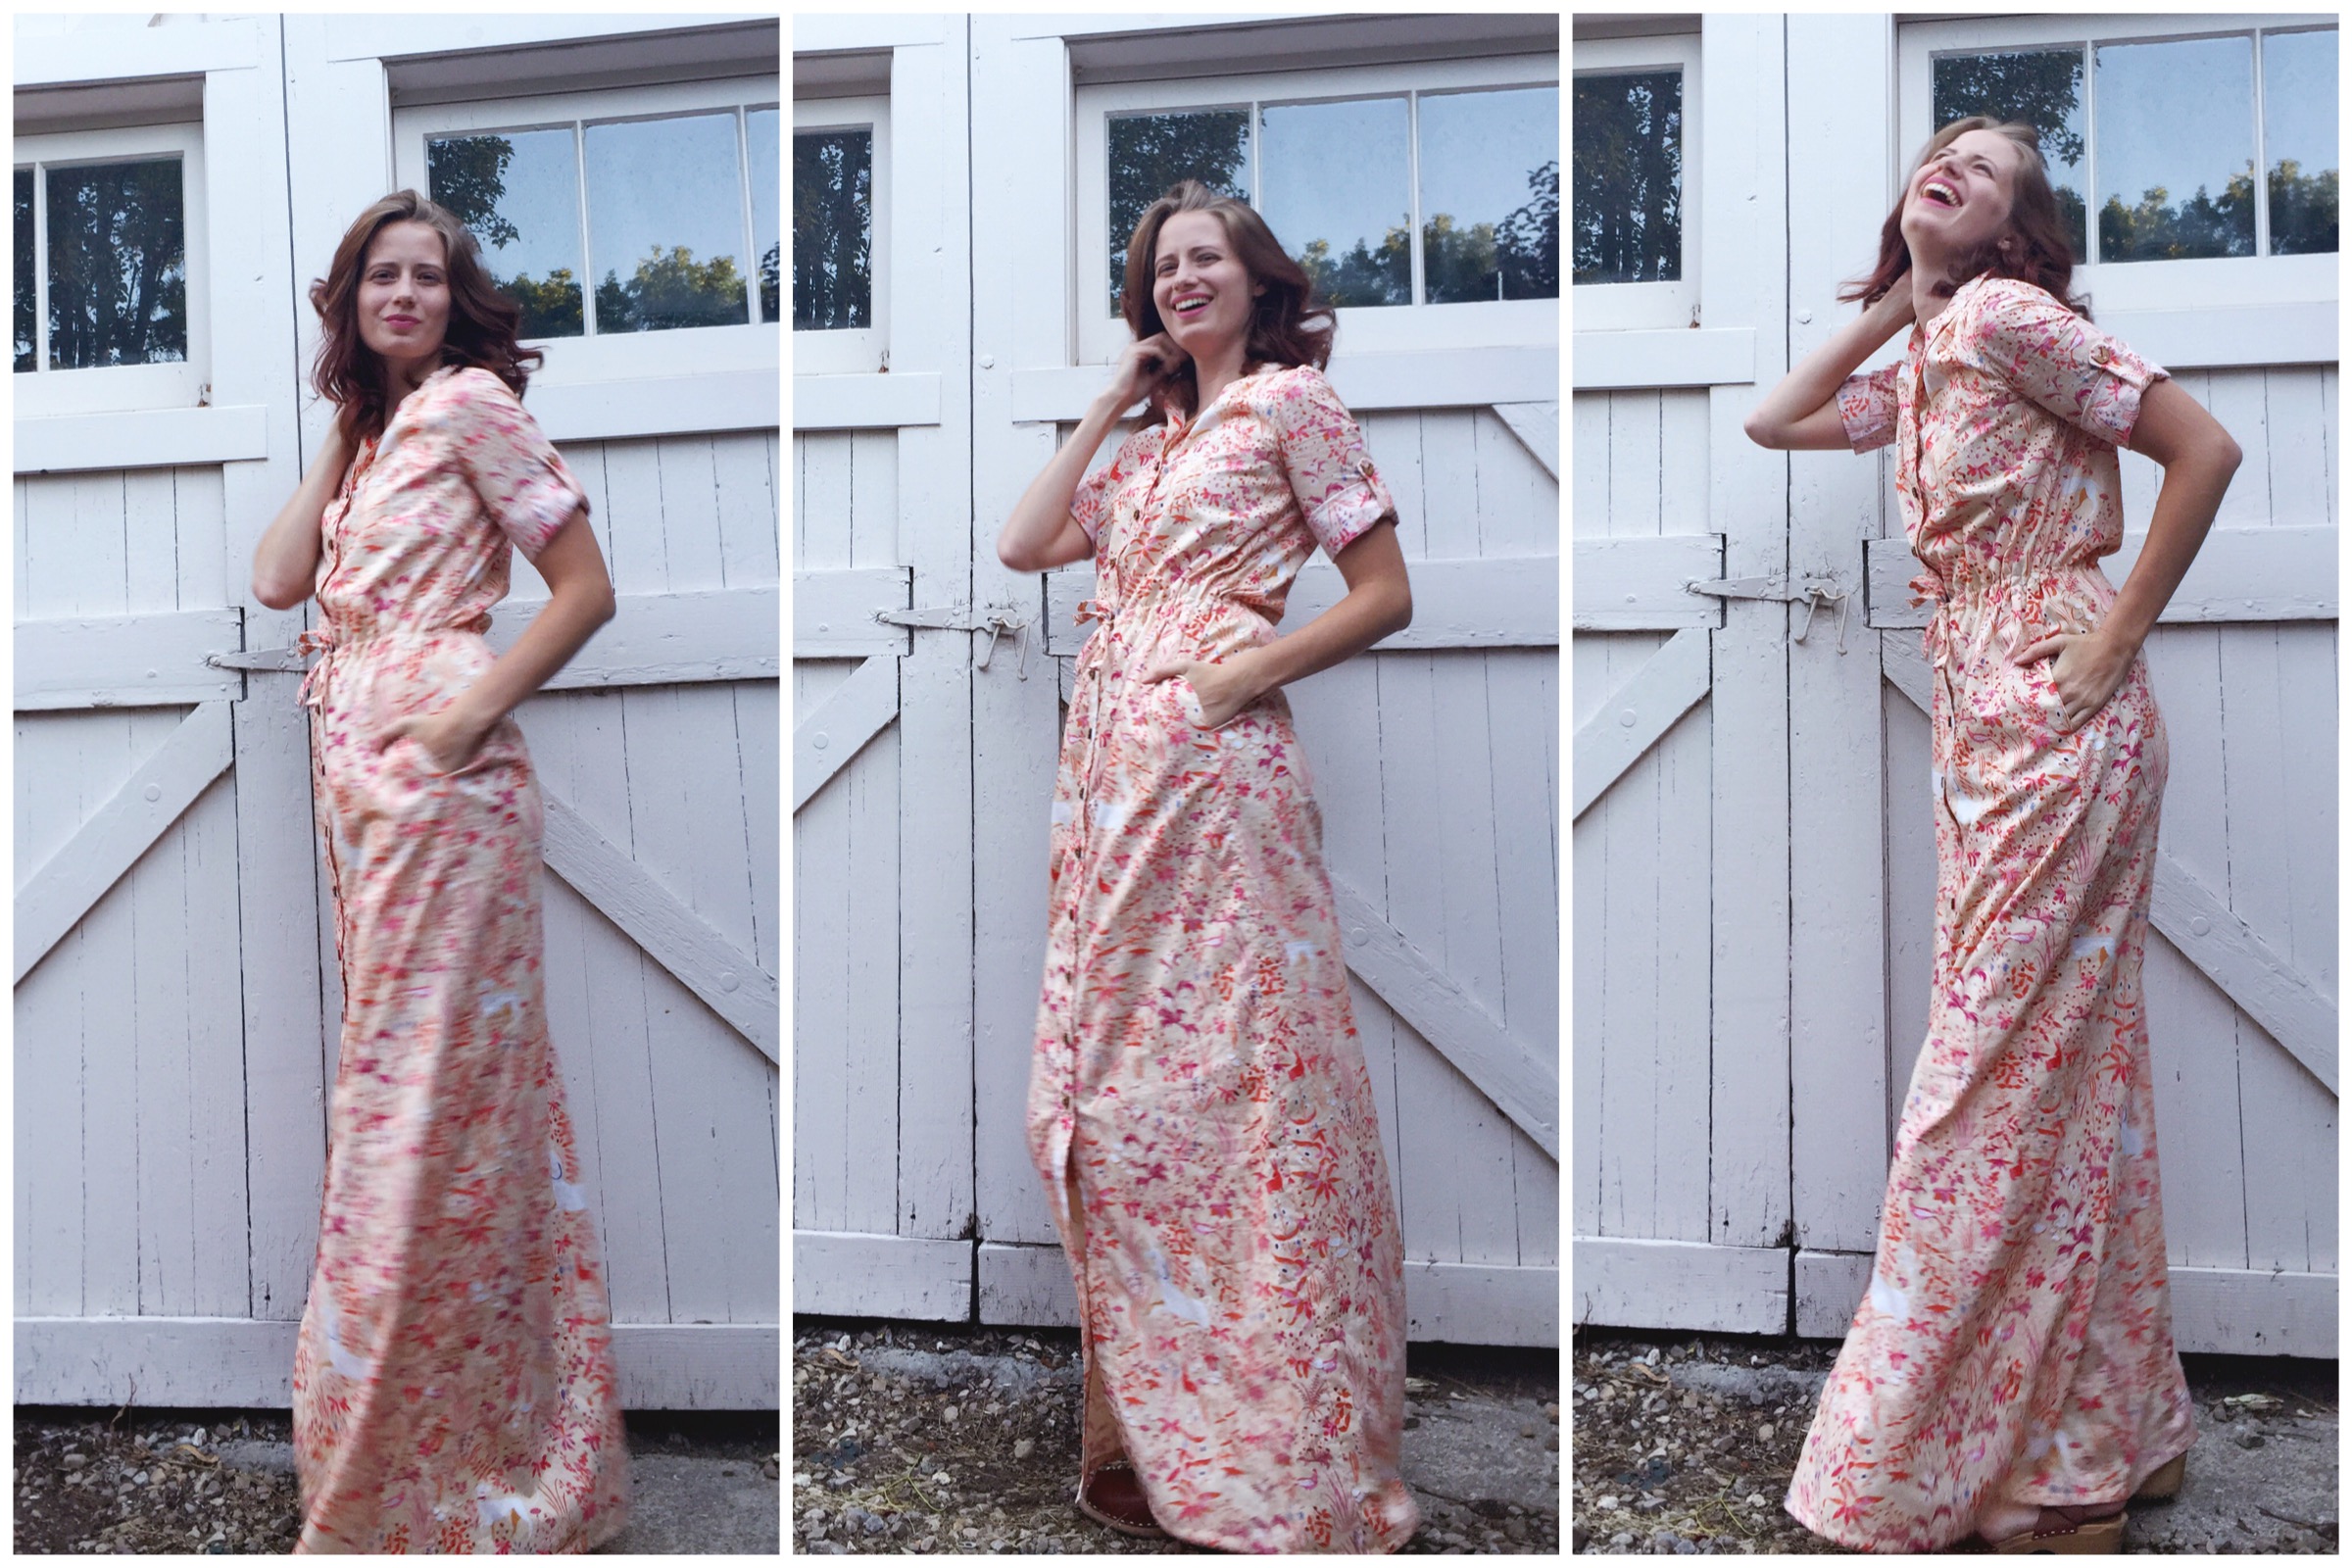
Overall I couldn’t be more pleased with this dress and can’t wait to invent a million occasions to which I can wear such a lovely thing. Who am I kidding? I totally wore this to the grocery store, cooked dinner, and while sewing last night. I might never take it off.

IMG_2325

As always, I’ll leave you with a little note on sizing: I sewed a 38 graded to a 40 at the hips. My only other modifications were adding 2 inches to the length and sewing the slit closed an extra 4 inches for a bit more coverage on the back.

Want to see another Named pattern sewn up? Check out my Ronja Dungarees here.

Love the Gemma pattern? See my Gemma Sweater here.

Need a some more Gemma Dress inspiration? Check out Sara’s gorgeous maternity version here.

Highlands Wrap Dress by Allie Olson

Last weekend, I was finally able to finish this maxi length Highlands Wrap Dress. I originally intended to finish it back in June but moving and life in general just got in the way. Way back in late winter/early spring, I had the opportunity to test this pattern for Allie. I ended up making a midi length version using gray rayon chambray. I loved the fit of the dress, but the fabric just wasn’t my favorite. I knew I needed to make a second wrap dress in fabric more suited to my style (aka: more color/print).

IMG_1701

IMG_1757

I’ve literally been in love with this Anna Maria Horner rayon challis print for years. This fabric was originally printed back in 2014 so I thought I’d missed my chance to buy more until a bolt showed up at Suppose. I immediately knew it was meant for a Highlands Wrap Dress and purchased a few yards.

IMG_1714IMG_1740

When tracing the pattern I selected a size 4 and graded to a 6 in the hips. I added a total of 4 inches to the length to accommodate my height (2″ at the hips and 2″ below the slit). In retrospect, I probably should’ve added all 4 of those inches above the slit because it is cut just a bit high for my personal preference. I plan to unpick a bit of the side slits and resew them to hit right above my knee. The high slits are a lovely design feature, just not quite as practical for my lifestyle.

IMG_1761IMG_1753

Back when I made my original test version, I didn’t add interfacing to the front facings. That was a terrible mistake and made top-stitching the facings a real pain in the you know what. This time, I decided to make a better choice and chose to interface them. I chose a tricot knit interfacing and it worked like a dream. Stitching the facings in place was about 100 times easier and I totally kicked myself for not using it on my first Highlands. I was originally introduced to knit interfacing when sewing a pattern by Gabriela of Chalk and Notch. She recommends it in many of her patterns, and that chick really knows her stuff. I know it’s going to be good if it’s recommended by Gabriela.

IMG_1729

Saying that I’m happy with this dress would be an understatement. There’s just something about a flowy, floral print dress that makes me feel put together and pretty. Now excuse me while I go experiment with ways to style this dress for fall and winter. It’s far too lovely to wear only during the summer months.

Note: You might notice that the darts are looking a bit high in these photos. I noticed this when I got home and started editing these. I made the mistake of wearing a different bra when fitting the dress than I was wearing the day I took these photos. Until I started sewing my own clothing, I never realized how much wearing the right undergarments matters (it matters a lot). Now that I’ve made this mistake, I’ll hopefully remember which bra to wear when taking photos in the future.

Bonn Shirt Turned Maxi Dress

Back in September, I had the opportunity to test the Bonn Shirt pattern by Itch to Stitch Designs. Read about it here. I fell in love with the fit of the top, but wanted to do something a bit more dramatic. After making Simplicity 8084 and seeing this dress, the idea for a Bonn maxi dress was born.

dsc_0479
Wooden buttons purchased from Arrow Mountain.

dsc_0485

While I love a good curve hugging dress, they often aren’t practical for me to wear outside of special occasions.  I wanted this dress to be a bit fitted around the bust and fall straight down from the hips. With that silhouette in mind, modifying the Bonn Shirt to a maxi was really quite simple.The Bonn pattern actually includes a knee-length dress option, but modifying the shirt pattern pieces worked better for my specific fit goals.  At the hips, I widened the front pattern pieces by 1″ and the back pieces by 1.5″ to give a comfortable amount of ease. I made notches in the pattern to match the front and back pieces at the hips. Once the notches were made, I added about 40″ to the length ( I measured my desired length at the center back and at the underarm seams to determine this). I added the length straight down from the hip line on front and back, continuing the front button placket all the way to the hem. I added the same amount of length to the placket interfacing piece. I love the way my Simplicity 8084 maxi buttons to the knee and used a total of 12 buttons to copy that look.

dsc_0581

Modifying the Bonn Shirt pattern turned out to be the least challenging aspect of making this dress. I’ve been working with lots of deadlines and only allowed myself to work on this for an hour or two after meeting my productivity goals for other projects. This led to a lot of late night sewing mistakes.

First, The back dress piece on a loose pin and created a  0.5″ hole right in the middle. Solution number 1: I sliced a 1″ strip out of the back and pieced in a new strip. The wild print is great at hiding my Frankenstein style strip and it’s really not noticeable unless you’re within 10 inches of my back.

Second, I cut the left sleeve completely crooked. Honestly, I don’t even know how it got so crooked. it was off by inches. Solution number 2: This one was easy. I had just enough leftover fabric so I re-cut the sleeve. While this was a simple solution it still added about a half hour to my limited sewing time.

Third,  I hemmed the dress in the middle of the night and didn’t have anyone to help me mark the hem. I usually don’t have too much trouble with this, but the maxi length combined with the drape of the fabric made it complicated. It ended up taking about three times as long after I cut the hem at a slight angle. Solution number 3: Keep trying.

dsc_0472
Fabric is Helios rayon by Anna Maria Horner

This dress turned out to be such a rewarding project and I’m delighted that I decided to stick with it through the frustrations.It’s the perfect cross between an evening dress and comfortable nightgown, which is exactly what I’d envisioned. I’ve been anxious while considering so many facets of the future and this dress was therapeutic for me. Taking something and making it my own while working through the imperfections was just what I needed. It was a good reminder that mistakes and difficulties can still combine to make something wonderful. Was that too much? Thanks for sticking with me. Here are a few more photos and a sneak peek at my goofy family.

img_7673

dsc_0465


Simplicity 8084: My Dream Maxi Dress

I’ve been meaning to restart my blog for a couple of years now, but kept finding excuses or other ways to fill my time. After a summer filled with fun and inspiration, I’ve decided to quit making excuses and start blogging again. I’ve got some fun posts planned and cannot wait to share them with you. Today I’m sharing my Simplicity 8084 maxi dress.

IMG_6737
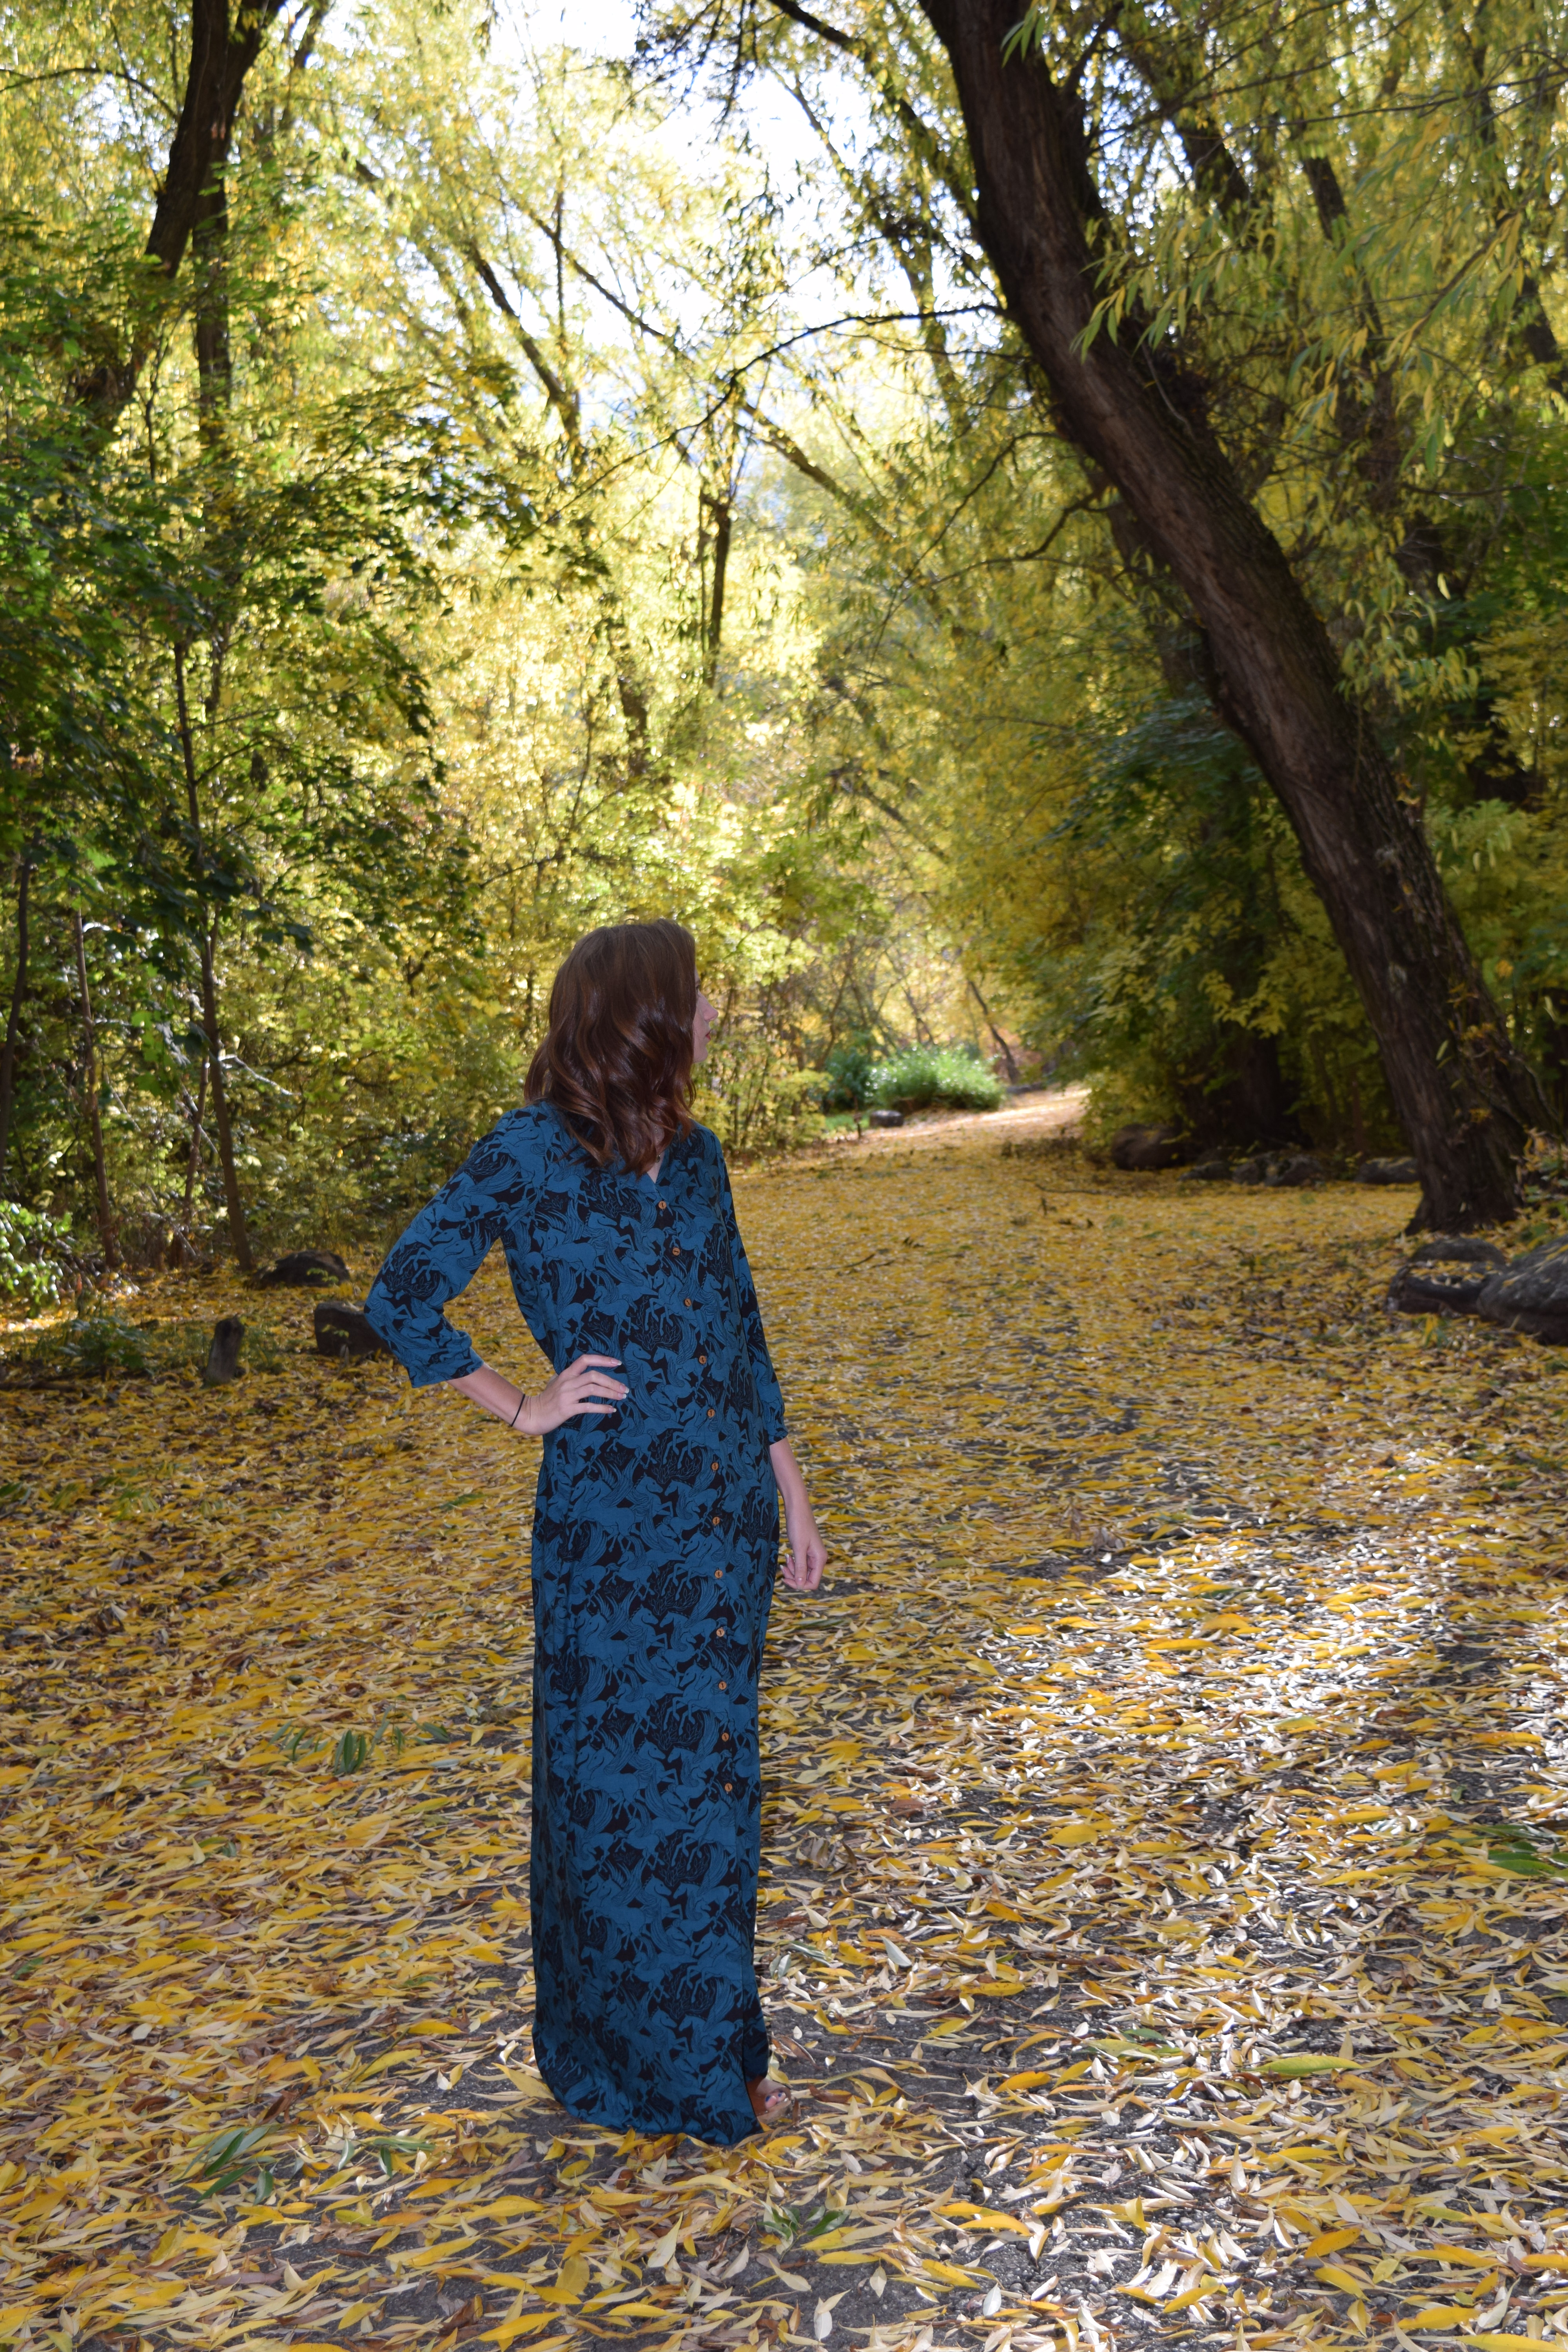
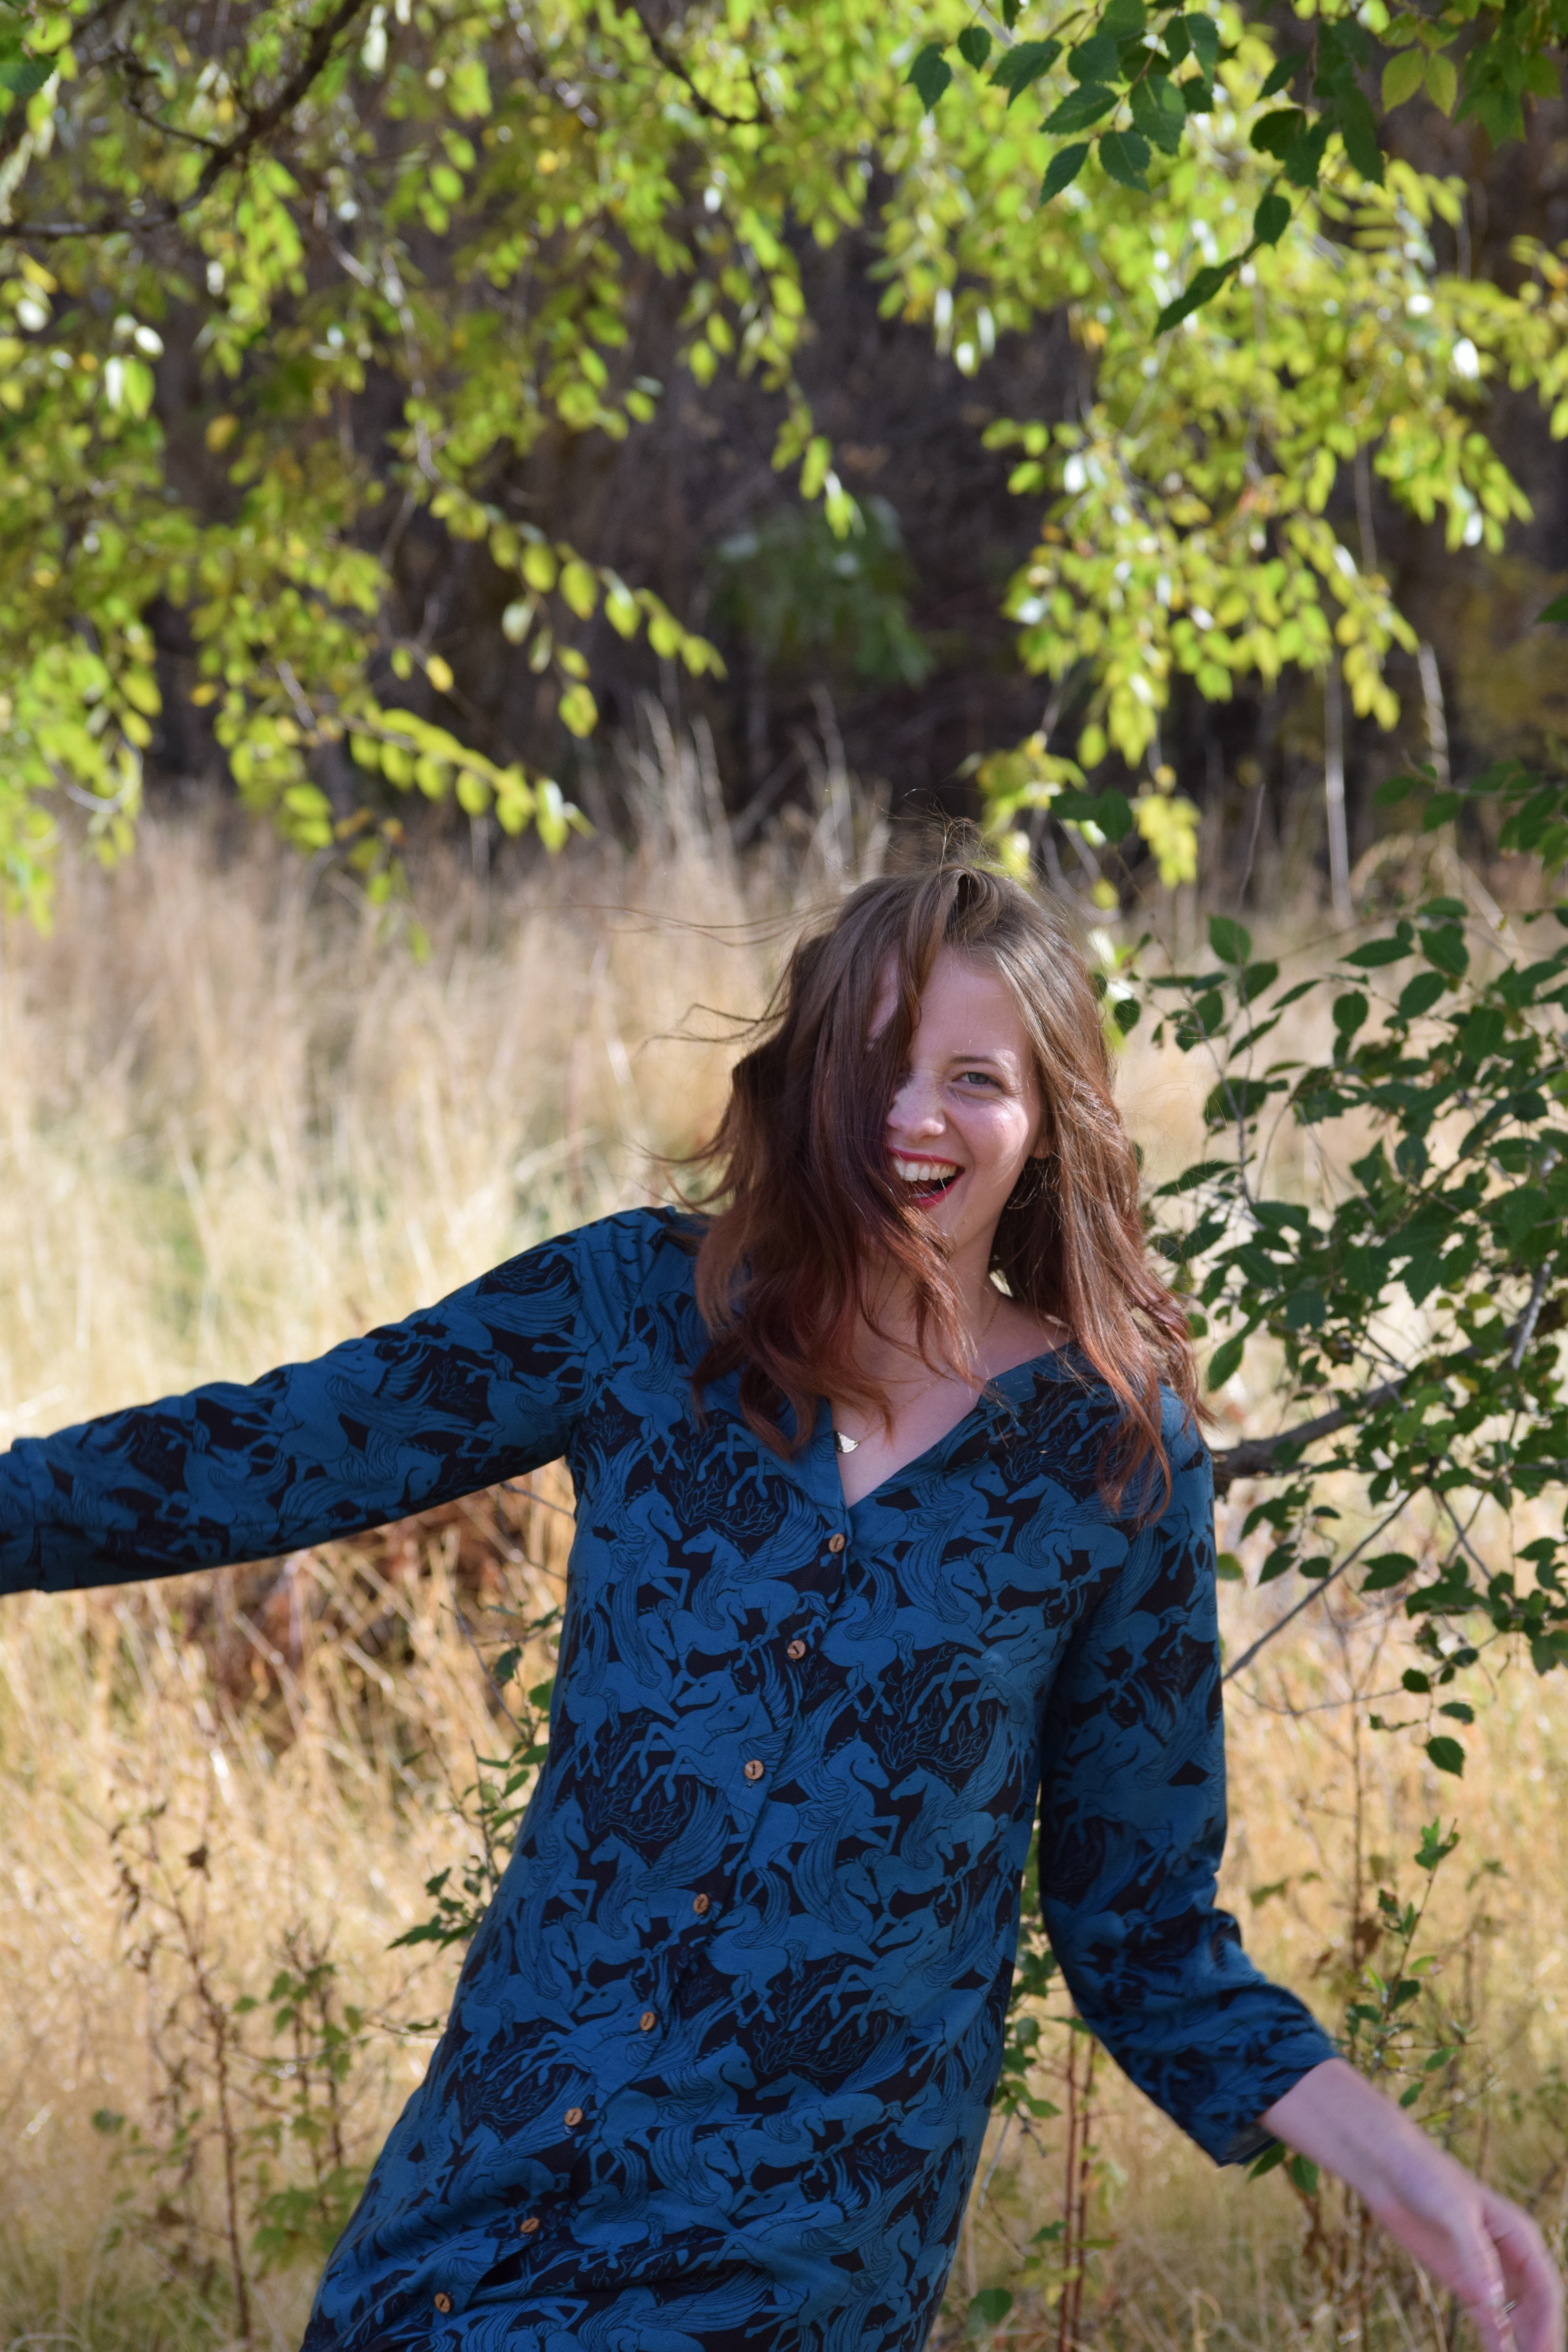
The photos above were taken using my self-timer so they’re a little blurry, but I love the way they show the movement of this dress.

I worked on this dress a little bit each month this summer and finishing it was the perfect way to celebrate a fantastic season. I selected this Lizzy House lawn from Suppose back in May and couldn’t wait to use it. Life got in the way so cutting the fabric wasn’t started until June. I sewed a step here and there throughout July, but really got to work in August when my wooden buttons arrived from Arrow Mountain.

image
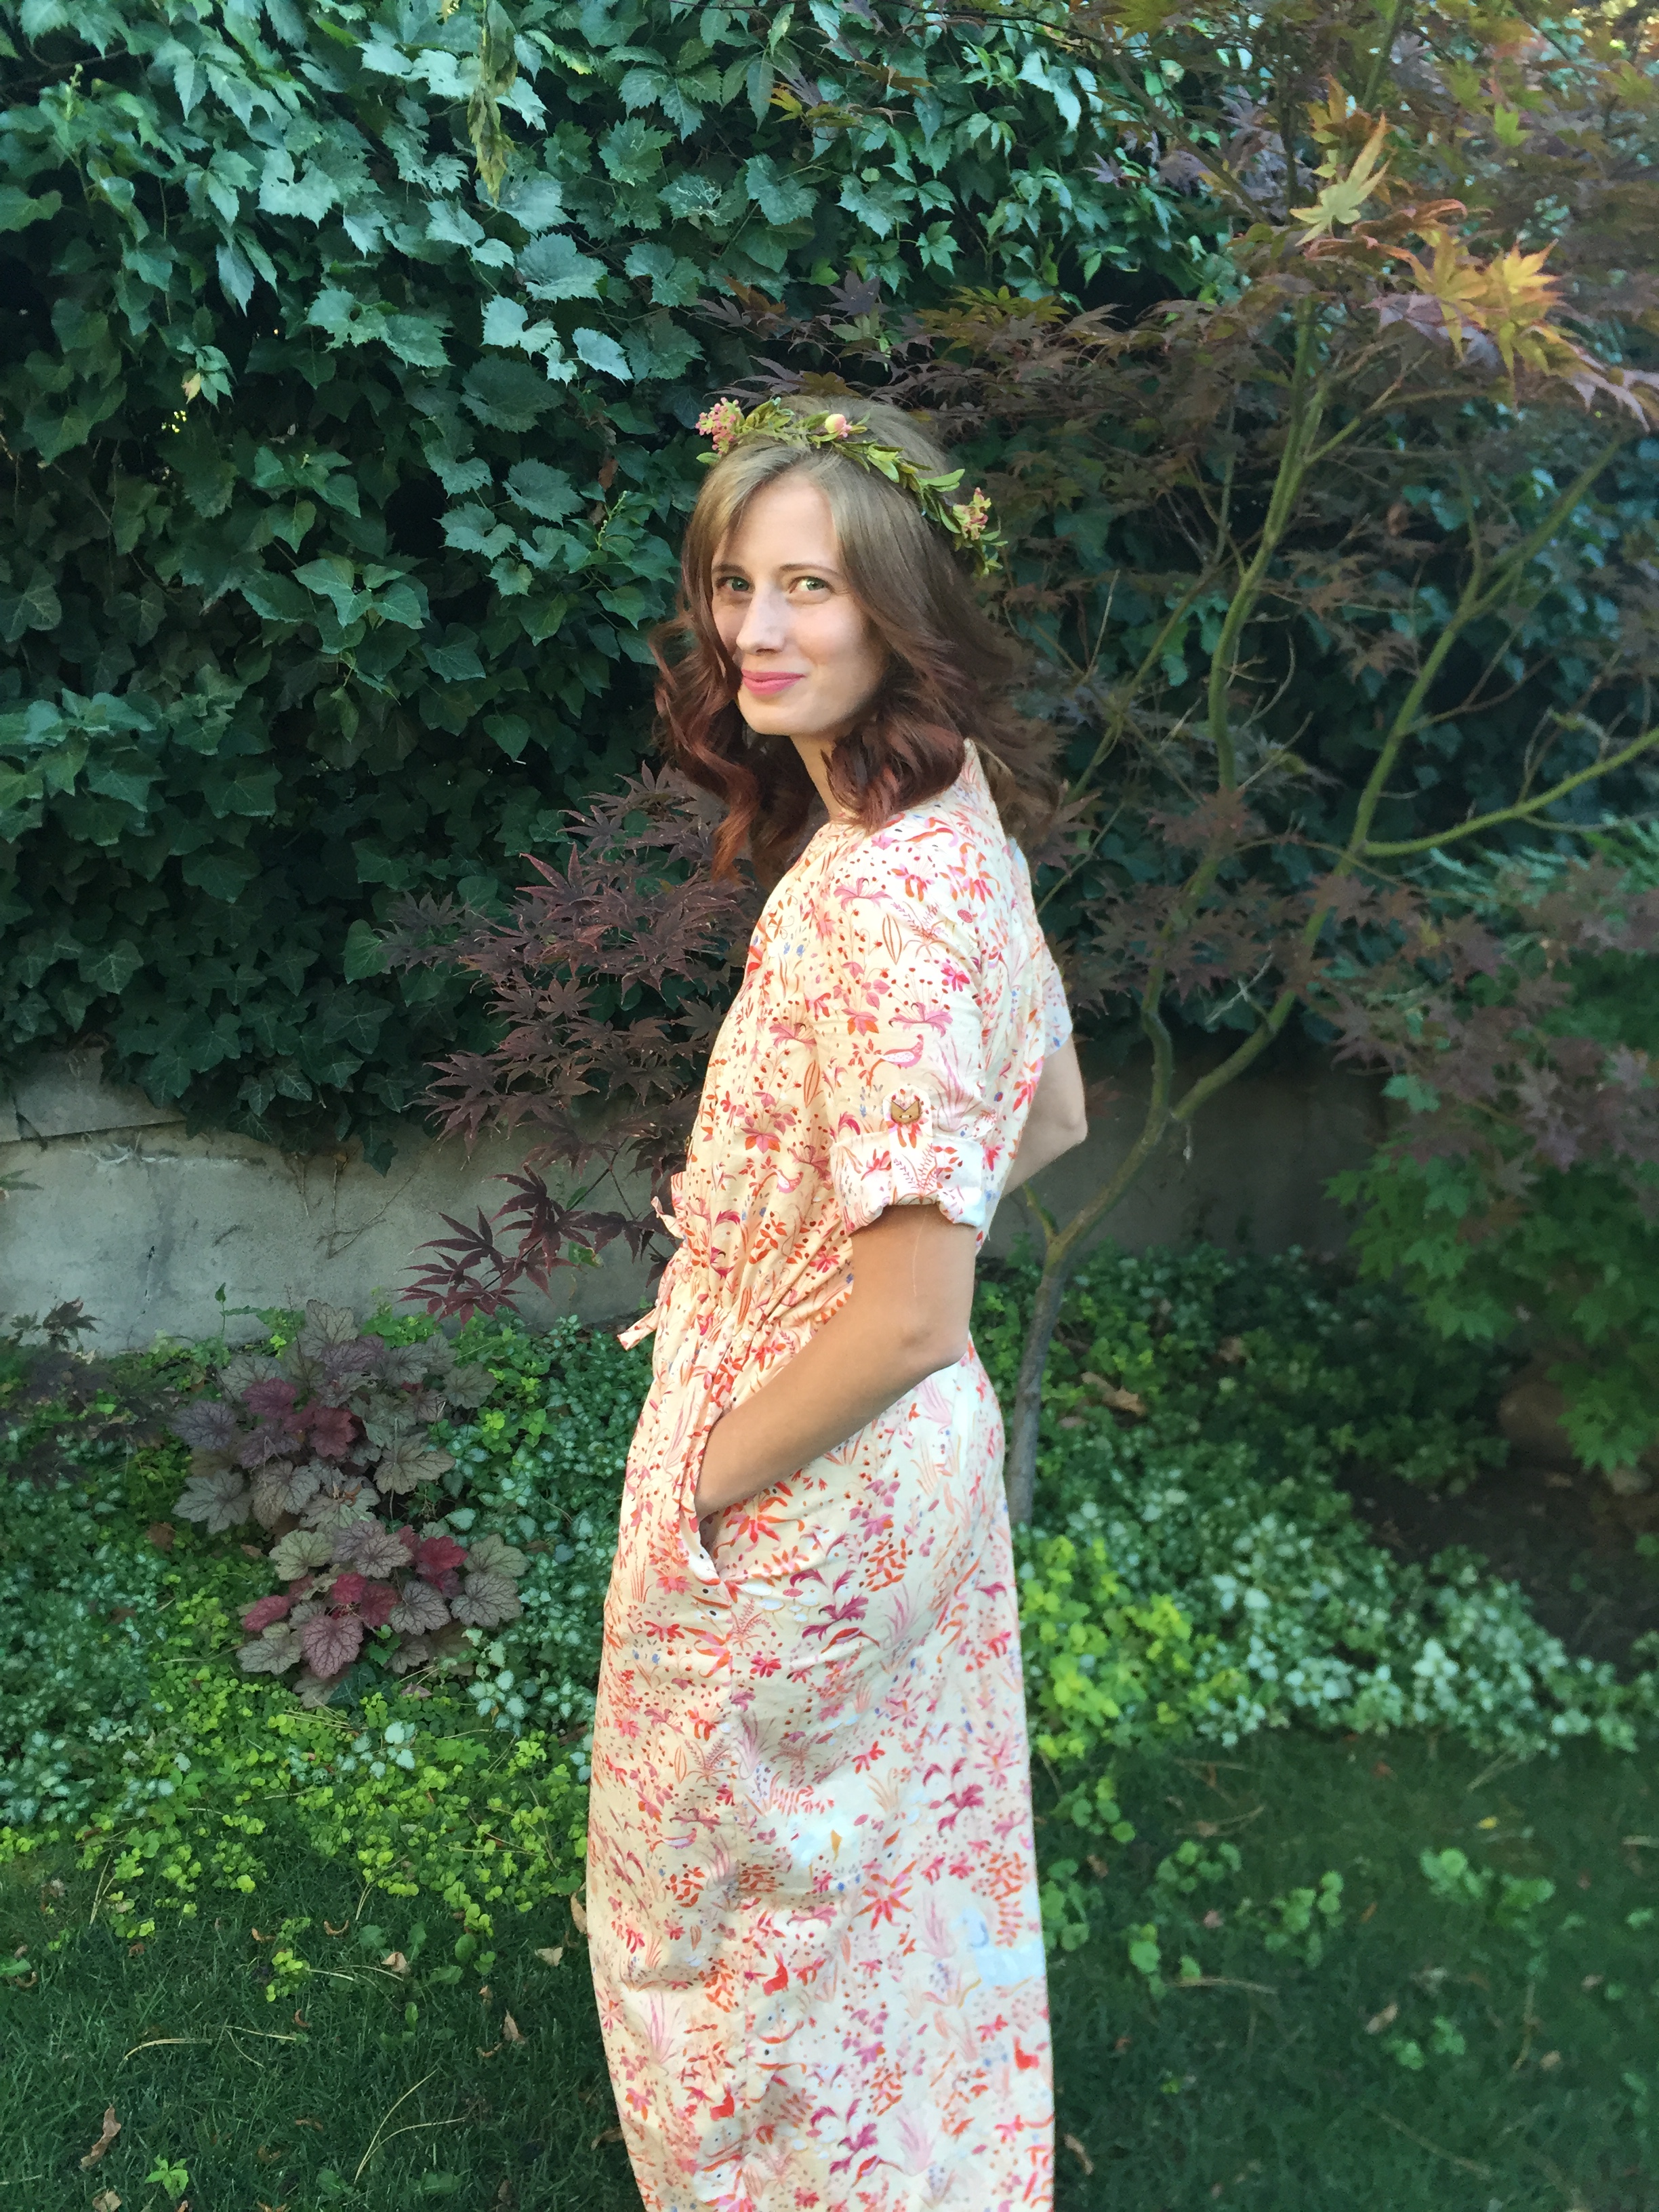
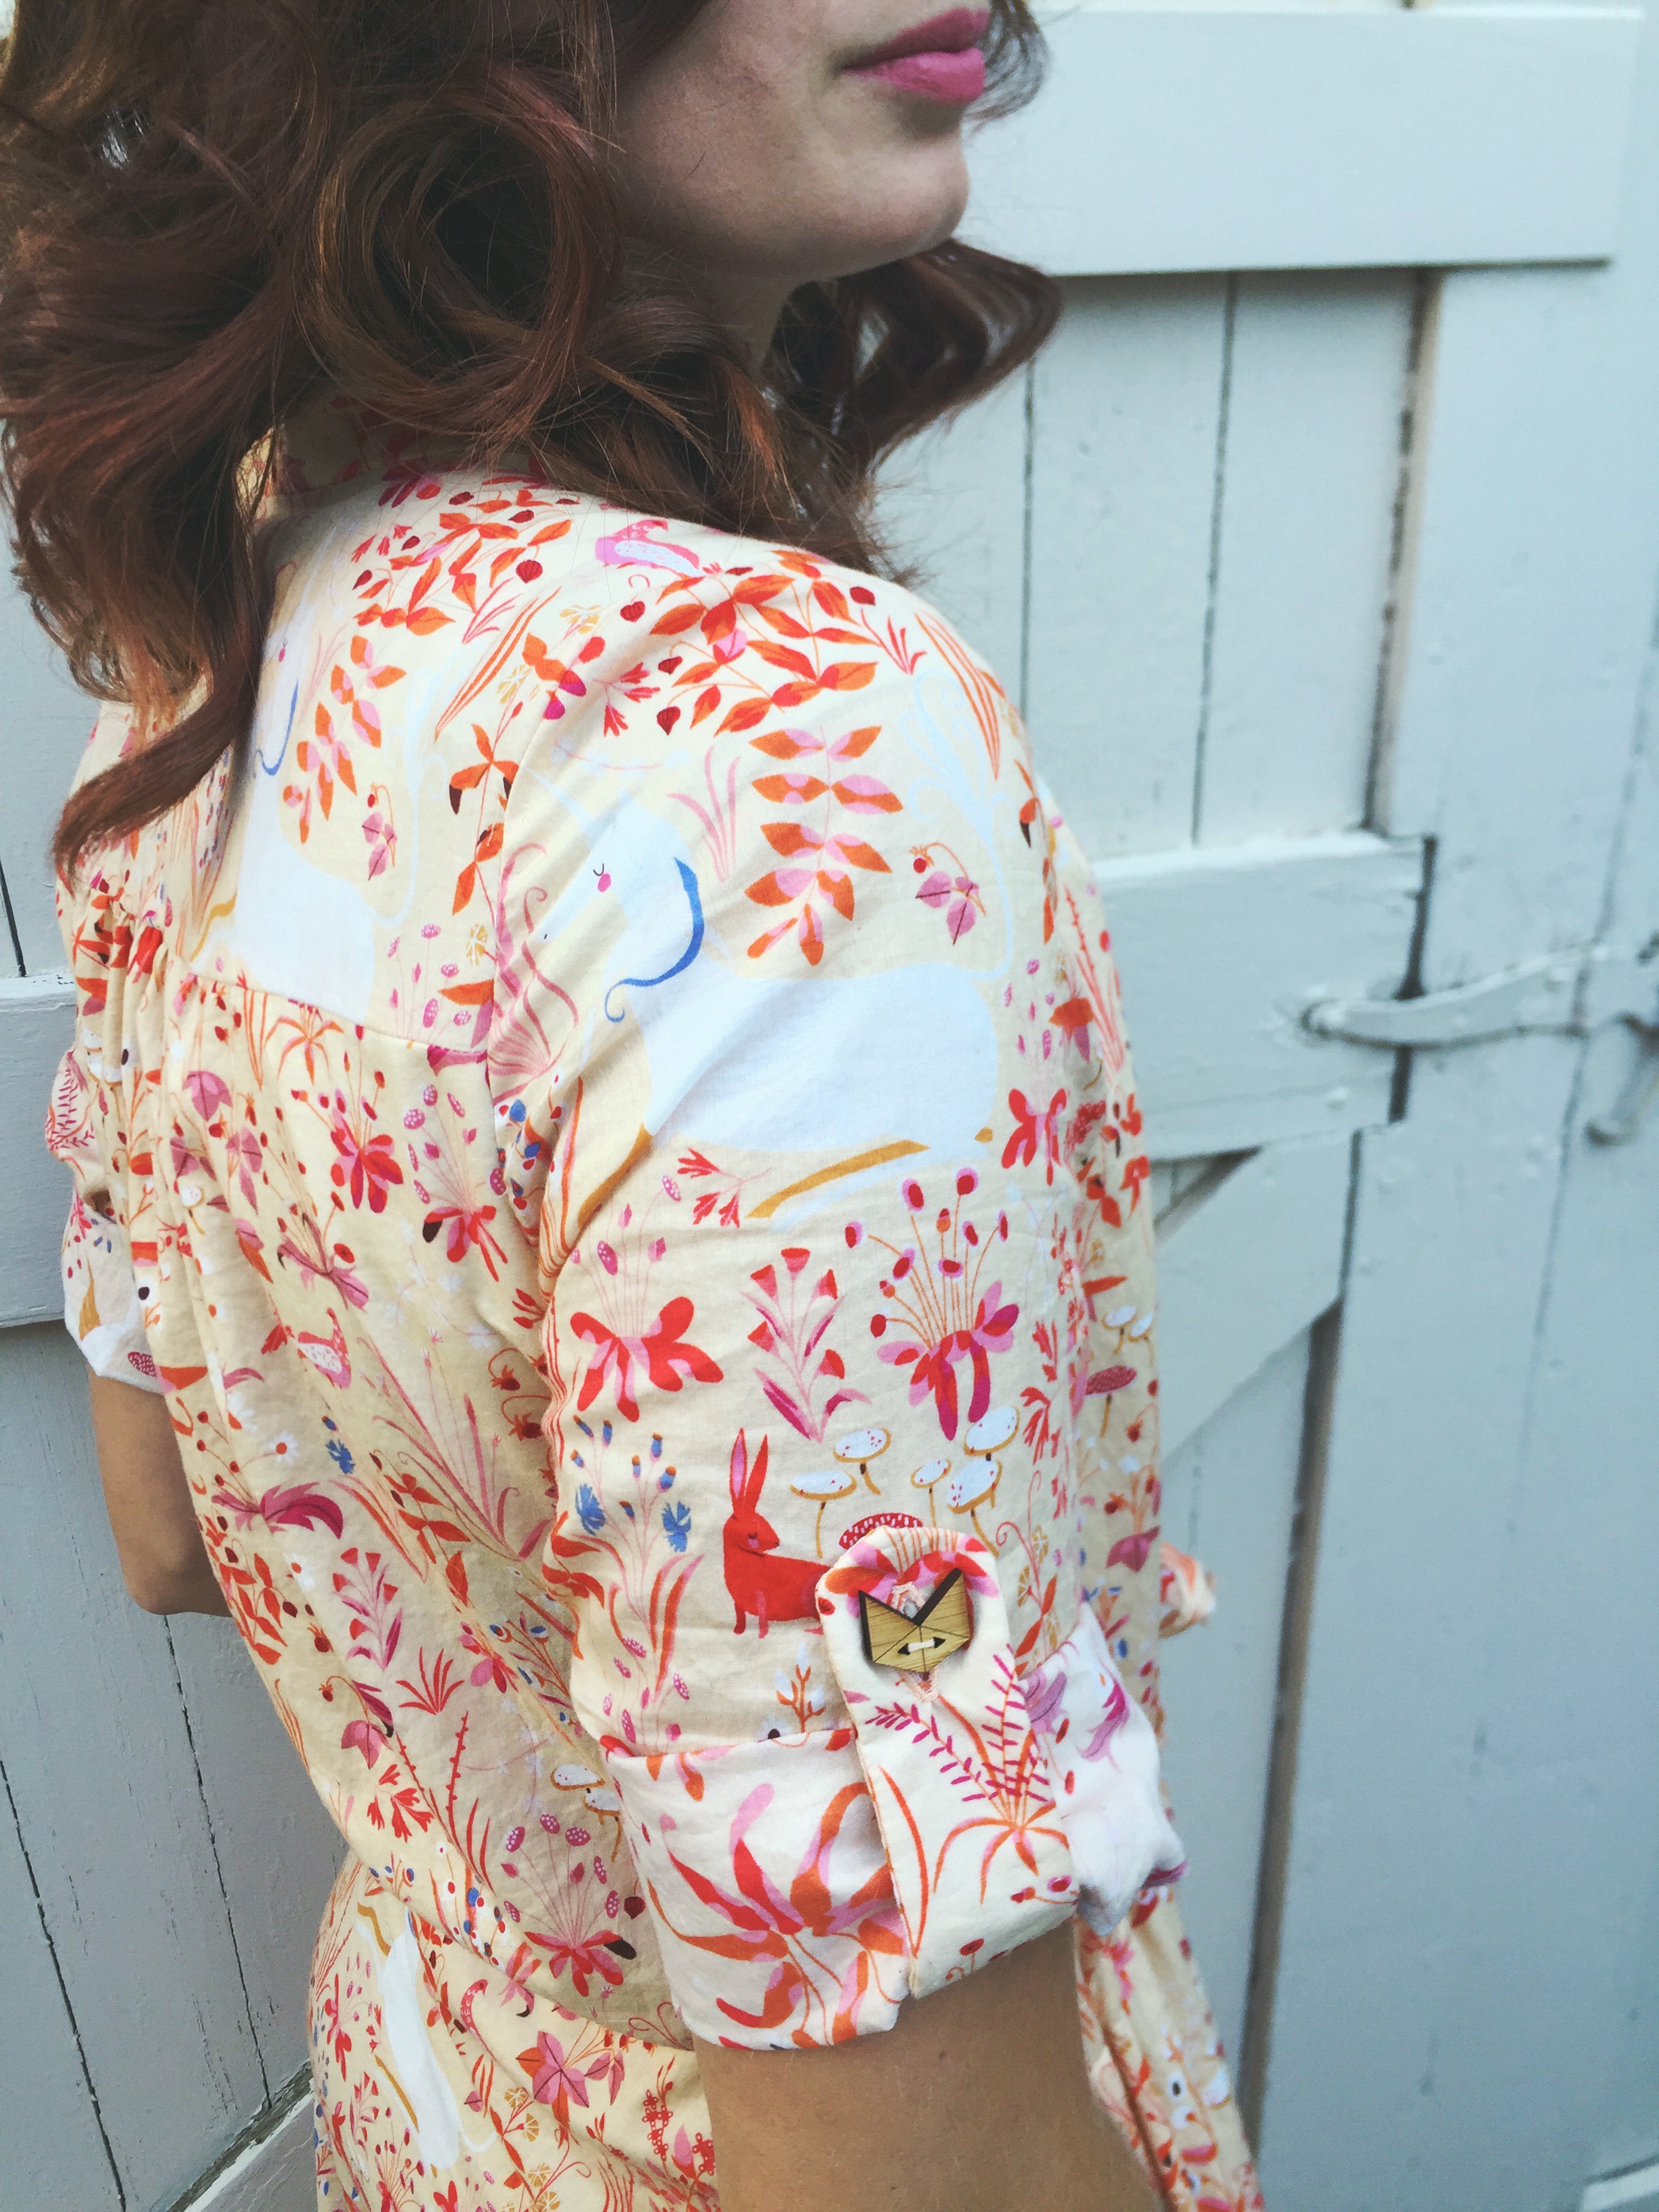
Here is a close-up view of the fox buttons I added to the sleeve tabs. The front of the dress uses the minimalist buttons also from Arrow Mountain.

My biggest challenge with the dress was sewing the waistline casing. When looking through all my handmade clothing, I was surprised to realize that I had never actually sewn a garment with a casing like the one in this dress. It really wasn’t too difficult, I was just too lazy to mark the waistline when I first sewed the casing. This resulted in a late-night Netflix binge while seam ripping my first attempt. On my second attempt I made sure to mark the waistline and sewing the casing was a breeze.

I’ve now worn this dress three times since finishing it in early August. The pockets have made it more functional and wearable than any other maxi dress I have owned.They’re just the right size for my phone and keys so I don’t have to carry a bag every time I leave the house.

image1 (2)image

I look forward to wearing this dress again and again. It will be a great transitional dress for fall and it’s sure to get a lot of wear. I’d love to hear about your favorite summer project. Did you make anything you absolutely adore this summer?