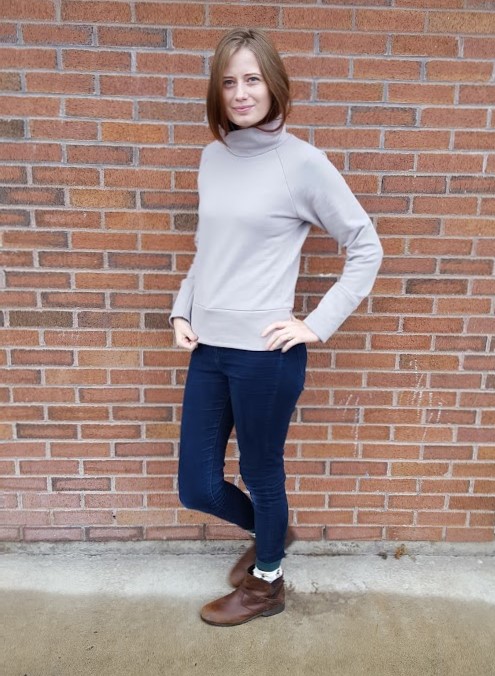
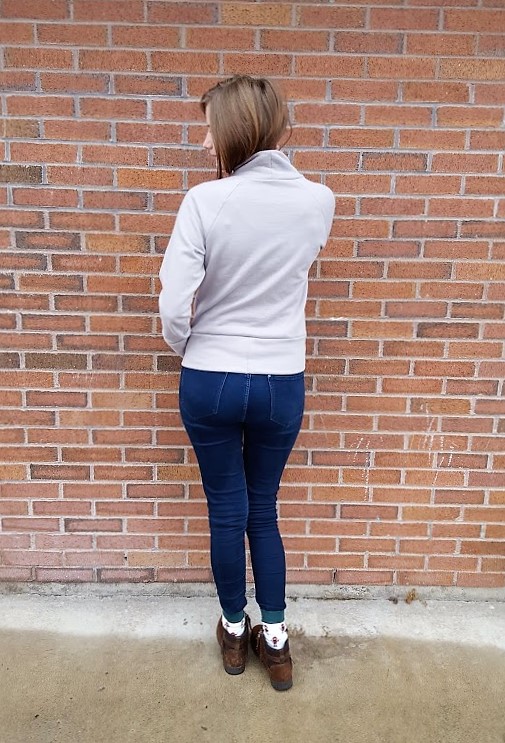
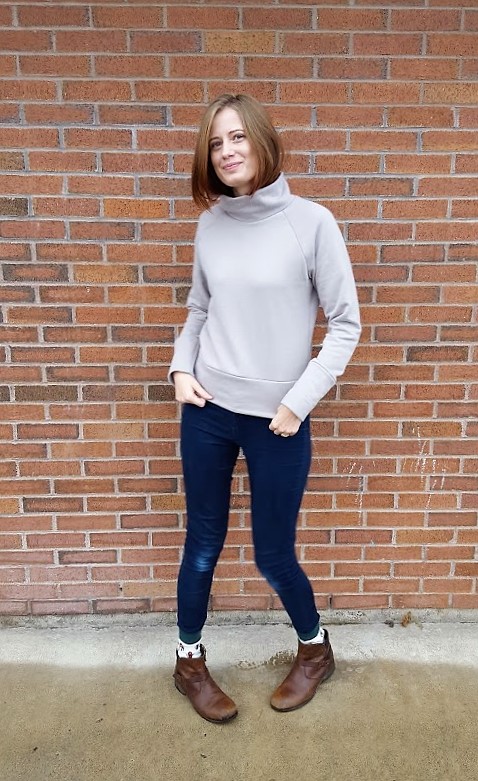
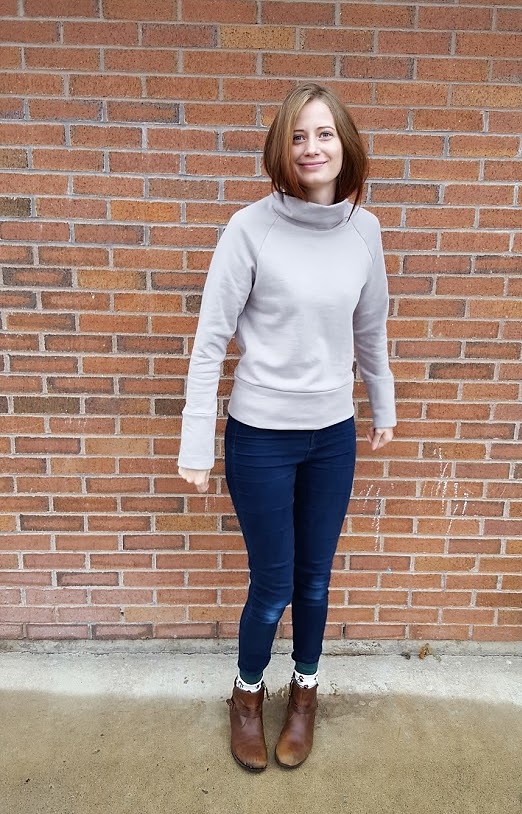
Hello! Today I’m excited to share with you the first two completed items of my Warp and Weft Wardrobe Project. Over the last week I was able to sew up the Sew House Seven Free Range Slacks and Common Stitch Pipit Loungewear Set top in Matinee in Earth. I used 5 yards of the 45″ wide fabric to complete both projects. I’m going to be swanning around in this all summer but, before I do that, let’s get to the details.

Pipit Loungewear Top
The Pipit Loungewear set top has been on my to-sew list for a while. Combined with Warp and Weft fabric, it’s giving off some serious fancy pajama vibes. In this particular time, fancy pajamas are exactly the wardrobe aesthetic to which I’m aspiring.

Sizing and Alterations
Based on the finished garment measurements, I chose to sew a size 6 top. As far as flat pattern alterations, I added 2 and 3/4 inches to the length of both the bodice and sleeve lengths. There aren’t lengthen/shorten lines on the pattern pieces so I just arbitrarily picked a place about 2-3 inches below the armpit to cut a straight line and add the length.
Construction
I somewhat closely followed the pattern instructions and was able to sew this top in about 3.5 hours of total sewing time. It’s a straightforward sew, however I did make some slight changes to fit my personal preferences. First, I topstitched the facing down along the back neckline to keep it from flipping to the outside. Second, I altered the construction of the sleeve cuff. In the pattern it instructs you to press the long ends in by 3/8″ (1cm), sandwich the unsewn sleeve bottom between those edges, and topstitch in place. Then, you attach the sleeve and stitch the underarm seam. I opted for a cleaner finish on the top and used a construction method similar to the cuffs on the Chalk and Notch Fringe. If I would’ve thought ahead, I would’ve snapped pictures as I worked but I’ll do my best to describe it instead. Here’s what I did:
- Attach sleeves to top without cuffs. Sew underarm seam.
- Press cuff in half lengthwise with wrong sides together. Unfold.
- Using a 3/8″ seam allowance, stitch short sides of cuff piece together to form a circular piece.
- Press one long side of the cuff to the wrong side by 3/8″ (1cm).
- Right sides together and using a 3/8″ (1cm) seam allowance, stitch the unpressed edge of your cuff to the sleeve edge. Press seam towards cuff.
- Fold cuff to the inside of sleeve. Pin your previously pressed edge from step 4 to just barely cover the stitching (from step 5) on the inside of your sleeve.
- Stitch in the ditch where sleeve is attached to cuff. Make sure to catch folded edge of cuff in your stitching.
That’s it. Finish pattern steps for attaching buttons and finishing the hem and your top is done. Yay!

Free Range Slacks
These Free Range Slacks marked my second time making this pattern (see my first pair here) and I can’t decide which pair I love more. The weight of this Warp and Weft fabric seems especially suited to this style of pant. In fact, upon finishing these, I nearly abandoned all my other capsule plans to make a pair in every fabric.

Sizing and Alterations
Sizing was easy since I already figured that out on my first pair and went ahead making the same flat pattern alterations which were: selecting a size 10 then adding 1/2″ to the rise and 1.5″ to the leg length. Due to the narrower width (44″) of this fabric, I did have to make the pants 1/2″ shorter at the hem to accommodate those horizontal stripe side panels.
Construction
Handmade pants are my favorite sewing project and stitching up these was no exception. The simple lines and elastic waist meant I had these sewn up in about 3 hours (which is quite fast for me).

Final Thoughts
I’m just not sure how many more ways I can articulate how much I love this set. Together the Pipit Loungewear Top and Free Range Slacks feel like an outfit right out of an Ace and Jig listing or like something I would wear in the evenings to relax at some swanky resort ( a girl can dream, right?). Separately, each piece makes a statement on its own. The pants are equally cute styled with a basic tee and the top would be a great complement to a simple pair of jeans. You’ll be seeing these around and I can’t wait to pair them with future additions to my Warp and Weft Wardrobe.

Thank you for reading!
P.S. Notice those cute shoes? Can you believe I made them? I mean, I can hardly believe it but if you want to read more, head to this post for the low down.


