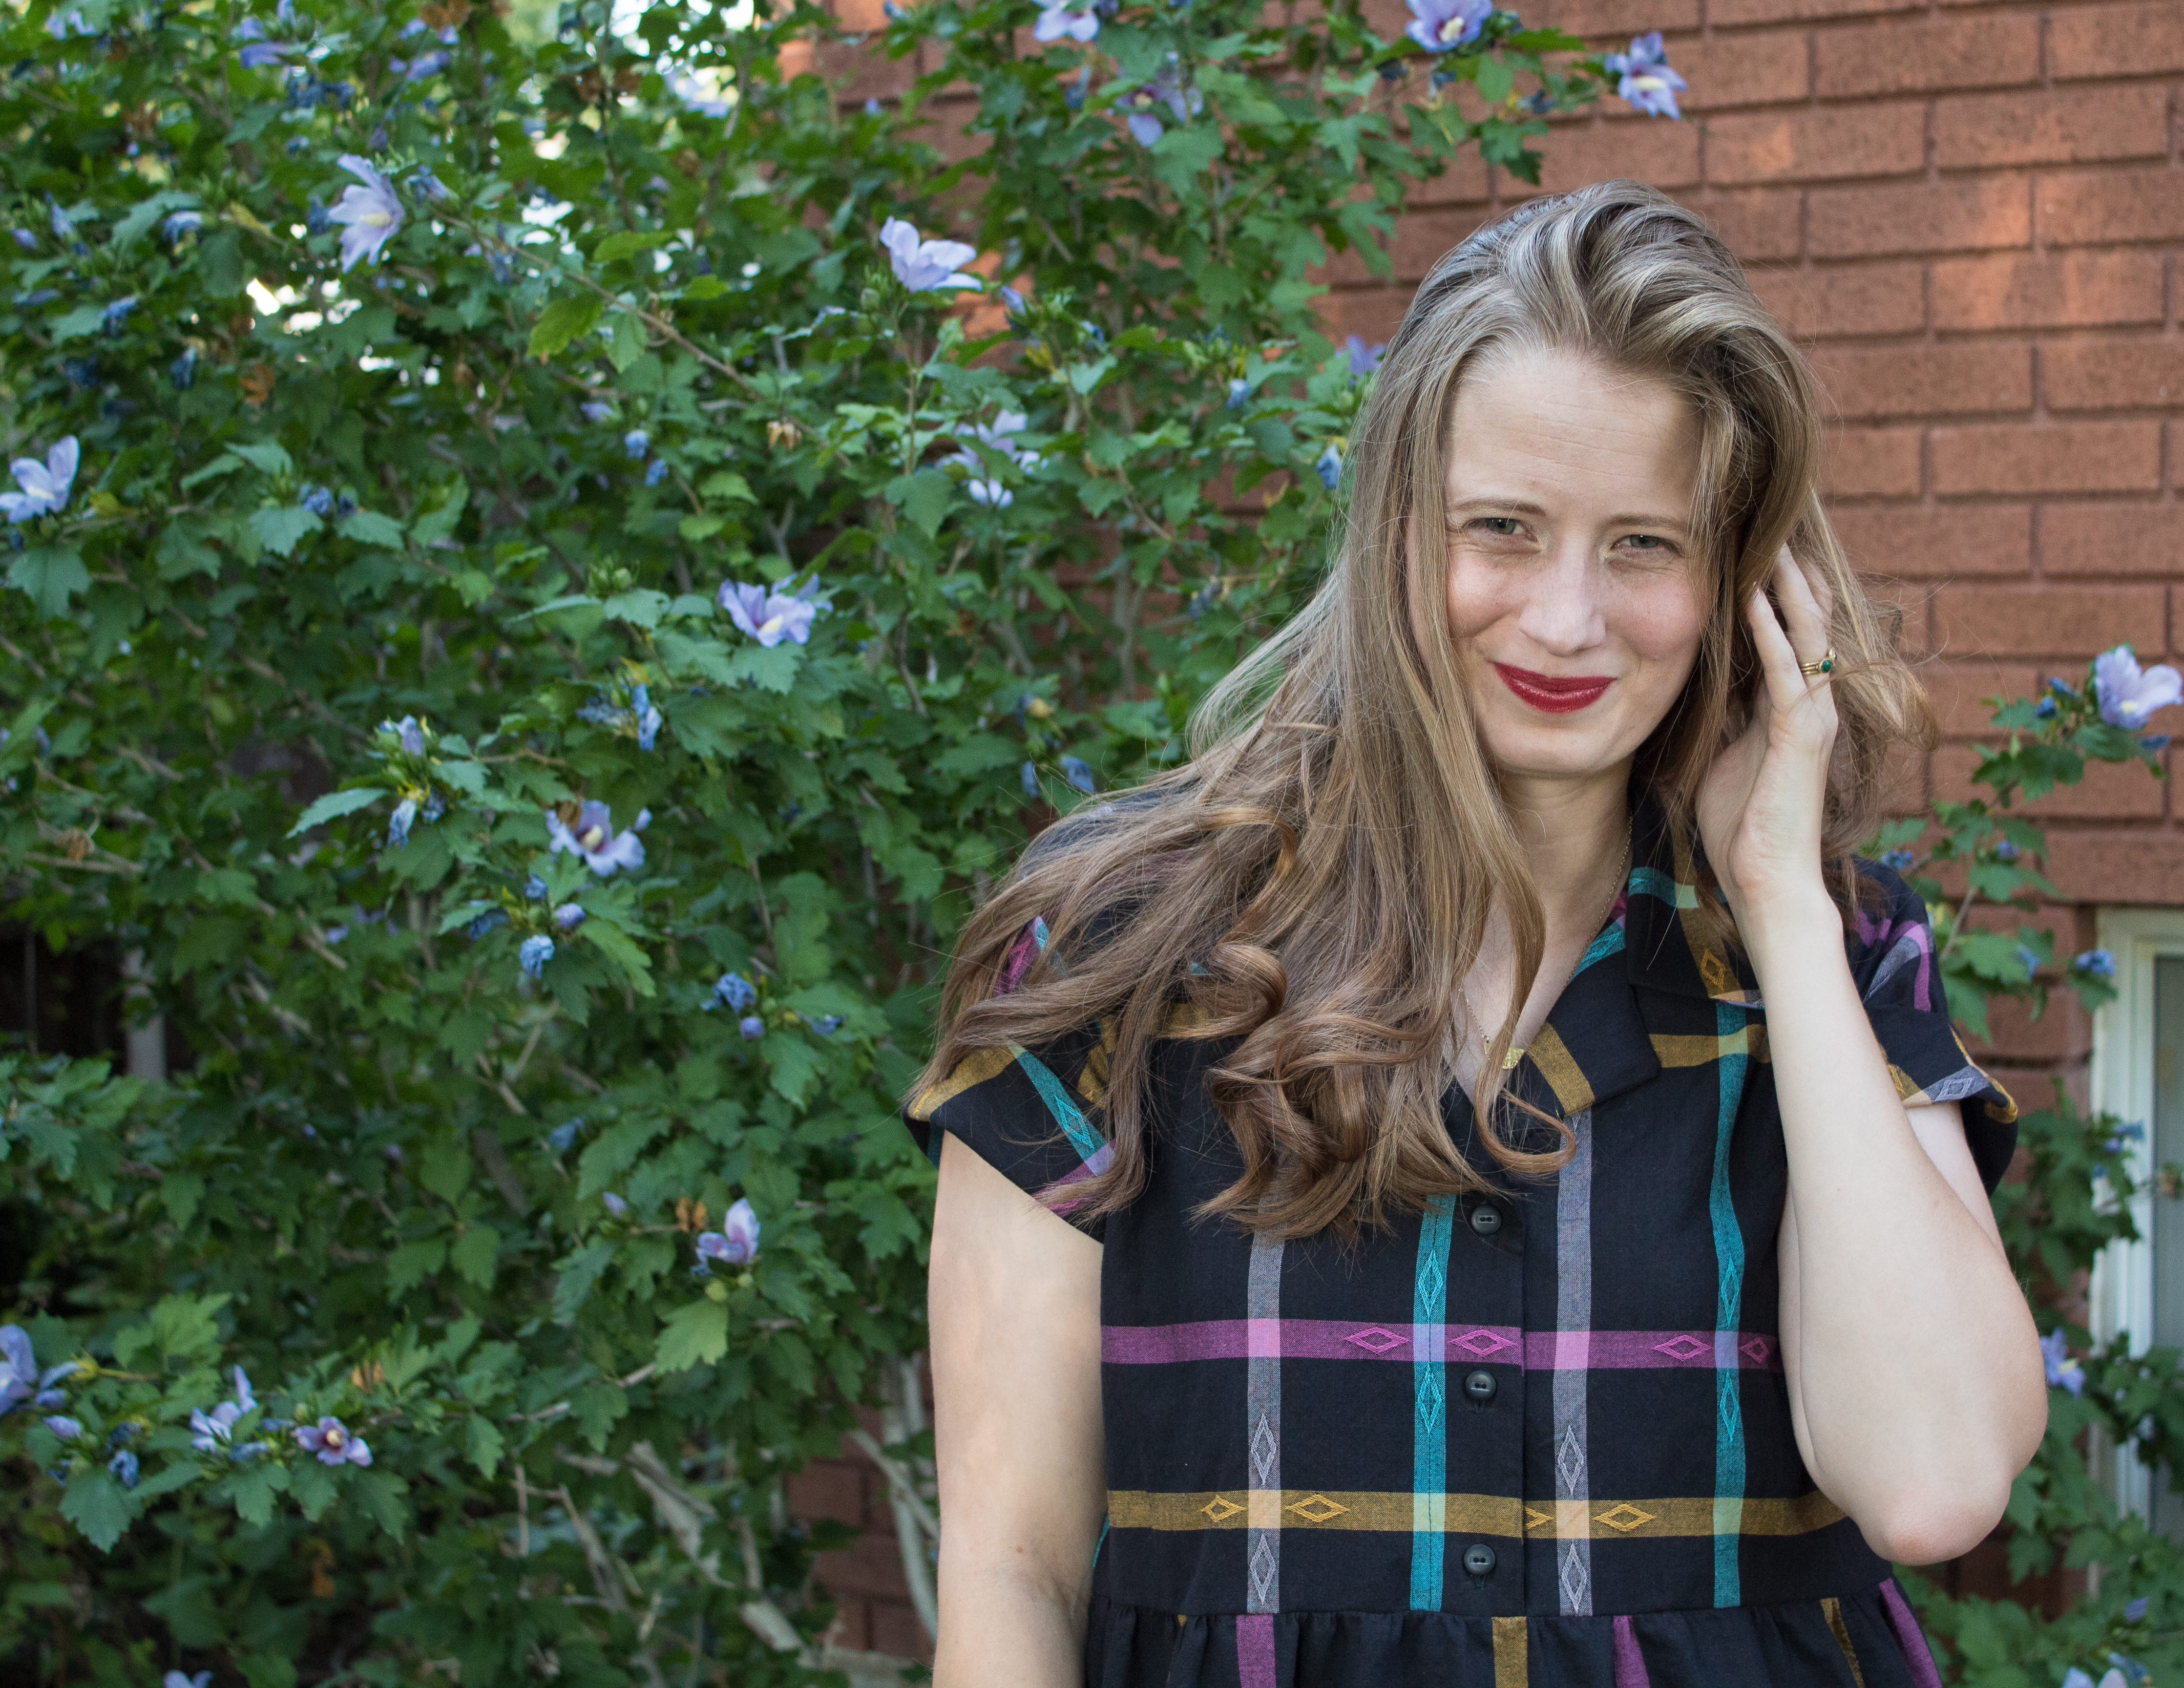
Remember when I said (in this post) that I was already planning a fourth Hey June Willamette (pattern here)? Between painting and packing, I managed to squeeze in just enough time for a Willamette Shirt to dress hack. In my last Willamette post, I mentioned that the Willamette is my current pattern obsession. Every time I fall in love with a fabric I think, “Wouldn’t this make a great Willamette?” This was the exact scenario that played out when I set eyes on this fabric from Anna Maria Horner’s Loominous II line. Weeks ago, I was desperately searching Etsy for a continuous 12 yards of another Loominous II fabric I intended to use for curtains. Once I found the desired fabric from La Antigua Textiles this large plaid fabric somehow jumped into my cart as well. When you’re buying 12 yards of fabric, it’s pretty easy to justify the cost of an extra 4 yards. Besides, I had an Etsy gift card that covered the price of this fabric so I can basically pretend it was free, right?

Now, let’s get on to talking about this dress hack. I was inspired by the shape of this dress from Roolee. The boxy shape and minimal gathering are both elements I wanted to include in my latest summer dress. Once upon a time, I regularly wore shorter and more fitted styles but then; I had a child and realized that limited movement was no longer my jam. If I can’t wear something as a house dress, to the park, and to church, then it’s unlikely to find it’s way into my closet. I decided to hack the Willamette for this dress because the collar, cuffs, and yoke detail add interest to the dress and keep it from looking too much like a sack. I, for the record, love a good sack dress, just didn’t want that look for this one.

The actual “hacking” of this pattern was quite simple. Let’s start with alterations made to the top. I removed 3 inches from the length of the cropped version so that the beginning of the skirt would hit around my natural waist. I opted for a button front instead of sewing the the front pieces together at the placket (Tori of The Doing Things Blog talks about her button front version here). One of my favorite details is the box pleat at the back of the dress. Originally, I just pleated the top of the back bodice piece near the yoke. After attaching the skirt, i realized the back needed a bit more shaping to achieve the desired look. The solution was to repeat the box pleat at the bottom center of the back bodice. It was a simple fix, but required some time with my seam ripper. I considered not fixing the issue, but realized it was worth the extra effort to make something I would be proud to wear. I sucked up my pride, made friends with my seam ripper, and got to work removing the skirt. This fix took about an hour to execute and was worth every minute.

Moving on to the skirt. This was such a simple “hack” that it feels almost blasphemous to call it one. Since I wanted only minimal gathering I multiplied the finished width of my front and back bodice pieces (both were right around 20″ with that added back pleat) by 1.4. This gave me 28″. I cut two rectangles 28″ x 34″. I then added inseam pockets to the side seams and sewed the side seams together with a 1/2″ seam allowance. There are approximately one million tutorials for adding inseam pockets, but if you’re unfamiliar with them, this is a good one to check out. Using a basting stitch at 3/8″ and 5/8″ gather the skirt to fit the bodice. Then attach the bodice and skirt right sides together using a 1/2″ seam allowance. Hem the skirt to your desired length and that’s it. You’re done. Seriously, this hack is one of the easiest I’ve ever completed.


In the midst of all the (good) stress and craziness of the last month or so it felt good to sit at my machine and sew this dress purely out of a desire to create. I thoroughly enjoyed squeezing in a bit of time here and there to reconnect with my machine. Two more weeks and we have no choice, but to be done with this moving madness (because our apartment lease will be up). A little time simply creating for pleasure was just what I needed to get me through the next weeks. Looking forward to sharing more with you in my new space.


Thanks for reading! Want to see a different Willamette Shirt to Dress Hack? Check out Michelle’s here. Can’t get enough of Anna Maria Horner’s fabrics? Me either! I’m a total fan girl. Check out other items I’ve made with her fabrics like the Highlands Wrap Dress, Fringe Dress, Butterfly Blouse, Bonn Maxi Dress, and Bonn Shirt.

