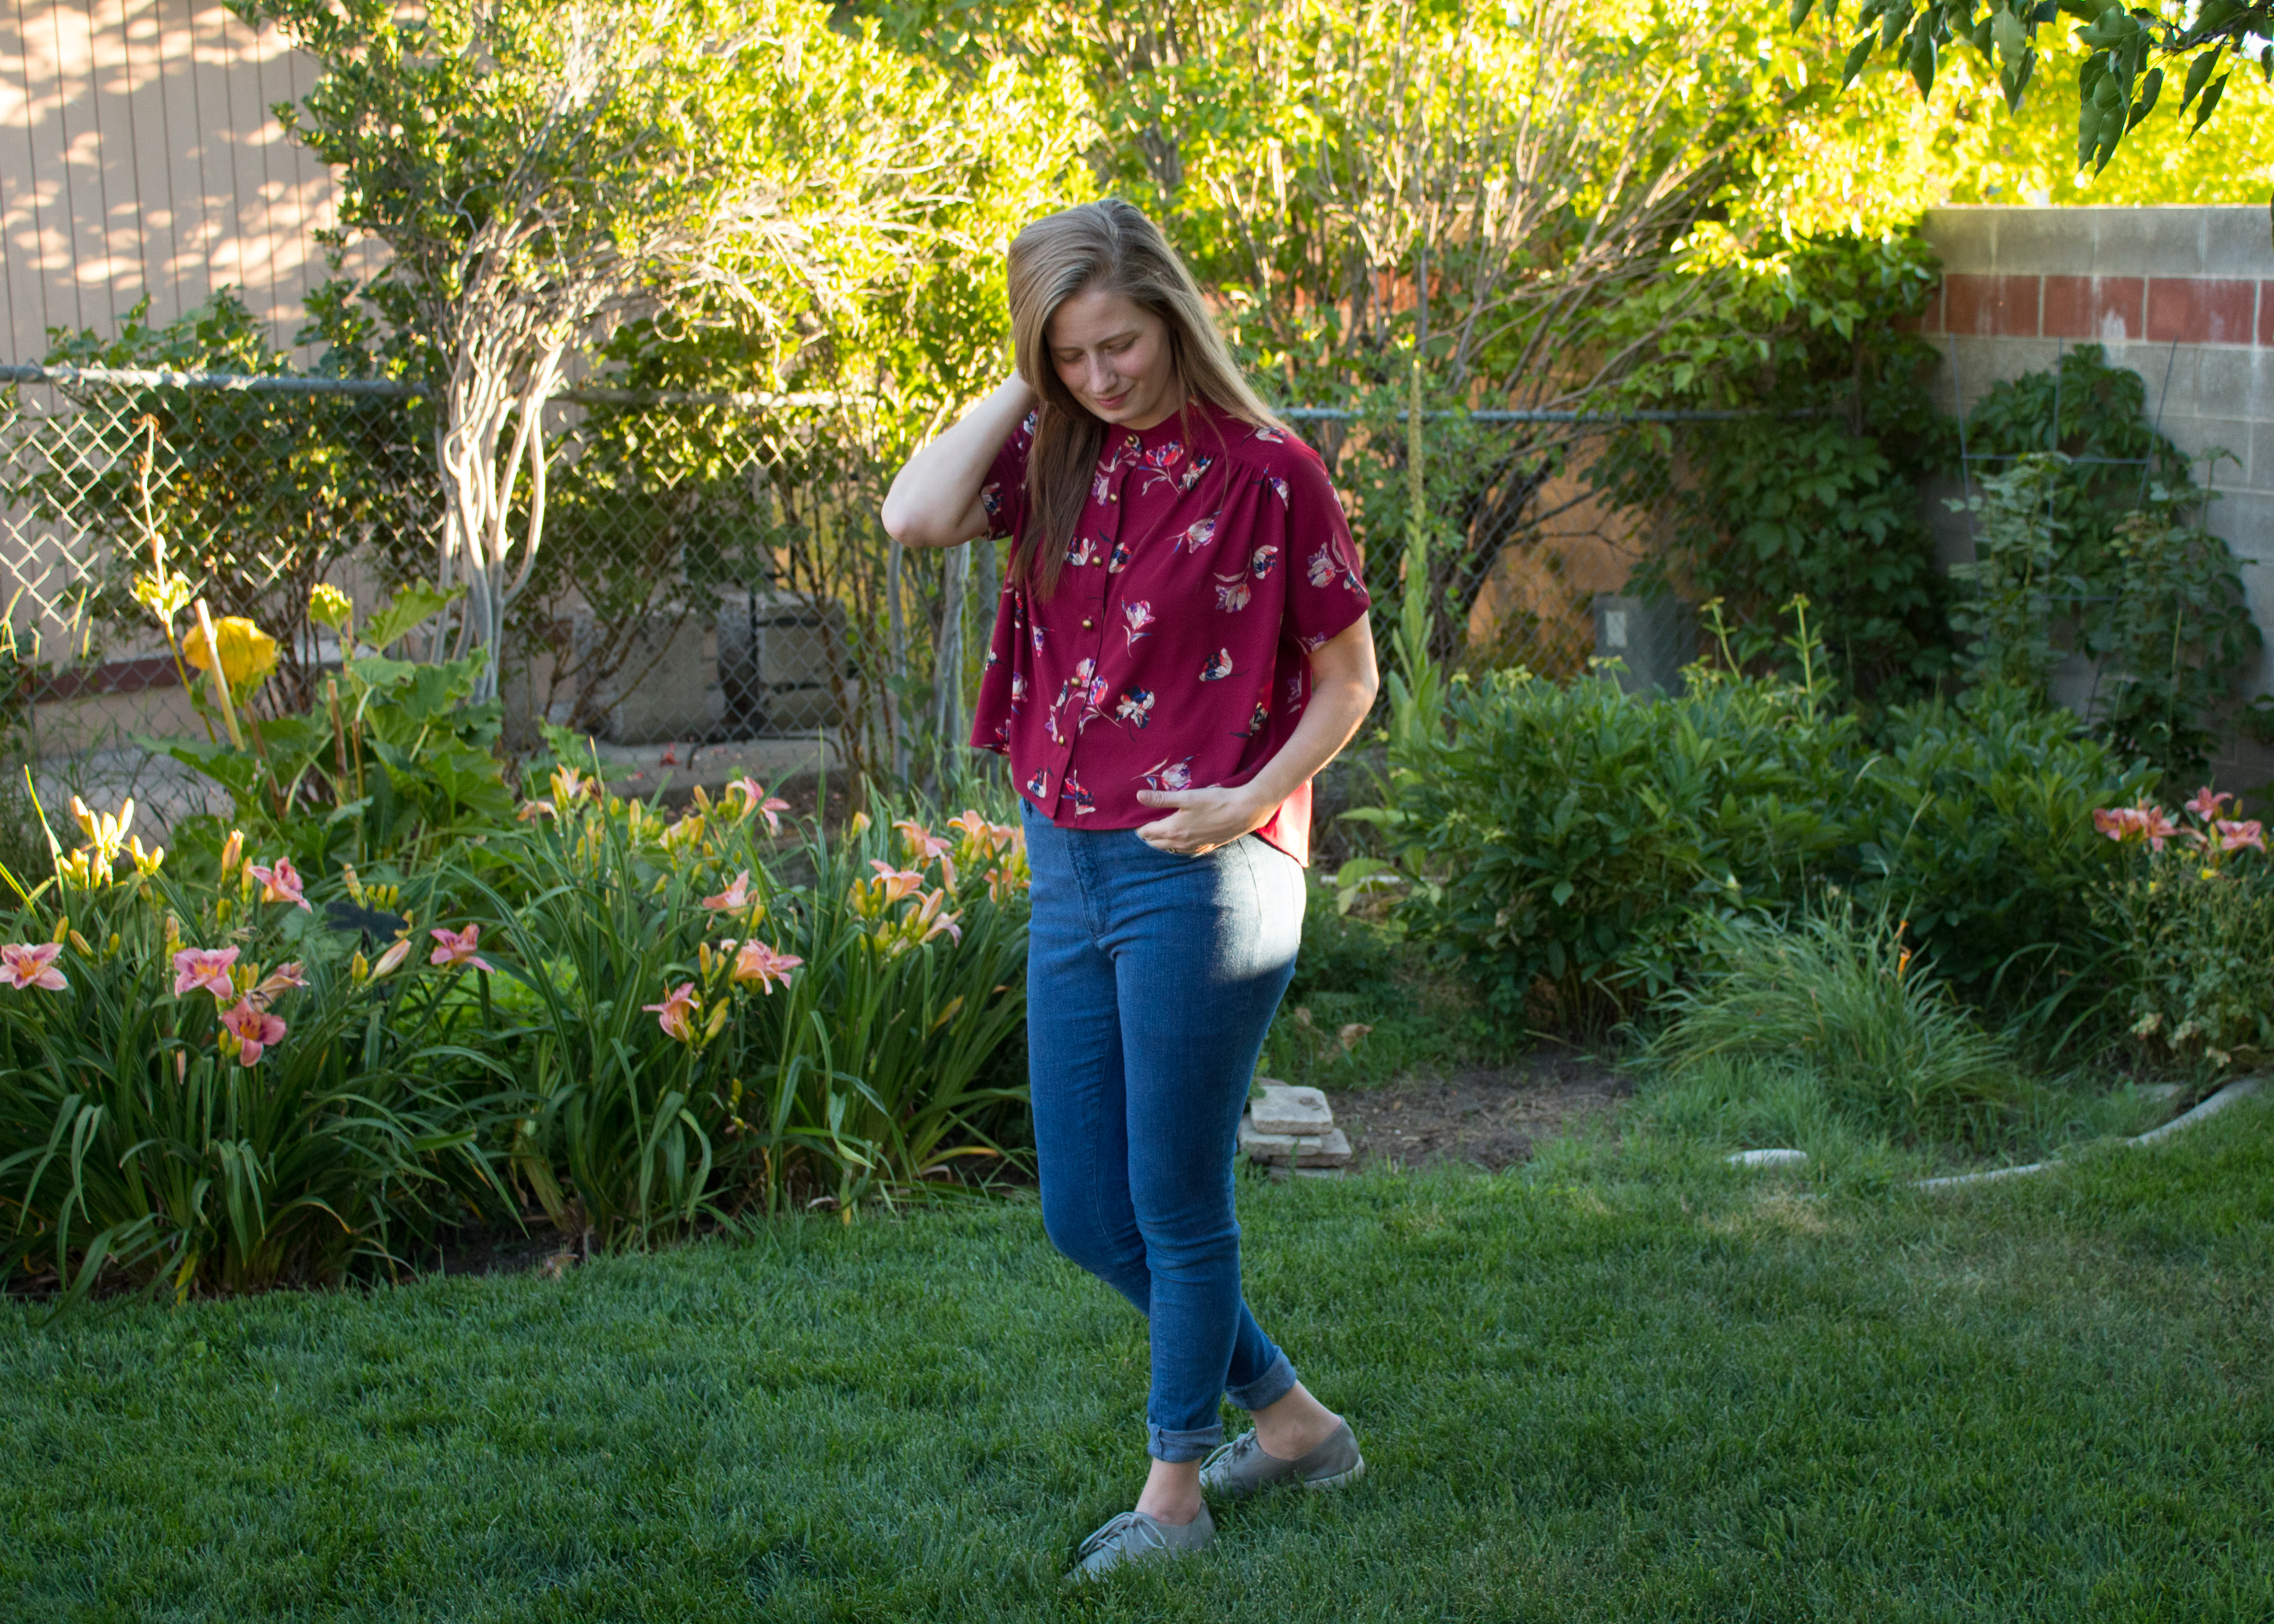
Clementine Top and Crew Trousers

Disclosure: The pattern for the Clementine Top was given to me in exchange for a review and I received the Crew Trousers in exchange for my participation in the pattern test (no obligation to promote). All opinions are honest and my own.

Hello all! Today I’ve got a couple of my latest makes to share with you: The Forget Me Not Patterns Clementine Top and the newly released Chalk and Notch Crew Trousers. Combined these two make a look that I’d describe as business casual. My current work environment (as a seamstress and SAHM), only requires that I’m clothed and looking alive for daily activities. However, if I did work outside the home, I have a feeling that this is how I’d want to represent myself. Maybe I’ll pull this out for date night instead. Ready for all the details? Let’s get to it.

Clementine Top

Fabric

I purchased one yard of this marbled scuba knit from Stylemaker Fabrics (sold out but check out their current selection of scuba knits here) in January 2018. Originally, I intended for it to be a Lodo hacked into a top. It never happened and this fabric languished on my shelf for 18+ months. Fast forward to a few weeks ago when it dawned on me that this scuba would be the perfect pairing for the Forget Me Not Clementine Top. The weight of the scuba gives a modern, stiff drape to the cowl and highlights the structure of the princess seams. Match made in sewing heaven.

Sizing

Based on my measurements, I chose to cut and sew a size 36. Technically, my bust fell in a 34 but, I chose to sew a 36 for simplicity and the sizing turned out great. The photos here don’t highlight it quite as well as I’d like but the fitting on the back is especially fantastic. The princess seams make it fit like a glove with no swayback drooping. My only alteration was adding 1/2″ to the top length at the hems. Other than that, I sewed the pattern up as-is.

Construction

The Clementine pattern instructions were clear and easy to follow. Clear instructions combined with a cooperative fabric made this a quick and simple sew. I spent one afternoon on assembly, then hemmed the top and sleeves the next morning. The cowl neck and princess seams added enough detail to make the sewing process satisfying as well.

Crew Trousers

Fabric

A few weeks ago, along with ladies in my local sewing group the “Salty Sewists,” I made a little afternoon trip to visit Harmony in Provo, Utah. It’s a darling store filled with fabric, yarn, and all the best little gifts packed into a small pioneer age house. Oh, the charm! I picked up this coral pink Tencel Twill and knew it would make the perfect pants. The fabric is opaque, has great drape, AND the front side has a brushed texture that feels suede-like. Working with it was fairly easy, although I did have one spot on the waistband where I accidentally stretched the fabric, creating some small bubbles along the waistband. Luckily, that’s covered by a pretty bow so it’s not really a big deal.

Sizing and Alterations

Over the last few years, I’ve sewn nearly every Chalk and Notch women’s pattern. You could say I’m a bit of a fan. It also means that I trust in Gabriela’s ability to get sizing and measurements right. Based on the measurement chart and Gabriela’s recommendation, I chose a size 10 for the waist and hips then graded to a 6 at the thighs and legs. I also ended up removing about 1/2″ of the width around the ankles for a slightly larger taper. My other adjustments were standard for me: 1/2″ added to the front and back rise, 1″ length added at the above knee lengthen line, and 1/2″ length added at the below knee lengthen line. Just going to take a minute here and stress the importance of lengthen lines above AND below the knee on pants. Everyone’s legs are proportioned differently. My calf length is likely not the same as another person of my height and may be the same as someone shorter or taller. If you are thinking about designing a pants pattern, it will make everyone’s life easier when you include both. There we go. Off my soapbox now.

Construction

Despite sewing 90% of my wardrobe over the last several years, I wouldn’t consider myself a quick sewist. Many experienced sewists can whip up a tee shirt in an hour. Often, it takes me two. Pants are no exception. I’ve made probably 10 pairs over the last year and still find myself taking my time to get each step finished well. With that in mind, sewing these pants took me somewhere between 6-7 hours total.

I sewed these over the course of a day while also taking care of my son, getting him off to school, picking him up, cooking dinner, cleaning dishes, and while sitting across the table from my mother (so I might have gotten distracted with chatting). As per usual, Gabriela’s instructions were concise and included plenty of illustrations. This made inserting a lapped zipper (the hardest part: which is totally doable for an advanced beginner) a breeze.

My favorite detail is in the pocket construction. The pockets are shaped and sewn so that they’re secured at the top of the center front. This makes them stay nicely in place and keeps them from flopping around inside the pants. I didn’t know this was something I needed in trousers until now.

Final Thoughts

Do you have a desire to look semi-professional while still feeling comfortable? If so, this pattern combination just might be the one for you. I know it’s the one for me. If I wasn’t wearing a bra with this outfit, I might have worn it to bed. Seriously, that good. Both patterns felt suitable for the advanced beginner. Instructions were clear and I would gladly recommend both.

Here’s the deal: yes, I received both of the patterns in exchange for either a review or testing but; the time, effort, and cost of fabric used in these projects is worth far more than the price of these patterns. I genuinely like both of these patterns and hope you will too!

Thanks for reading!

Anna Allen Philippa Pants and Cropped Fringe Dress Top

In the midst of the #sewfancypants craziness last month, I also managed to finish a sixth pair of pants that couldn’t be shared until now. I had the absolute pleasure of testing the newly released Anna Allen Clothing Philippa Pants. You likely already know my obsession with the Persephone Pants so I was thrilled to be selected as a tester for this new pattern.

Pattern Details

The Phillipa Pants are a high-waisted tapered leg pant meant for use with non-stretch bottomweights. The pants are a simple, fuss-free style with rectangular back pockets, back darts, and no front pockets. I opted to use the new zipper expansion (works for Persephone Pants too!) for this pair and the instructions produced a beautifully finished fly front.

Fabric Choice

Last fall, I won this 11.5 oz Cone Mills Denim in Dark Indigo from Imagine Gnats. After years of wearing skinny jeans with a decent spandex content, I was nervous to try making and wearing a pair of tapered jeans without stretch. The denim does tend to relax a bit after a few hours of wear. This makes my Philippa pants quite comfortable, but also gives them a slightly looser fit. If using this fabric, I suggest making your pants just a bit tighter than you’d like so that they’ll fit perfect after a bit of wear.

Fitting

This specific pair was made from the first testing draft of the Philippa Pants pattern, and Anna has made a few changes since then. As such, I can only speak to this pair and not the final pattern. Before the end of the month I will hopefully complete a pair using the final pattern will report back on fit then. I will say that I found the size chart to be fairly accurate. Anna has even included calf and thigh measurements in the finished measurement chart to help sewists decide whether grading is necessary in the legs.


Fringe Cropped Top

Last summer I ordered 12 yards of this gorgeous yarn-dyed woven designed by Anna Maria Horner. After using just over 11 yards for living room curtains, I was left with a little under 1 yard. Sure, I could’ve used it to make something for my son, but I loved this fabric so much that I wanted something for myself. I used my finely tuned pattern tetris skills to squeeze this Fringe Dress Crop top hack out of it. This “hack” isn’t really a hack at all. In fact, all I did was add 8 inches to the bodice length, straighten the hem, and omit the waist darts. I also rounded off the bottom of the front neckline facing instead of having an unnecessary straight piece running down the center. Just a note: If you’ve been gifted with a bust larger than my forever A-cups, and want to use this hack, rotating the waist darts to the side seams might help you achieve less pulling in your final fit.

Once my alterations were made, I simply sewed the top according to the bodice instructions in the Fringe Dress Pattern. I hemmed the bottom by turning it up 1/4″ and then another 1/4″ and topstitching. That’s it. World’s easiest “pattern hack” and a fun, quick sew for all those smaller cuts burning a hole in your stash.

The Outfit

Wearing this outfit makes me feel a combination of 1970’s free spirit and modern mom. Is it the colors? The silhouettes? Now that I’m thinking about it, 1970’s free spirit meets modern mom might just be my fashion goal. Whatever the vibe is, I’m digging it.

Thanks for reading! Check back soon or follow me on Instagram to see what I’ve got up my sleeve for February.

True Bias Salida Skirt

Hello! Today I’m thankful that I can finally show you my test version of the newest True Bias pattern, the Salida Skirt. The hardest part about pattern testing is always waiting to share my finished make. This skirt is no exception. The Salida includes two views. View A is fitted to the knee and View B is fitted through the hips and mid-calf length. During the test, I made View A, but have been dreaming of View B ever since. 

If you’ve read my Justine skirt post, you may remember that I actually don’t own or wear many skirts. When I found out Kelli’s newest pattern would be a skirt, I was initially hesitant. I did, however, decide to take a leap of faith and I’m exceptionally glad I did. The line drawings really sold me on this pattern. It’s hard to photograph and see in black, but the style lines on this pattern are ace. The front and back both include a v-shaped yoke with center and side panels. Coupled  those with slash pockets that are a surprisingly decent size and you’ve got a winning combination. 

Let’s take a quick minute to talk about this fabric. I used a Black Micro Wale Corduroy from Style Maker Fabrics. When I purchased this fabric last January, I planned to use it for a Lander Pant overall hack that never came to fruition. I cut everything out and then lost steam. Thankfully, the paneling of this skirt makes it easy to cut out of scraps and odd shaped pieces of fabric. It feels fitting that although this corduroy didn’t become a pair of Lander Pants, it found a way to become another True Bias pattern. The softness and structure of the corduroy turned out to be just what this skirt needs. In fact, I think Kelli used the same fabric in a different color for one of the pattern cover samples. 

Over the last few years, I’ve grown to love top stitching seams which made  sewing this skirt all the more enjoyable. The panels and yoke seams are all top stitched; a detail I wish showed up better in this version. Despite the decent amount of top stitching, the Salida came together rather quickly. I sewed it up over the course of 2 or 3 evenings without having to pull any crazy late nights. The zipper insertion is the only area where I made a mistake (zip fly is on the wrong side), but even that wasn’t noticeable or really simple to change so I decided to call it a “design choice.”

Let’s move on to discussing fit. My waist and hip measurements put me right in between a size 10 and 12 on the size chart. Based on this, I made the decision to cut a size 12 and adjust from there. After basting the front and back skirt pieces together, I ended up removing about 3/8″ from each of the outer side seams. This is an adjustment likely due to the fact that I was between sizes, not an issue with the pattern sizing. The only other adjustment I made was to add 3″ to the length above where the back slit begins. In retrospect, I probably only needed to add 2″, I was just nervous about the slit beginning right below my bottom (perils of sewing tall). With those simple adjustments, the fit is pretty close to perfect. 

After not wearing them for so long, I’m still getting used to styling a skirt. Luckily I think I found the perfect formula in pairing this corduroy Salida Skirt with a favorite striped Lark Tee, the ever-versatile Hampton Jean Jacket , and a pair of booties. Now I just need to find a good pair of tights and I’ll be set for the cold months ahead. Wearing my skirt styled this way gives me hope that I may once again add skirts to my regular wardrobe rotation. 

Thanks for reading! 

Want to see more of my True Bias Patterns makes? Check out my Lander Pant, Roscoe Blouse, or Yari Jumpsuit posts.

Orchid X Parasol Jumpsuit Collaboration by Chalk and Notch and Ensemble Patterns

Happy Wednesday! This Wednesday is an especially good one because I get to share my latest jumpsuit with you. Last month, Gabriela of Chalk and Notch invited me to be a tester for this  Orchid Midi and Parasol Jumpsuit collaboration with Celina of Ensemble Patterns. When I found out this collaboration included a jumpsuit, my answer was an emphatic “Yes!” I can’t put into words, why I feel so strongly about jumpsuits except to say that they make me feel like my best and most true self. Couple that with the fact that I never regret sewing up one of Gabriela’s designs, and testing this jumpsuit was a no-brainer.

First, let’s chat fabric choice. I currently have three other jumpsuits in my wardrobe, all of which are quite bold in color and/or pattern. This time, I opted to make a simple black jumpsuit. With the holiday season around the corner, I wanted something both elegant and fun for parties or date nights. The fabric is a linen/rayon blend purchased from JOANN. I can’t seem to find the exact fabric online, but it does seem to be available in most of their brick and mortar locations. It has just enough weight to be opaque, more drape than a 100% linen, and the light, soft feel of linen. I’ve been hoarding several yards of it since spring when I was able to purchase it for $7/yd. It’s become a favorite for making wearable muslins and finished products alike. 

Now that I’ve raved about fabric, let’s move on to talking about this dreamy mash-up. This collaboration includes 3 bodice options, 3 pant length options, and 1 skirt option. I opted for the long sleeved Orchid bodice paired with the Parasol long pants option. I also chose to add belt loops and the waist tie.

The way the bodice pieces are gathered and attached to the front and back yokes is one of my favorite features. It’s a simple, feminine detail that feels just right. You may have noticed that I’ve been having moment with wide-leg pants and the pants on this jumpsuit fit in nicely with my latest makes. The final feature that sold me on this pattern is the roomy pockets. Nothing ruins my day faster than putting on a one-piece outfit and realizing it has no pockets. Ok, so maybe it doesn’t ruin my day, but I don’t like it either. 

The wrap front makes adding a closure unnecessary; which makes for a delightfully quick sew. It can, however cause a bit of difficulty when getting undressed. After a couple years of jumpsuit wearing, I’ve come to the conclusion that a well-fitting jumpsuit simply takes a bit of practice to get on and off. Over the years, I’ve developed a technique I like to call the “Jumpsuit Shimmy.” First, you will have a side of the jumpsuit that seems easier to get on or off. Usually this is the side that wraps over the top. On my jumpsuit, this is my right side. I drop my right shoulder, and using my left hand, gently tug on the sleeve until it is off my shoulder. I then remove my right arm from the sleeve. Dropping your left shoulder, and using your right hand, repeat for your left side. Once you’ve freed your arms, I’ll let you figure out the rest. Now you know the “Jumpsuit Shimmy.” We can all try the dance (while keeping our jumpsuits on) with a virtual Instagram dance party celebrating the release of this collaboration. Just post a video on your grid or stories and tag me @nf_merritts on IG and #thejumpsuitshimmy . There are no prizes in it for you or me, but a 100% guarantee of fun and laughter. Join me? 

Whenever I wear a jumpsuit, someone will ask the inevitable question: “What do you do when you have to visit the bathroom?” Ladies and jumpsuit-loving gentlemen, I am here to tell you that the bathroom conundrum really isn’t as much of an issue as you might think. Sure, having your top half uncovered while using the restroom may not be ideal, but it’s literally 1 minute of your day. Are you willing to give up the joy of jumpsuits for a few minutes of awkwardness ( in which nobody else will actually care or notice because you’re by yourself in a stall)? I say, “No!” Honestly, does anyone truly feel comfortable in a bathroom stall any way? Jumpsuit or no jumpsuit? I’ll step off my soapbox here. I’m just really passionate about jumpsuits, ok? 

I’m now realizing that I’ve rambled on and on without notes on sizing. I’ll leave you with a few notes. My measurements put me in a 4 at the chest and a 10 at the hips. In order to make this jumpsuit work, I started with a 4 at the shoulders and bust then graded the bodice to a 10 at the waist. I then cut a straight 10 for the pants. I added 1″ in length to the bodice, 1/2″ to the rise on the pants, 1″ to the sleeve length, and 3″ to the pant length. These alterations are all standard for me, and I found the original drafting consistent with the size chart. 

If you’ve made it all the way to the end here, I’d just like to say, “Thank you!” My feelings about jumpsuits can be intense and I truly applaud you for reading all the way to the end. 

Special thanks to my Instagram (and real life) husband, Marshall for taking these photos. He’s been stepping up his photo taking skills over the last year and it’s been a lot of fun learning this photography thing together. 

Perkins Shirt by Ensemble Patterns

In the midst of the madness of buying a home in an insane market, I couldn’t help but apply as a tester for the Ensemble Patterns Perkins Shirt Dress. I was powerless to resist the siren song of this ultra hip take on a traditional button down. Its song was so strong that I made not one, but two versions.

IMG_8339

IMG_8316

On occasion (who am I kidding? about 80% of the time), I blatantly ignore the recommendation to not buy or use my “good” fabric for a test. I do occasionally make up a quick and dirty muslin, but I just love using pretty fabric and have faith that if things don’t work out I’ll be able to refashion the item. This time, however, I actually had some great fabrics in my stash waiting to be used.

IMG_8328

During the first phase of testing, I made the basic cropped version in a black and white striped rayon challis. I purchased this fabric from Raspberry Creek Fabrics back in January and used it to line both my Joy Jacket (here) and  the sleeves of my Clare Coat (here). I had just over a yard of this fabric and was barely able to eke out all the pattern pieces. The simple stripes and drape of the rayon combine to make this top into a closet staple. The pattern’s style lines add visual interest to the top and elevate the cool factor a bit above that of a basic button down. I opted to use the wrong side of the fabric on the back yoke in order to highlight some of those style lines.

IMG_8337

IMG_8333

During the second phase of testing, I made the gathered cropped version. My talented and generous friend Kim of Sweet Red Poppy had some scraps left over from making a couple of dresses last summer (see them on her blog here). She was kind enough to share them with me and I’ve been anxiously awaiting the perfect pattern pairing. The fabric is a polyester crepe from Stylish Fabrics (here). I tend to gravitate towards natural fibers, and as a result, have very little experience working with polyester. This was also my first foray into working with crepe. I was pleasantly surprised with how easy this fabric was to sew. Combining the fabric with this gathered version was a no-brainer. It gathered easily and its drape is a dream. Bonus: These photos were snapped after I’d been wearing this top for several hours during my son’s birthday party. Thanks to the polyester content, The top still looks fresh and wrinkle-free.

IMG_8323

IMG_8327

Let’s talk construction. Once in a while, I come upon a construction method that is simultaneously brilliant and baffling. The “dumpling method,” as Celina referred to it, took a moment to understand, but was surprisingly simple. The instructions provided excellent detail and held my hand throughout the process. This method encloses the sleeve hem and raglan seams. This top also includes french seams along the sides for a clean-finish inside and out. Anyone with an intermediate level of skill shouldn’t have any trouble constructing this top. If you’re an adventurous beginner, however, don’t be discouraged. There’s a good chance you could have success here as well.

IMG_8320

I’ll leave you with a sizing note: My bust measurement put me right at a size 4 for this pattern. Based on that, I sewed a straight size 4 in both versions. My only adjustment was adding 2″ to the length.

IMG_8317

IMG_8330

Now that I’ve got a yard to use as a photo background, I’m really itching to sew up some more summer basics. Realistically, I might not be doing much sewing until fall, but a girl can dream, right? What are you sewing this summer?

Yari Jumpsuit by True Bias

I’ve long been an admirer of jumpsuits, overalls, and basically any type of one-piece outfit. Thanks to my height of 5’10”, I’ve never actually been able to wear ready-to-wear jumpsuits without discomfort. Last year I made my first jumpsuit and fell in love (see it here), so I was all in when Kelli  of True Bias asked me to test the Yari Jumpsuit (purchase pattern here). The pattern includes both a shorts and full-length option as well as sleeved and sleeveless options. There is also an option to add a D-ring cinch at the sides for more waist definition.

IMG_8287

After seeing Kelli’s samples and the line drawings for the Yari, I had a vision of a woven striped jumpsuit inspired by Ace and Jig. Luckily, Indiesew had the perfect fabric (teal is sold-out, but orange is still available here). I LOVE the metallic thread woven throughout the fabric because it kind of makes wearing this jumpsuit feel like magic.

IMG_8294

I couldn’t use a beautiful fabric and not use equally magnificent buttons so I turned to my Arrow Mountain stash. I used these mirror buttons to add even more sparkle because this look clearly isn’t bold enough on its own. I’ve been ordering buttons from Arrow Mountain since the summer of 2016 and I don’t plan on stopping soon. In fact, my stash is nearly depleted so I’m filling up my Etsy cart as we speak (did you see the gold mirror buttons? I NEED them).

IMG_8296

I found construction of the Yari to be straightforward and enjoyable. In fact, the actual construction of the jumpsuit took me several hours over the course of one evening. This fabric doesn’t allow for them to be very visible, but the princess seam lines in this jumpsuit are everything! They also allow for a bit more shaping if necessary.

IMG_8304

Let’s talk sizing and alterations for a quick minute. I’m a definite pear shape with a small chest and hips that don’t lie. My small chest and wider hips put me in a size 4 bust with a 10 at the hips. This woven cotton doesn’t have much drape, so I took in the bust and waist by a total of 1 inch (.5 inches on each side) for a bit of a closer fit. If I had added the optional D-rings, I likely wouldn’t have needed to do this as those would’ve given that shaping.  I found the sizing at the hips to be spot on, but my legs are a size or two smaller than my hips. For this reason, starting at the bottom of the pockets, I took about 1 inch out of each leg. I removed .5 inches from the leg outer seams and the inseam.

IMG_8283

The last alteration I made was to add length. I added 1.5 inches to the bodice length and 2.5 inches to the leg length. The length added to the bodice was a bit too much as I probably should’ve only added .5 inches to the bodice length and  instead added that extra 1 inch to the leg length for a total of 3.5 inches to the legs. As a result, the crotch sits a little lower than I’d like. This is really due to my lack of muslin vs. the actual pattern. Maybe next time I’ll learn my lesson and make a muslin…maybe.

IMG_8313

Despite my unintended dropped crotch, I plan to wear the heck out of this jumpsuit over the summer. This fabric is lightweight and breathable enough that it should take me seamlessly from lounging around the house to a day spent at the amusement park. True Bias Patterns have a way of making me feel a little bit more cool and hip than I really am, and the Yari is no exception. I’m now on the hunt for a black tencel twill for my next version. If you find any good sources,  please send them my way.

IMG_8305

IMG_8285

Joy Jacket by Chalk and Notch

IMG_8021

The Chalk and Notch Joy Jacket. Wow! What a pattern! I’m not entirely sure what I can say about it that hasn’t already been said. I’ve been anxiously awaiting its release since last October when Gabriela shared a preview on her IG (here). Following her post, I immediately set out to source my ideal fabrics. After a couple months of searching and indecision, I found this rayon/poly blend twill from Style Maker Fabrics. I’ve always been partial to jewel tones and this fabric was practically calling my name. It has a soft, lovely drape and smooth hand. It was fairly easy to work with as compared to a rayon challis and working with it was similar to the difficulty level of working with a lawn or voile. As someone who primarily works with prints, my only issue was differentiating between the right and wrong sides during assembly.

IMG_8015

As mentioned above, I regularly work with prints. While I wanted a solid colored outer shell, I wasn’t about to miss the opportunity to line my Joy with a print. I waffled back and forth between using a bold floral or a simple stripe and eventually decided on this black and white stripe rayon challis from Raspberry Creek Fabrics. Since I plan on regularly wearing this jacket unzipped, I wanted a lining that would be a complement to my somewhat bold wardrobe. I love this lining so much that I also used it to line the sleeves of my Clare Coat. I have nothing but good things to say about this fabric (and that amazing price). The only caveat is that I did have to take a few breaks when cutting the lining pieces because those tiny stripes were a bit hard on the eyes after too much concentration.

IMG_8032

While sourcing fabric was really only made difficult by my indecisiveness, sourcing the hardware  was a bit more difficult. I ordered my zipper from Zipperstop on Etsy (they also have their own website, I just had an Etsy gift card to use). I liked having the option to order a zipper in 1″ increments instead of being forced to buy the standard lengths available through most retailers. Find the specific listing I used here. I believe the color of this zipper is 530 which is not an exact match for this fabric, but certainly close enough.

When it came time to purchase grommets I just picked up these brass Dritz brand ones at my local JoAnn Fabrics. I can’t speak to the durability of these as I’ve only had this jacket for a couple of weeks at this point, but installation was quick and painless. I mean, really? Why did nobody tell me installing grommets was this simple? I would’ve started adding them to projects years ago.

Want to make sourcing hardware simpler? Gabriela will soon be offering a pre-order for hardware kits in several popular colors. I’ll be sure to update you when that’s available.

IMG_8030

Now let’s talk about the making of this jacket:

Since I had completed a Clare Coat one week before tackling the Joy, I wasn’t too nervous about making another piece of lined outerwear. I also have full faith in Gabriela’s drafting and instructions and knew I was in good hands. Don’t let the prospect of a lined jacket intimidate you though, the steps are clear and well written.

Honestly, cutting took me longer than the actual jacket construction. There are quite a few pieces to the Joy Jacket which contributed to the longer cutting time. Due to a bit of (manageable) chronic pain in my right hand, I had to take frequent breaks from cutting and took my time over the course of three evenings.

Once I got going, the jacket came together rather quickly. I did have some trouble with the pockets due to tension issues coupled with late-night sewing mistakes. While cutting took me three evenings, sewing only took two. I’m a very hands-on/visual learner and, because of this, sometimes have difficulty understanding written instructions. Thankfully, the pattern includes helpful diagrams all along the way. If you feel you need more help, Gabriela is also planning a detailed sew along set to begin next month.

IMG_8025

Now that I’ve pretty well said my piece, can I take a minute to mention a few of my lovely sewing friends? Several of us got together and pitched in to rent a photo studio for an hour for these photos. The photos in this post were taken by my friend Kim of Sweet Red Poppy and I really feel like she’s some sort of photo wizard.

IMG_8019

We were also able to get some photos of our Joy Jackets together. The photo below is one of my favorites and will probably end up on my bulletin board in my sewing room. My sewing friends have been a true joy and lifeline over the past year and I feel pretty dang lucky to have them in my life. If you want to read more about their Joy Jackets, read Tiahna’s post here, Tami’s post here, and Rachel’s post here.

joy-group-shot

Have you heard enough about the Joy Jacket yet? No? If you haven’t already, Head over to Leslie’s post (here) to read more about this patterns origins. Grab a tissue, you might need it.


True Bias Lander Pants

Today I’m thrilled to show you my True Bias Lander Pants. I was lucky enough to be one of Kelli’s testers for this pattern and couldn’t be happier with my result. These are certainly not my first pair of pants, but there’s just something about the detailing and fit that makes me feel like my sewing skills are suddenly legit. The pants feature a wide leg, button fly, front rectangular patch pockets, and a flattering high waist. There are also three length options: short, ankle, and boot length. If you haven’t already seen them, check out the pattern listing here to see Kelli’s amazing samples and how great they look on her gorgeous silver-haired model.
Nicole_08

I opted to make the boot length option as I plan to wear these regularly throughout the fall and winter months. Wide leg pants have been appealing to me for years, but because of my waist to hip ratio and longer legs, nice fitting ones are nearly impossible to buy off the rack. When Kelli told me she was making a pattern for wide leg pants, I jumped at the chance to test them.

Nicole_02

Nicole_13

This denim pair is actually my second pair of Lander Pants. During the testing phase I made an ankle length pair using Essex Linen. The denim is a Robert Kaufman denim purchased from Imagine Gnats (find it here). The fabric is a really nice medium weight and rather comfortable as well. I wore these pants on the plane to Denver last week (more about that trip here). My plane flew out of SLC at 7:30 am so I was nervous to see how my pants would look by the end of the day. Surprisingly, they still looked great by dinner time with only minimal wrinkling from an entire day of wear.

Nicole_04

One of the details I love about these pants is the size of the pockets on both front and back. They’re a great design feature, but it’s their practicality that really wins my heart. One of THE worst parts of many ready to wear women’s pants are the size of the pockets. Does anyone else hate when they’re so small you can’t even fit your phone inside? I mean, what are they? Pockets for ants? I don’t even have a giant phone and I regularly have this problem when shopping for pants. Not planning on having that problem again, because I’m just going to make an array of Lander Pants for all occasions.

Nicole_17

Nicole_20

I could write a few hundred more words proclaiming my love for these pants, but I’ll let the photos and the fact that I’ve been wearing them multiple times a week speak for themselves. Kelli is hosting a Lander Pant Sewalong on her blog this week. It’s sure to be filled with lots of helpful hints if you’d like some extra wisdom while making a pair. Check out her first post here.

Thanks for reading! Want to see what else I’ve made using True Bias patterns? Check out my red Lodo Dress in this post.

Photos by my lovely friend Rachel of Little Fish.

If you’ve made it this far I’ll leave you with the gem of a picture below. This is what I look like when I’m afraid that I’ll be hit by a car while “acting natural” and crossing the street. Clearly crossing the street photos will never be one of my signature poses.

Nicole_06

Itch to Stitch Anza Jumpsuit

Last spring, I purchased a gorgeous Anna Maria fabric fully intending to make a jumpsuit. Life got busy and many of my sewing plans got pushed aside. By the time summer ended, I had given up on finding and making my perfect jumpsuit and used the fabric to make a pattern hack of another Itch to Stitch pattern. You can find that dress here. Luckily, Kennis of Itch to Stitch is not only a talented and detailed pattern designer, she is also some sort of mind-reading wizard who is releasing the perfect jumpsuit pattern just when I needed it. Today I’m thrilled to show you my tester version of the Anza Jumpsuit.

DSC_0323

I was browsing the selection of fabrics at my local fabric store Suppose when Kennis annouced a tester call for the Anza Jumpsuit and dress. I immediately put down the bolts I had been carrying around the store, borrowed a measuring tape, took my exact measurements, and filled out the application form. I purchased 4 yards (only ended up needing 3) of this Lizzy House Printmaking lawn and crossed my fingers that I’d be chosen. The next morning when I received an email inviting me to the tester group, I excitedly told my husband that I’d be making myself a literal birthday suit as a gift to myself (my birthday was coming up the following week). Sometimes, I think that I’m hilarious until I remember that not even my  3 year old laughs at my jokes.

DSC_0408

Let’s bring it back to talking about the jumpsuit and pretend like I didn’t just write several sentences detailing my own lame joke. Now we’re going to talk details and features. Itch to Stitch patterns often include well thought out details that add interest without stealing the show and overwhelming the wearer. The Anza pattern is no exception. It includes cuffed sleeves, pleated chest pockets, drawstring waistband, elastic at the ankles, and pants pockets. Basically, this is the jumpsuit I was preparing to draft for myself until I saw that Itch to Stitch had made a pattern even better than what I’d imagined in my own mind.

DSC_0393DSC_0409DSC_0388

Speaking of details, can we talk about these amazing Arrow Mountain buttons? These are the Minimalist buttons in Arctic Ice. I used the wooden version of the Minimalist buttons on maxi dress also made from Lizzy House lawn that you can find here. In fact, If you’d like to see more of the Arrow Mountain buttons in my handmades, check out my Itch to Stitch Bonn Shirt and Bonn Shirt Turned Maxi Dress posts found here and here. I’ve ordered from Arrow Mountain several times now and only found great quality and excellent customer service.

DSC_0340

A quick note on alterations:

This pattern is drafted for the height of 5’6″ and may some require some lengthening or shortening if you are not  5’6″. Since I am somewhere between 5’9″ and 5’10” I ended up adding 1.5″ to both the bodice and the rise.

One great thing about Itch to Stitch patterns is that Kennis includes pieces for cup sizes A-DD. This means less alteration time and more sewing time. Which is always a good thing. Let’s all make sure to applaud Kennis for taking the extra time and effort to make our lives easier.

DSC_0337

Overall, I am 100% satisified with my Anza Jumpsuit and cannot wait to wear it again and again all summer long. Now, go grab your copy here.

Farrah Top by Chalk and Notch

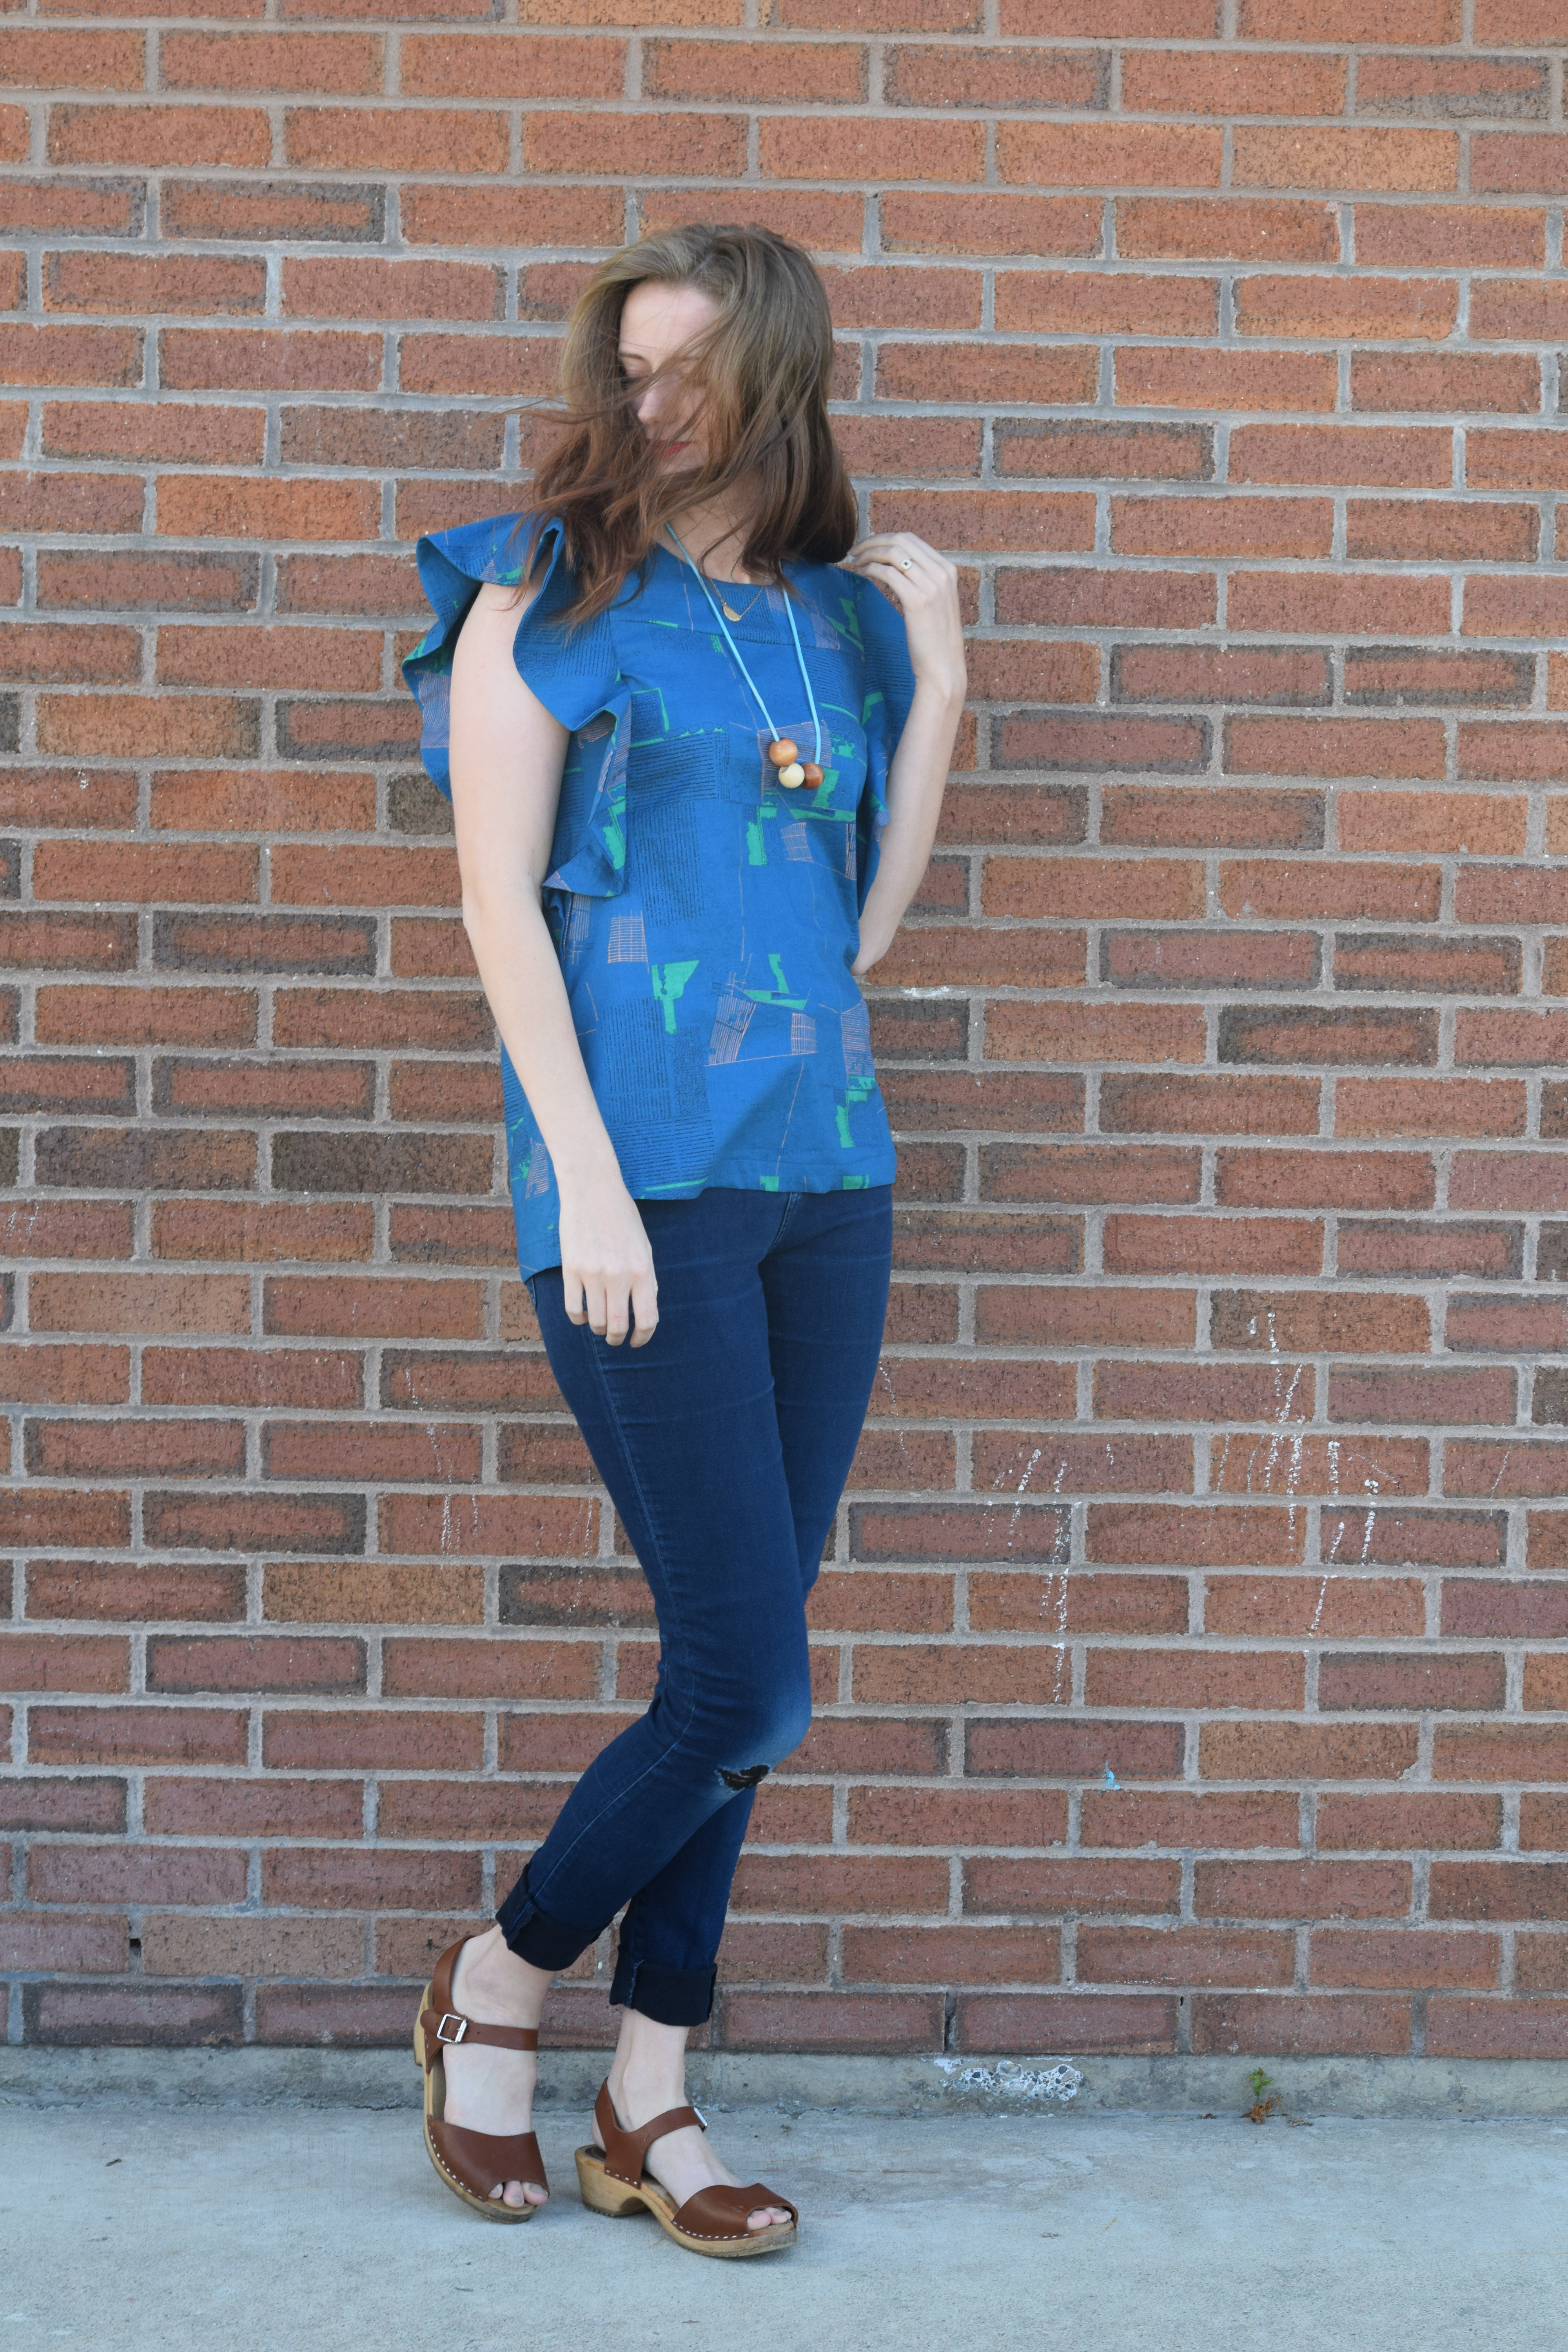
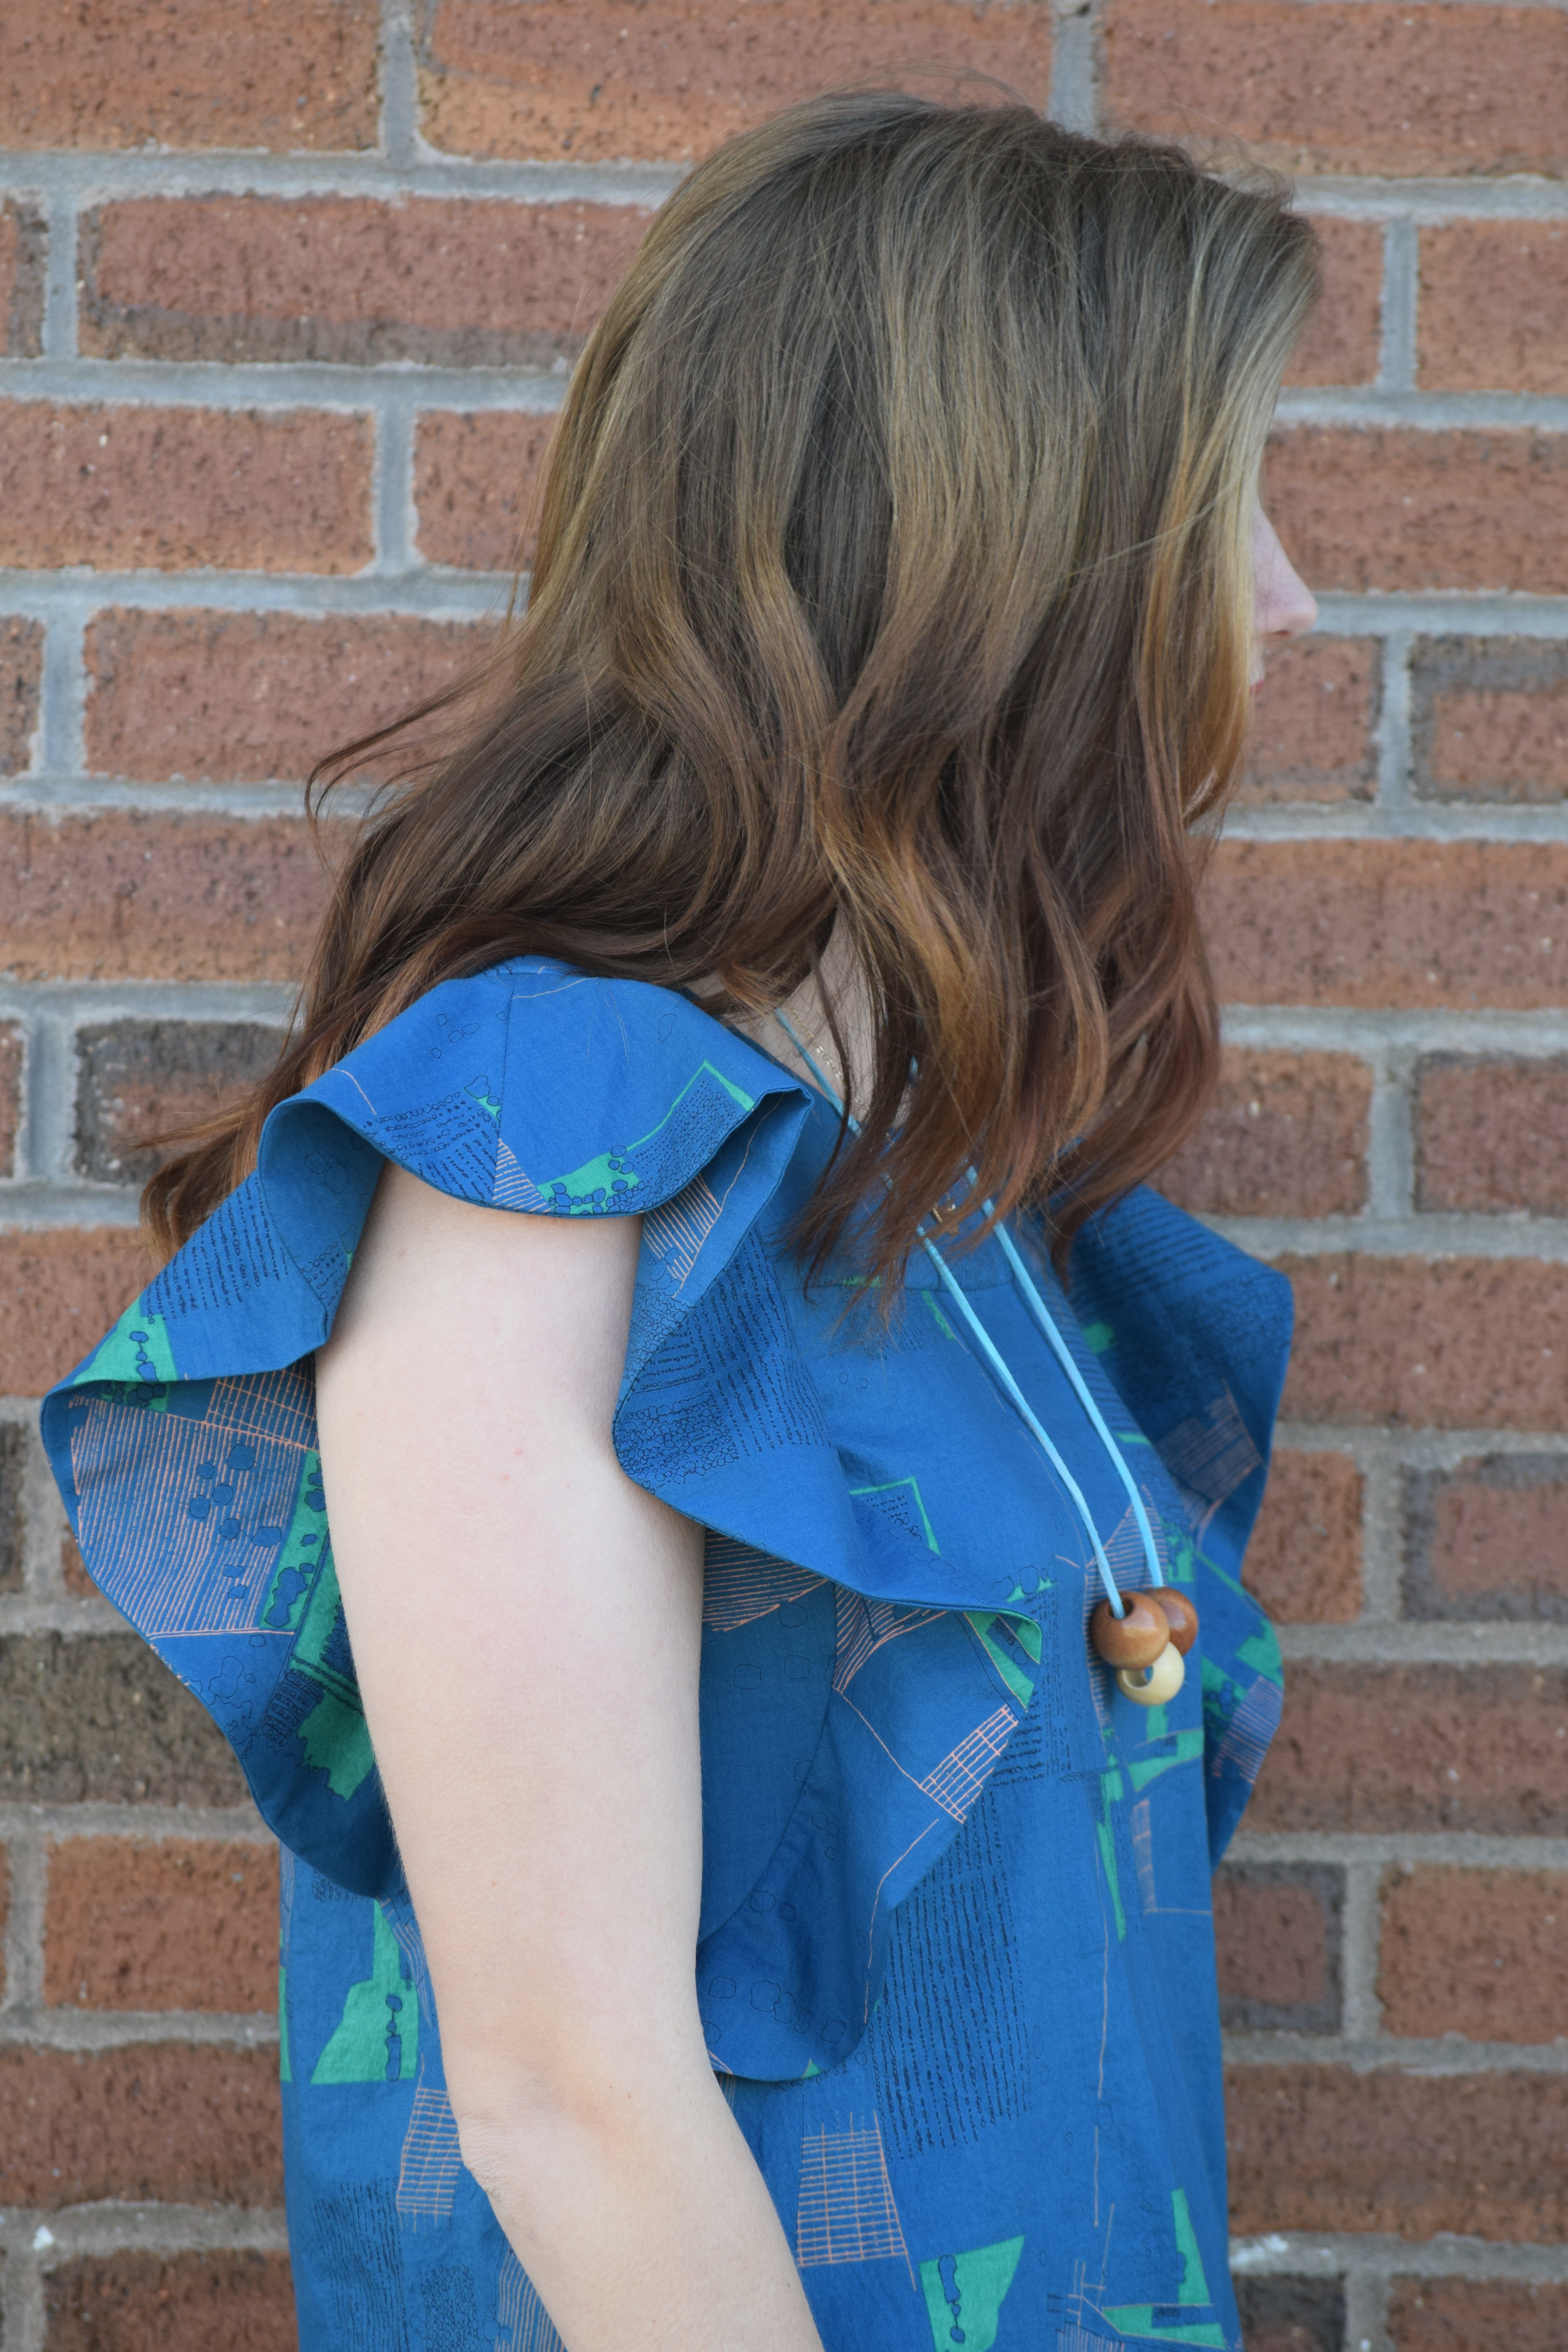
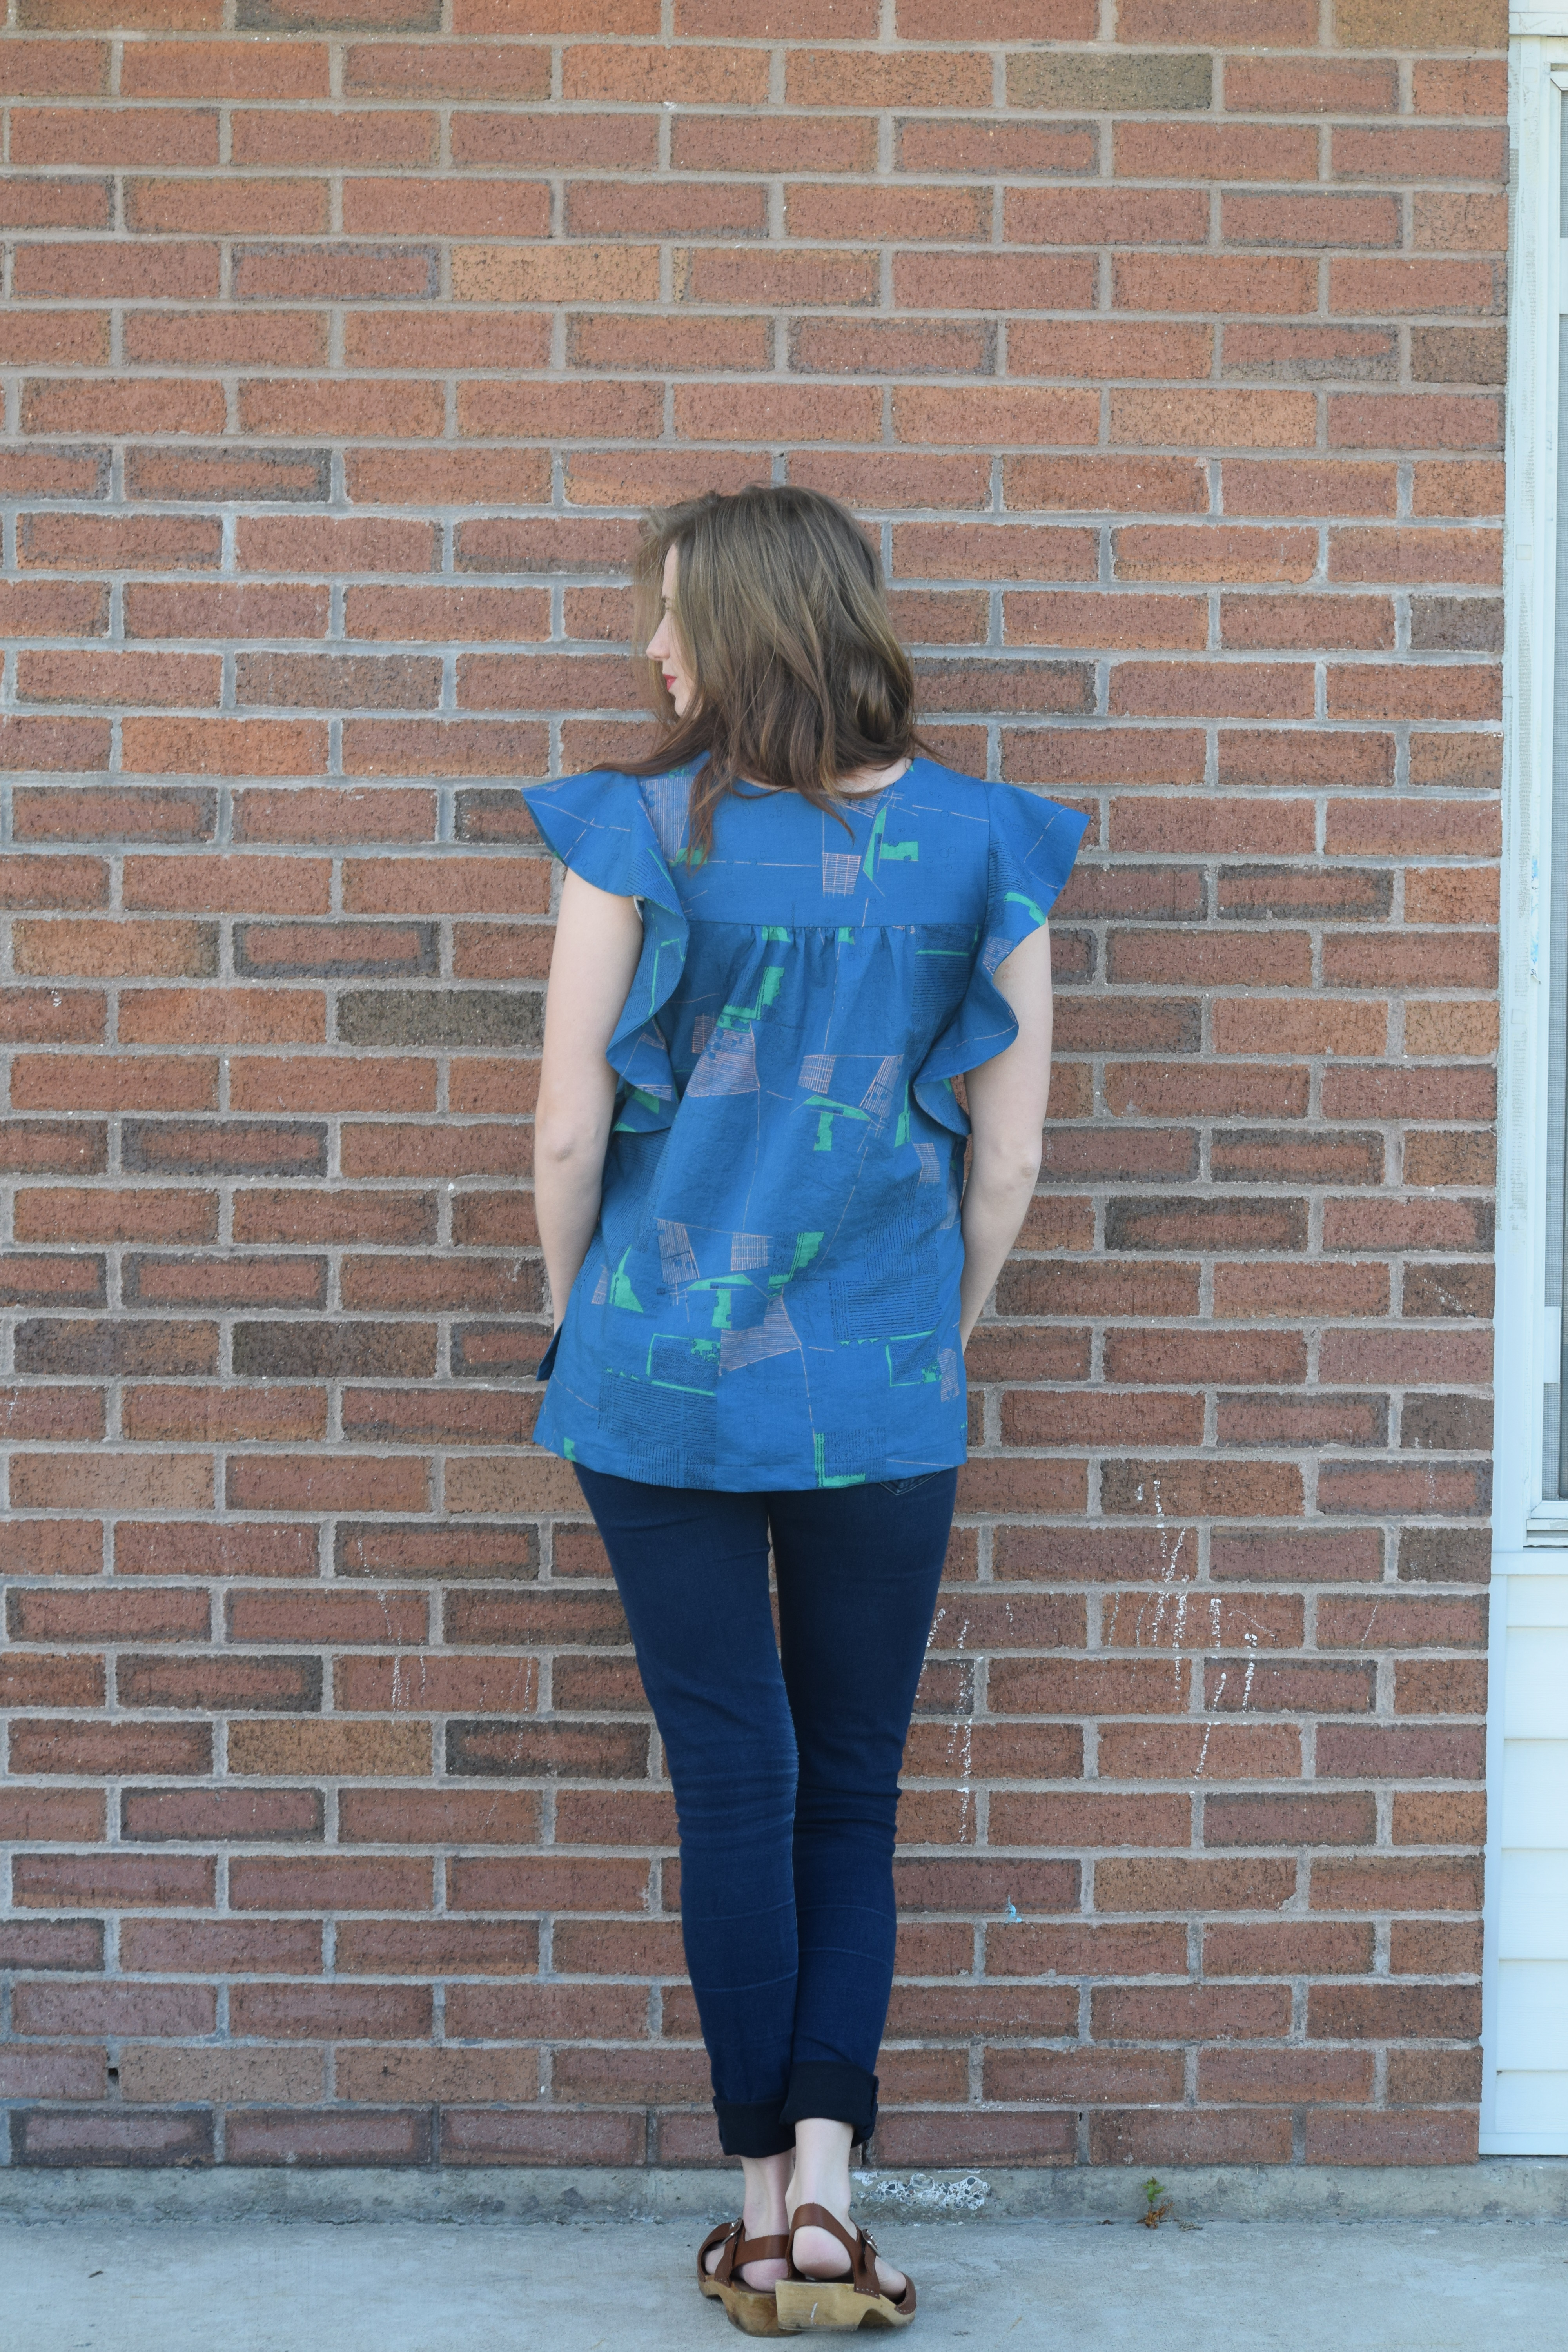
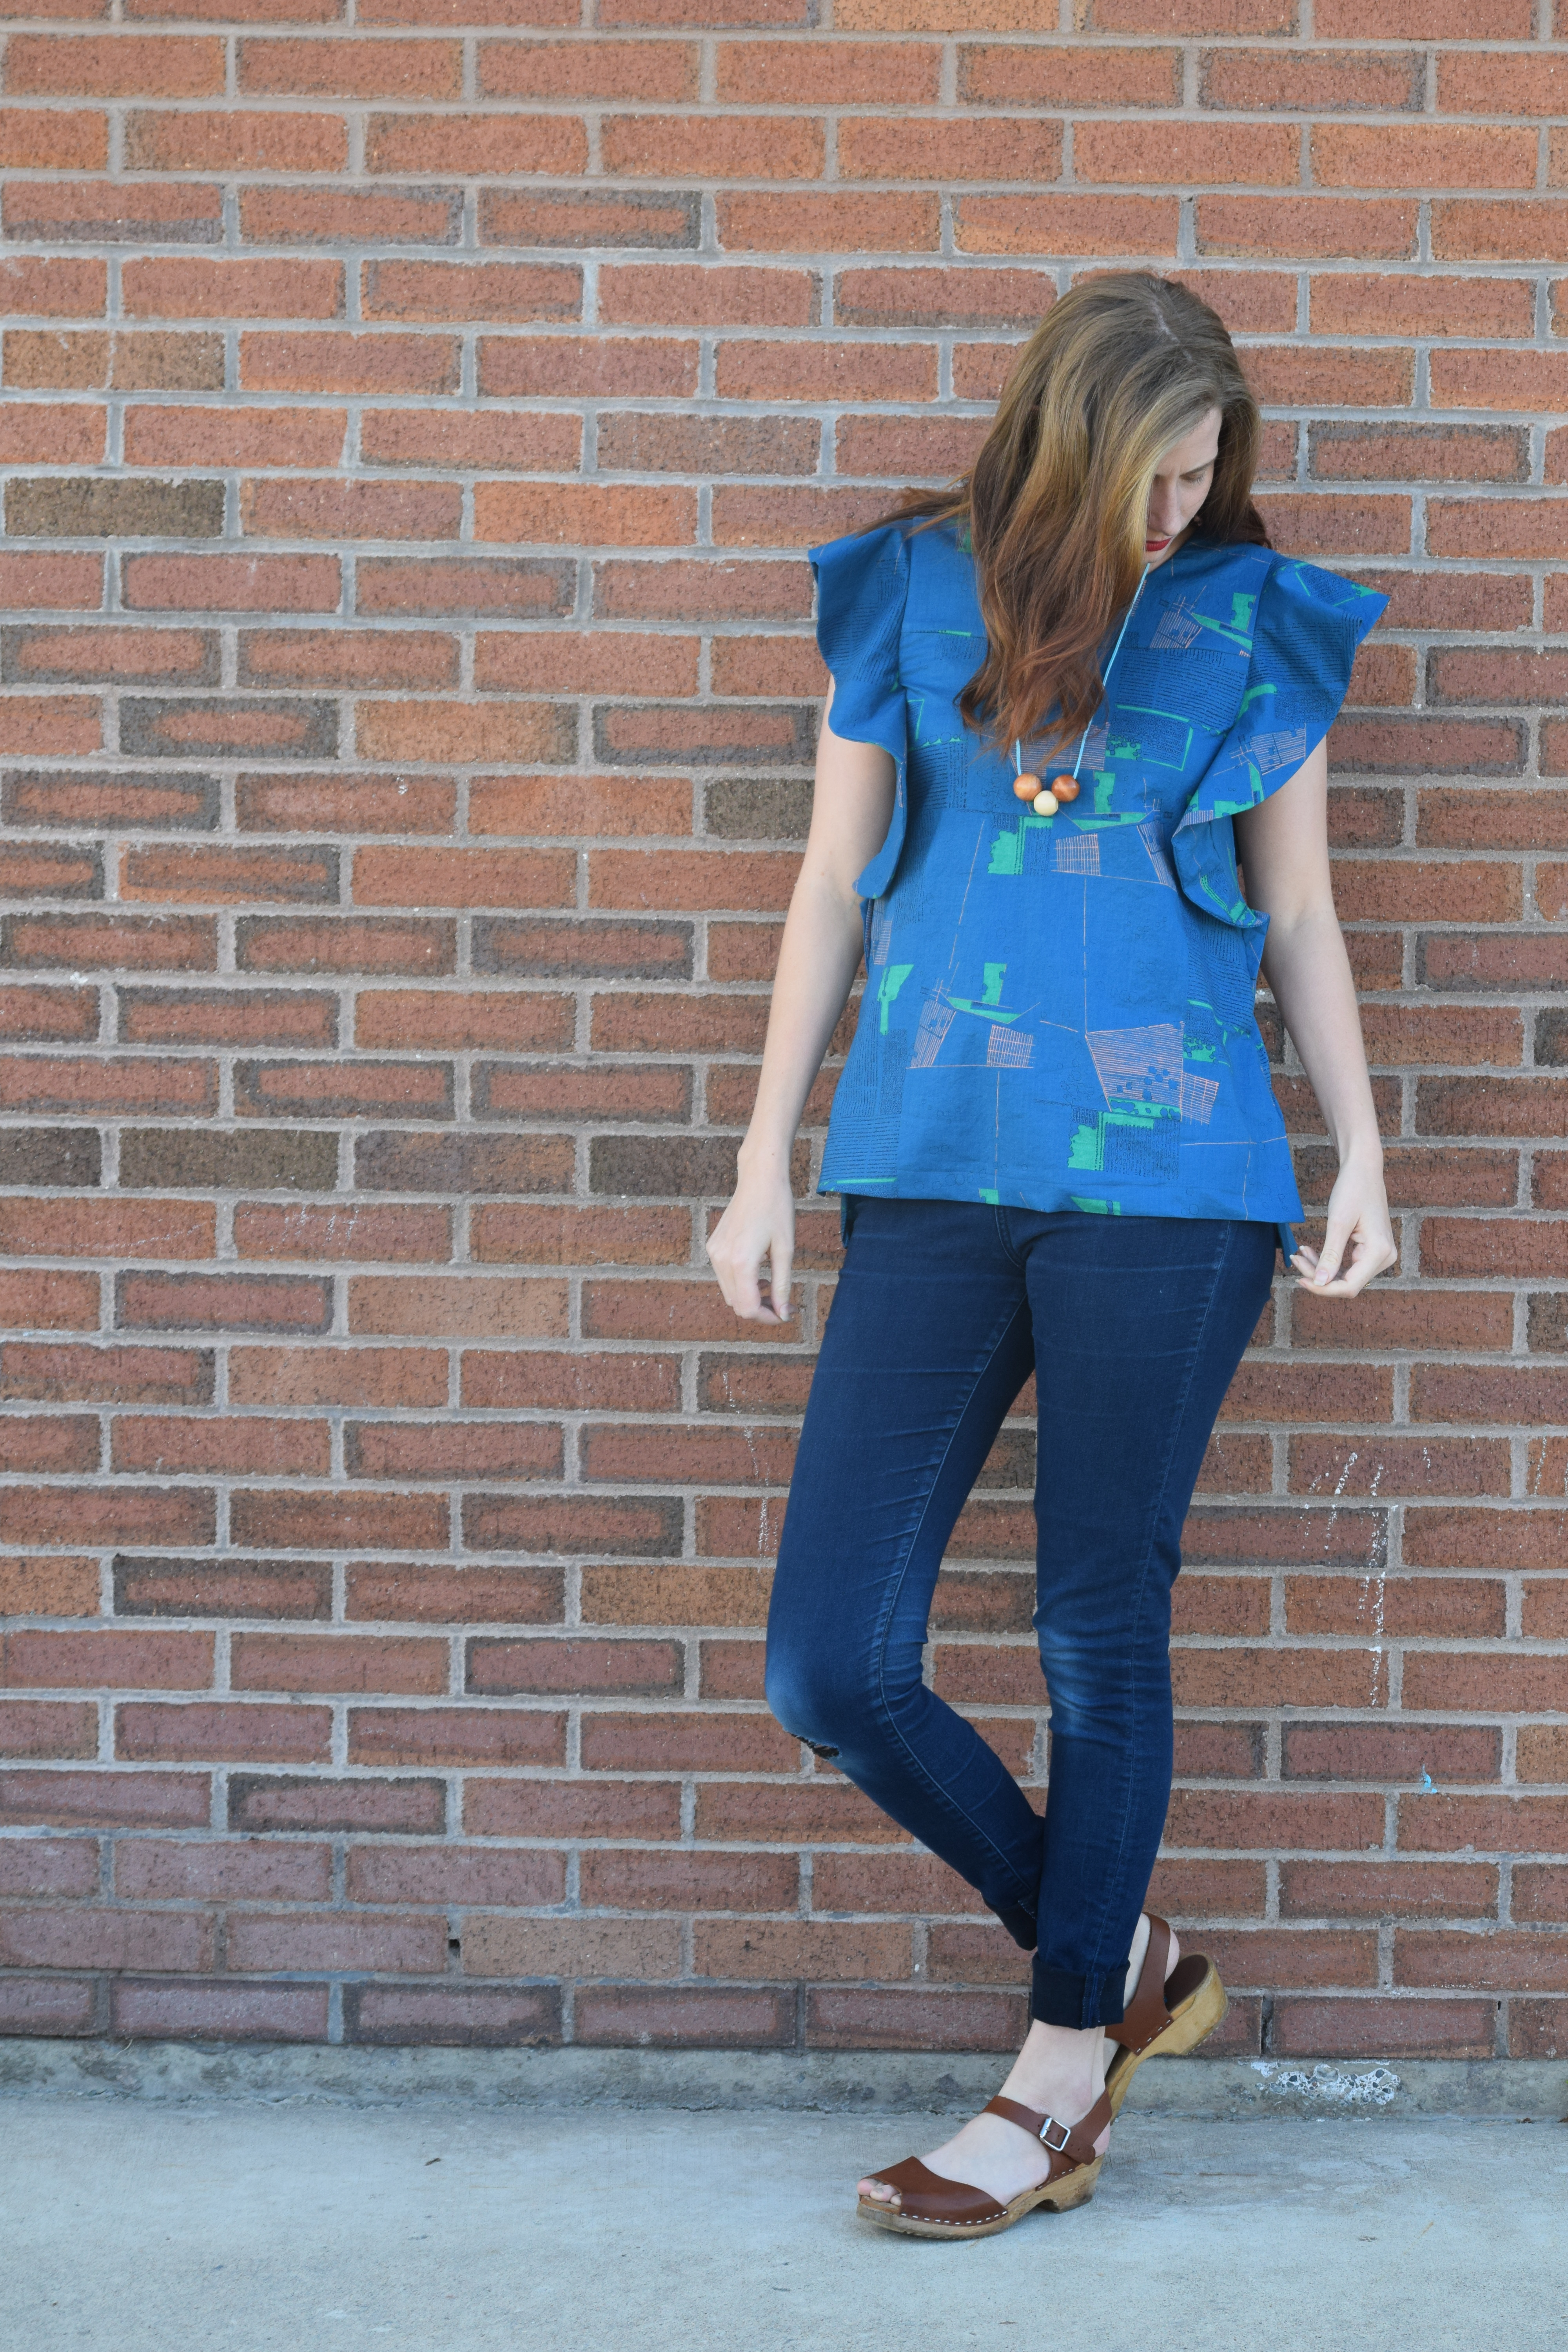
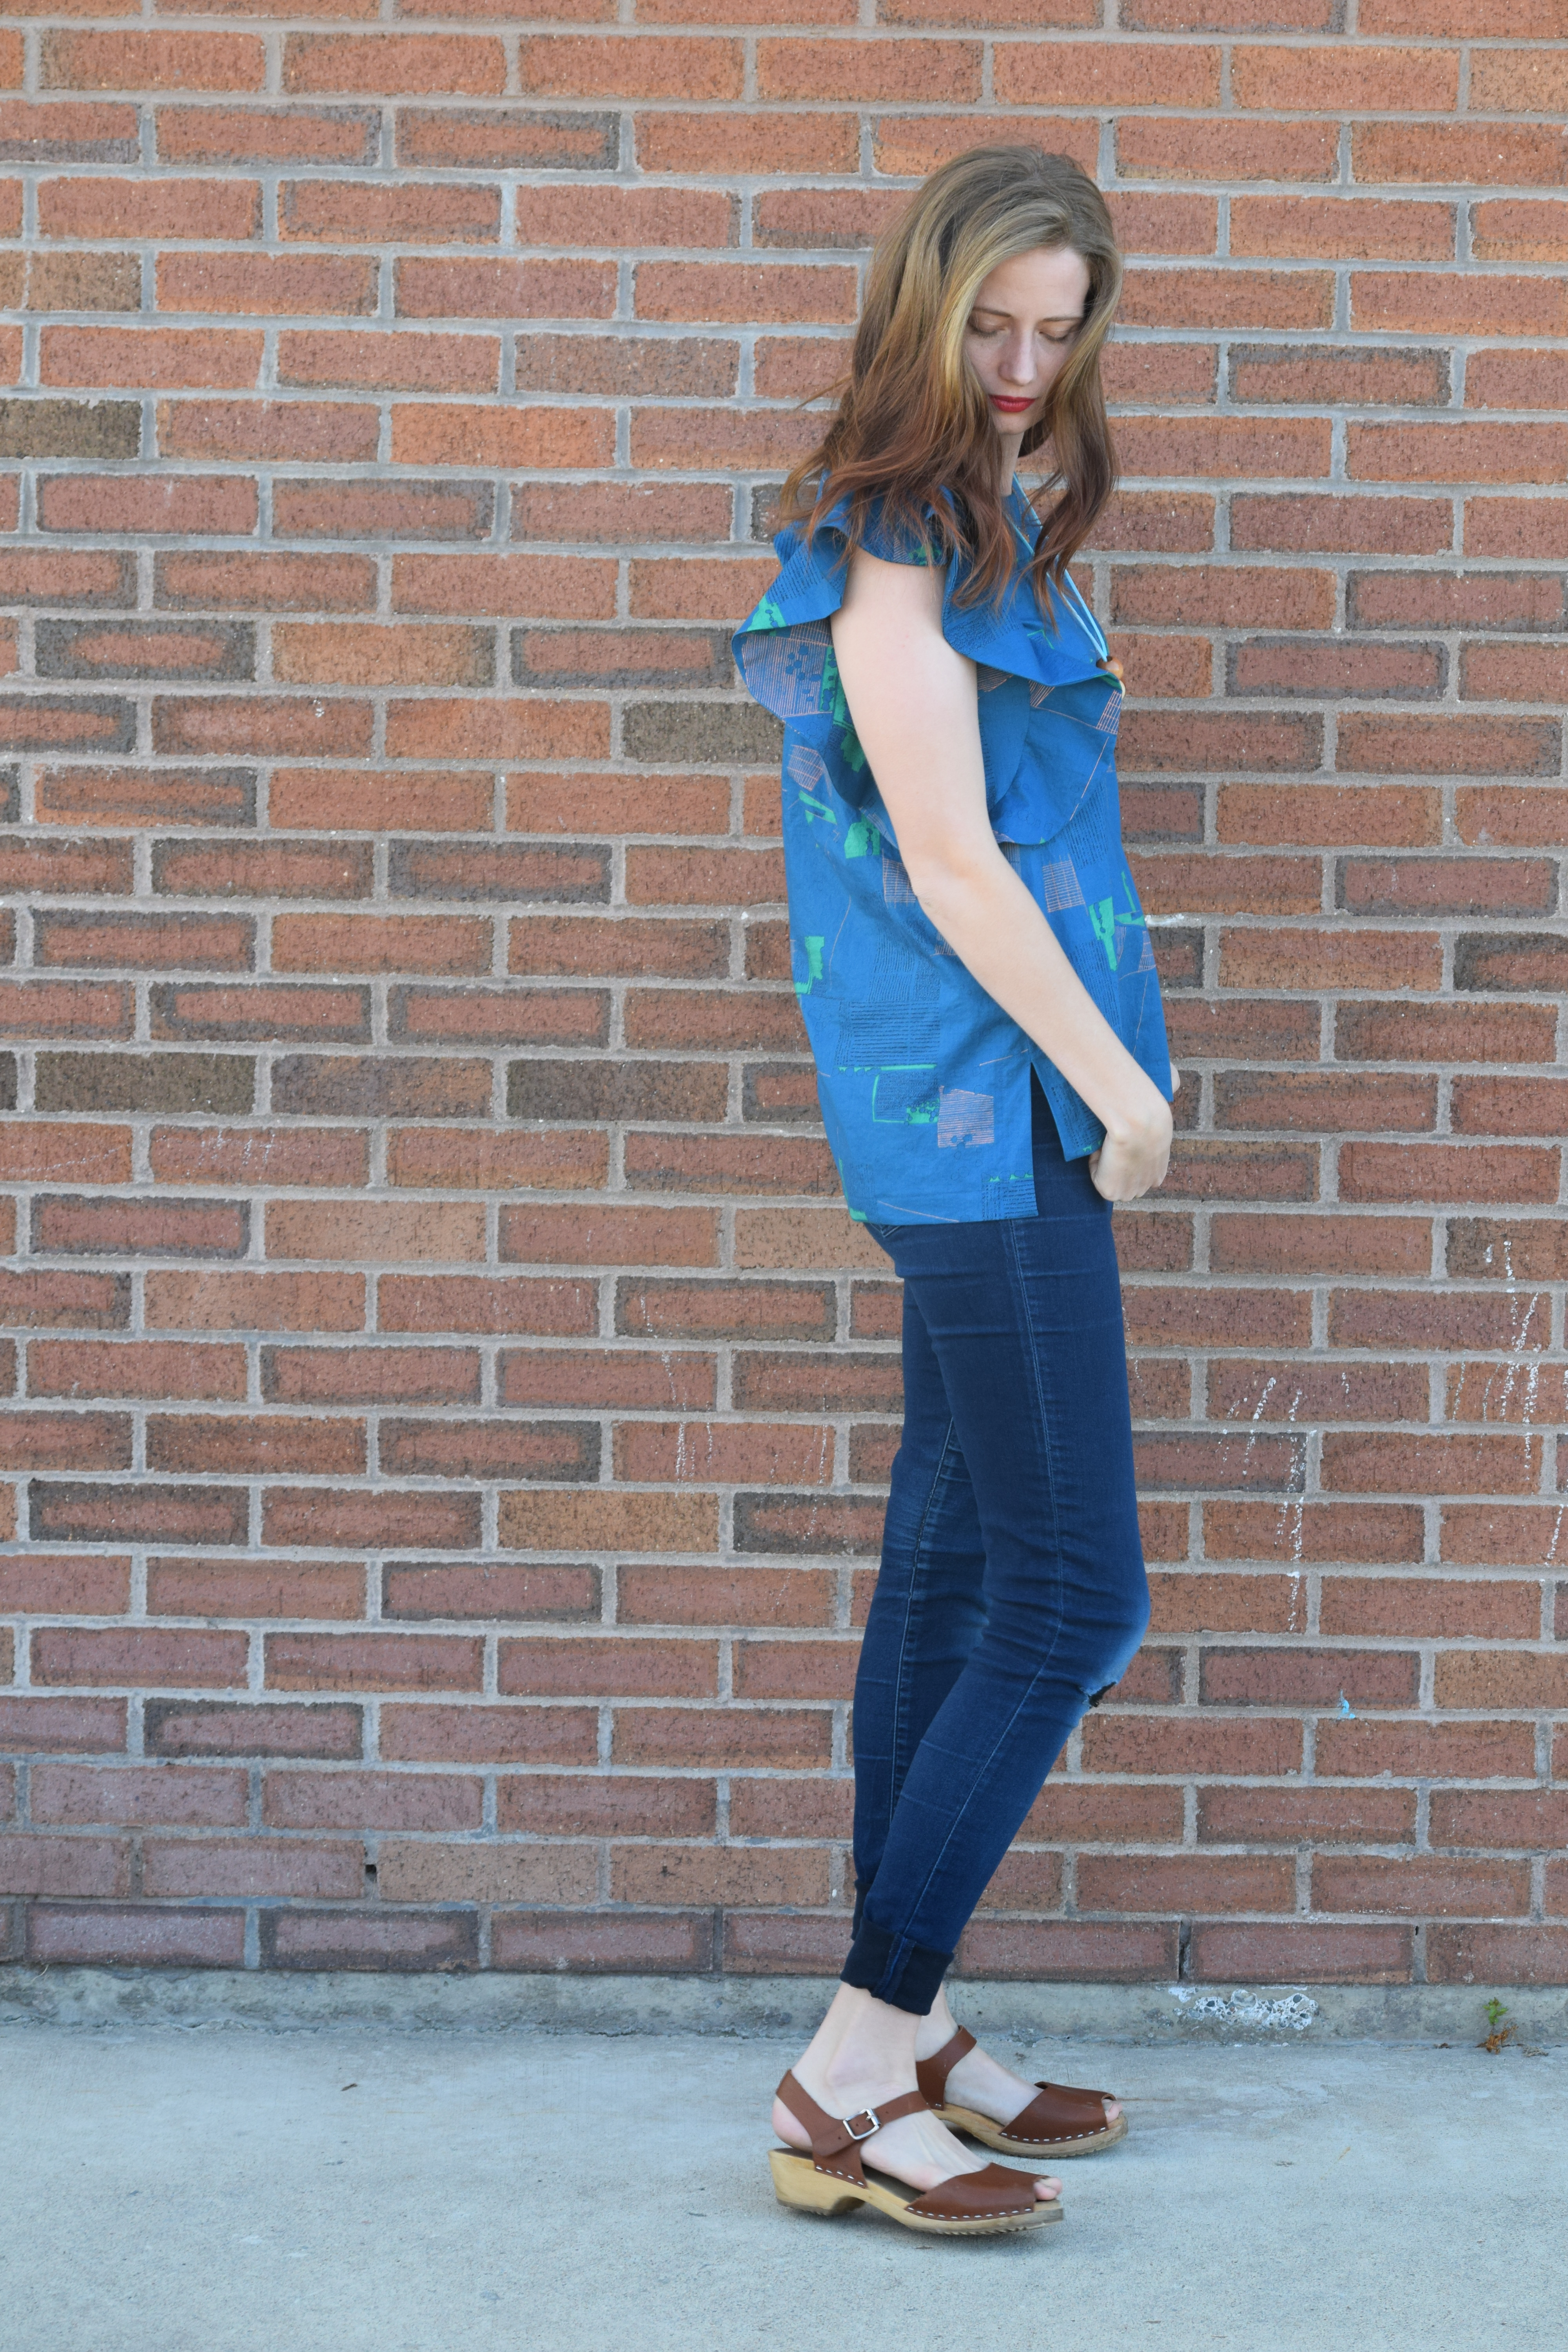
Today I’m looking forward to showing you my version of the newest release by Gabriela of  Chalk and Notch. The Farrah Pattern has top and dress options for two different views. I opted to make the top in View A. I sewed a straight size 4 with no alterations. This is an intermediate level pattern with sleeve ruffles, underarm gusset, and a mitered split hem. I was unsure about whether or not this style would suit me, but now I’m thrilled to say it’s my new favorite.

DSC_0276

Let’s talk fabric for a minute. I selected a cotton lawn by Carolyn Friedlander. I’ve been anxiously awaiting the release of these lawns since they were announced last fall. I bought it almost immediately once it Arrived at Suppose. Lawn has a lightweight, almost silky hand. It doesn’t have the same graceful drape as a rayon, but it is much easier to sew. Lawn presses beautifully and I love the way it exaggerates the ruffles in this design.

DSC_0291

DSC_0301

The fact that this top slips over the head and has no closures, doesn’t make it any less interesting. It’s a great skill builder with the ruffles, gusset, and mitered hem. My favorite is the mitered high-low hem. I’ve only sewn a mitered hem once before this top, but I love it. It makes the finish look and feel professional. Gabriela’s clear pictures and tutorials make trying new techniques less intimidating and more satisfactory.

DSC_0285

The pattern releases exclusively on UpCraft Club today and will be available through Chalk and Notch later this week. Be sure to check out the #farrahpattern on Instagram for more inspiration and to see more of the fantastic tester versions.

DSC_0289