

Can you believe it’s the first day of spring? I’m celebrating in unusual fashion by finally posting about my Clare Coat. Not unlike my Ginger Jeans, I’ve had the Clare Coat Pattern on my “to make” list for years. Luckily, my friends Rachel, Tiahna, and Jennifer wanted to make one as well. This last January we joined forces to host a Coat Making Party on Instagram. We were fortunate enough to work with a few generous sponsors, Riley Blake Designs, Raspberry Creek Fabrics, and Closet Case Files, who provided us with fabric and generous giveaways for participants. Without the motivation of sewing friends and our awesome sponsors, I’m not sure that I would’ve finished this coat, but I’m about to tell you why I’m so glad that I did.

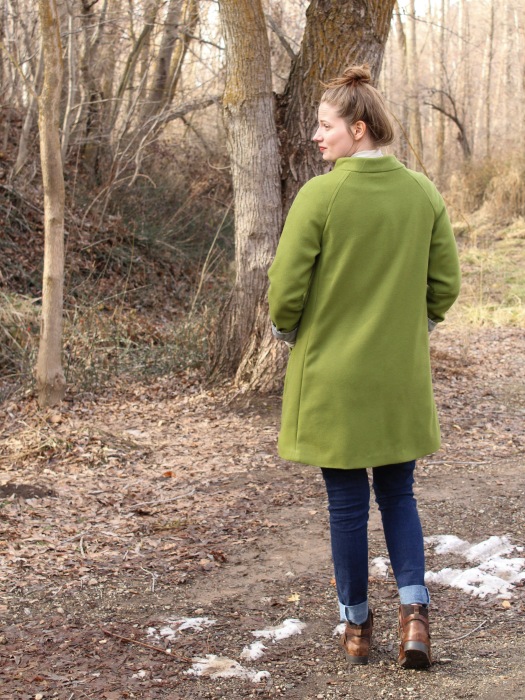
First, let’s talk about this olive green wool from Riley Blake Designs. Riley Blake was one of our sponsors and was gracious enough to provide each of us with wool to make the outer shell of our coats (see Rachel’s dark green one here, Tiahna’s pink one here, and Jennifer’s red one here). I chose this Olive colored wool and anxiously awaited its arrival. This wool is a mid-weight and seems similar to the weight of the fabric on my favorite ready to wear coat. I found working with it to be relatively easy and enjoyable. I did have a bit of trouble pressing, but this is likely due to the fact that I have a terribly cheap old iron and not an issue with the actual fabric.
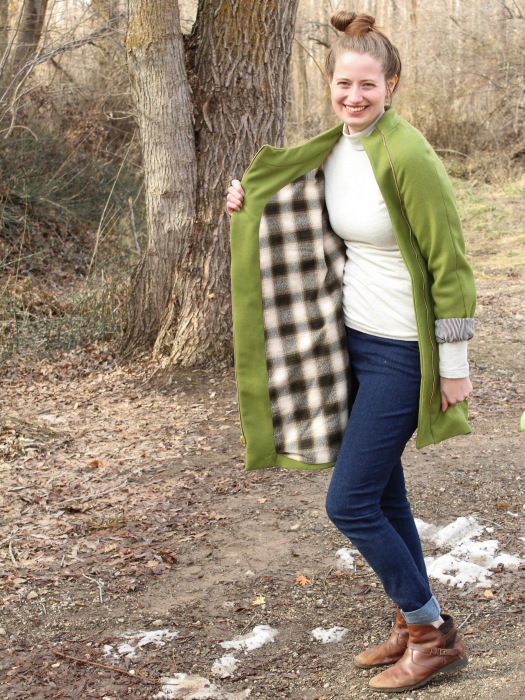
While the olive green shell of the coat is certainly striking, I think the lining is my very favorite part. Our other fabric sponsor, Raspberry Creek Fabrics, provided me with this Robert Kaufman Mammoth Flannel. I took a bit of a leap of faith selecting this without seeing it next to my wool and I’m so glad it turned out to be a perfect match. The flannel lining makes this coat extra cozy. It really feels like I’m wearing a secret blanket which is exactly how I want to feel in the winter. One aspect that I overlooked when planning this coat was the need for a sleeve lining that would be a bit more slippery to make the coat easier to put on and take off. I had already planned to use this black and white striped rayon challis as the lining for my Joy Jacket (see it here), so I simply added an extra yard to my order and used it to line my Clare Coat sleeves as well. I’ve found myself regularly wearing my sleeves rolled just to show off the fun striped lining.
Now that I’ve talked your ear off regarding fabric choices, let’s talk about the actual process of making the coat. I spent four evenings preparing fabric, tiling the pdf pattern, and cutting out all the pieces to the coat. The amount of preparation that goes in to making a coat is something that I wasn’t wholly prepared for before I started this project. It likely would’ve only taken three evenings for the prep work if I hadn’t spent an entire evening tiling the pattern pieces for view b when I was supposed to be tiling the pieces for view a. How I assembled all the pieces before realizing it was the wrong view is beyond me. That is a mistake I plan to avoid in the future and a time-consuming lesson that I likely won’t forget.
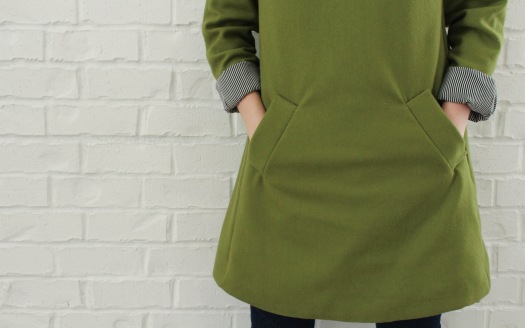
About halfway through January, I finally completed all the prep work and got down to business. These welt pockets on the front were the first and most time consuming aspect of the project. I spent my first evening focusing solely on them and despite a few minor imperfections, I think they turned out well. These perfectly-angled and flannel-lined pockets keep my hands nice and toasty when I forget my gloves (which happens almost every time I go out).
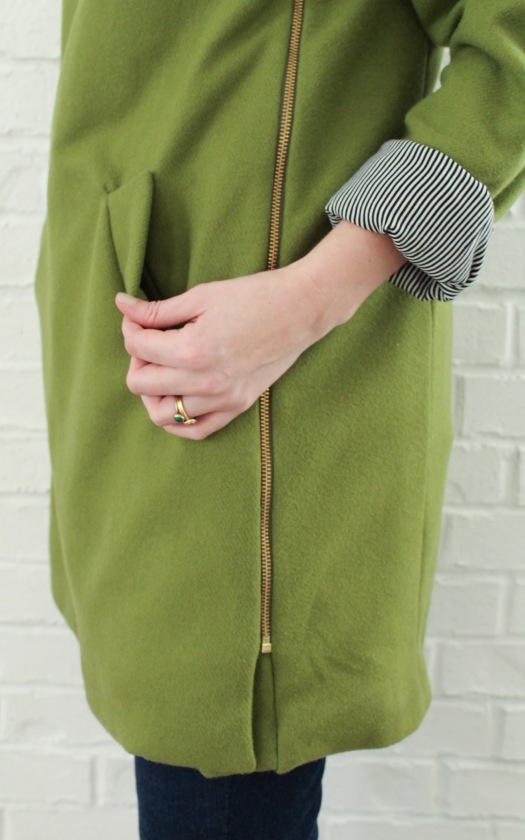
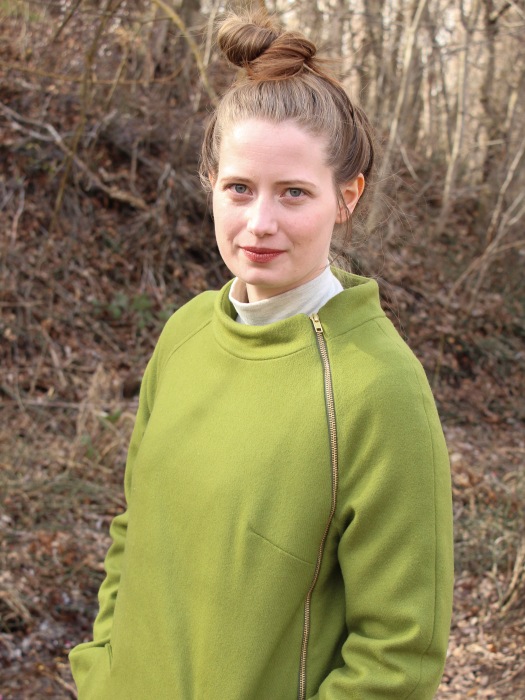
Once the welt pockets were installed, the rest of the coat construction went rather smoothly. As a visual learner and first time coat maker, I found myself relying heavily on the sewalong (here) to understand each step. I was a bit nervous about the zipper installation, but soon found that I had no reason to worry. As it turns out, installing a separating zipper is even easier than a regular zipper. Who knew? I also got a bit confused about bagging the lining, but found it to be rather simple and magical once I followed the instructions and just went for it.
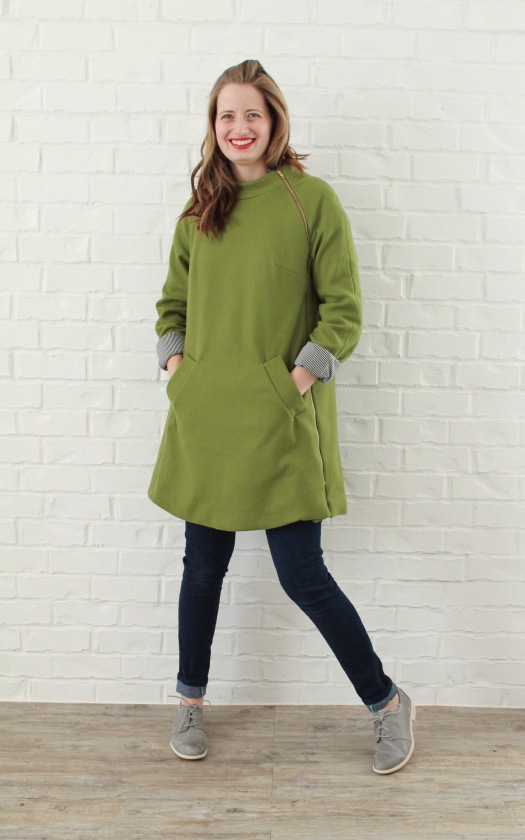
Before I wrap this up, let’s talk for just a second about sizing and adjustments. I chose a size 10 for my Clare and because I wanted it large enough to fit over a bulky sweater. If I planned on only wearing thin layers underneath I could’ve possibly sized down to an 8, but I’m really happy with the fit of the coat as a 10. I only made one minor fit adjustment to the pattern and that was to use the full length (view b) sleeves and add 2 inches to their length.

Honestly, January was a bit of a rough sewing month for me. I had a hard time getting back in the swing of things after the holidays and was seriously lacking in motivation. Most days I felt like sewing was more of a chore than a pleasure. This doesn’t happen regularly, but when it does I sometimes wonder why I sew. Looking back on January, I’m feeling grateful that I forced myself into the sewing room because I was able to accomplish two huge sewing goals , jeans (here) and this coat, that gave me the confidence boost needed to fall right back in love with sewing come February. Over the last few years of growth, parenting, and change, sewing has been the constant that reminds me I can do hard things, I can be proud of those things, and there’s always something to learn. In short, sometimes you won’t always love insert hobby or passion here, but that doesn’t mean it’s time to give up. It just might mean that it’s time to push through resistance because something great is on the horizon. It also might not mean anything, I’m not claiming any miracles here.