Retro Inspired Tops with Indiesew

Hello! Today I’m sharing my second post as part of the Indiesew 2019 Blogger Team. After making four pairs of Persephone Pants over the last year, I decided that I needed some retro inspired tops to wear with them during spring and summer. With a couple yards of fabric, two great patterns, and a little bit of hacking, my retro wardrobe dreams are beginning to come true. Ready for all the details? Let’s do this.

Grainline Studio Lark Tee


The Grainline Studio Lark Tee has been a staple in my wardrobe since the pattern release in 2015. Over the years I’ve sewn every sleeve length and neckline option. This time, I wanted something a little different. Initially I had planned to make a button front hack, decided against it, and then thought I’d try a lettuce hem. I haven’t spent quite enough time practicing a lettuce hem to feel confident using it in an entire garment just yet. Hopefully with a bit more practice I’ll have a lettuce hemmed top before the end of the year. Eventually I settled on using a contrasting ribbing on the sleeves, neckline, and hem.

Fabric

This green stripe waffle knit (also available in ice, pink, and blue) has been on my radar for a while now. I could never quite decide on a suitable project. In the end I decided to just order the fabric and let it tell me what it wanted to become. The 100% cotton content makes it breathable and easy to wear. The only drawback to this fabric is the lack of spandex which means there isn’t great recovery once the fabric has been stretched. To remedy that and keep the shirt fitting in the neckline, I used a rayon/spandex rib knit for the bands. Together they make a vintage inspired tee that’s sure to keep me cool and put together all summer long.

Fitting and Alterations

I love a good loosely fitted tee. To achieve a looser fit with the Lark Tee I always sew a size 4 instead of the 2 (where my measurements land). With the sizing sorted, my modifications to achieve this look were quite simple. I chopped 1″ of the short sleeve length and added 1/2″ (finished) bands to the sleeve hems. Originally, I hadn’t planned for the bottom band and cut the shirt pattern as is. Upon trying it on, I didn’t love it so I chopped off 6.5″ from the bottom and added a 2″ band. That’s it. Easiest pattern hack ever. Perhaps next time I would chop an extra 1″ or 2″ off the bottom for a more cropped look. This version toes the line between cropped and regular length.


Construction

Nothing makes me feel more productive than sewing a banded tee or sweatshirt. Deciding on how to hack this tee took longer than the actual making of it. Once I made a decision, sewing this tee took me just over an hour (including interruptions to help or talk with my 5 year old). Such a quick, satisfying sew!

Seamly Jersey Popover

THIS. This Seamly Jersey Popover hack is what has me really feeling all the vintage, retro vibes. After pinning a couple of collared tees to my Apparel Sewing and Inspiration Pinterest board, I knew that I had to make something similar happen. I turned to Indiesew’s large pattern catalog to find a pattern match. When I saw the Jersey Popover, it felt serendipitous. This would be the simplest pattern “hack” I’d ever done.


Fabric

A retro inspired look called for a fabric with an equally retro appearance. The colors and texture of this Blue and White Stripe Pique Knit practically scream 1970’s dad style weekend wear. I’ll be honest and say that I had no idea what a pique knit (apologies to my college Textiles professor) was until I started googling and saw lots of polo shirts made from pique knits. Sold! This fabric had to be mine. I paired this pique knit with the same rayon/spandex rib knit mentioned above for a match made in Brady Bunch heaven.

Fitting and Alterations

According to the sizing chart, my measurements fell right between an extra small and a small. After looking at the finished measurements, I decided to size down to the extra small for a closer fit. With the size determined, I made two small alterations to achieve this hack. First, I cut off the bottom curve for a straight hem. Second, I cut the sleeves 4″ above the sleeve lengthen/shorten line. That’s it. No intense “hacking” necessary.

Construction

Sewing the Jersey Popover was simultaneously simpler and more difficult than I thought. The instructions were great and easily guided me through each step of the process. My difficulties lie in the rib knit used for the plackets and collar. Topstitching it was not an easy task and I opted out of topstitching the collar as a result. I attempted it a couple of times and just couldn’t get a nice looking topstitch on the rib knit. My other issue with the rib knit was that it’s quite thick where several layers are sewn together around the plackets. With some grading and trimming I was able to achieve a passable result.

This was also my first time sewing a knit placket. I’ve sewn plenty of woven plackets in the past, but sewing one in woven is a whole new ball game. With a little bit of patience, Interfacing, and my trusty seam ripper, I made it work. Next time I think I would just use a self fabric instead of the ribbing for plackets with less bulk. Overall, it’s not the worst first attempt so I’m just proud to be honing a new skill.

Conclusions

When my husband saw these outfits he said, “Oooh! very retro.” and then proceeded to ask me if I was headed to play tennis at the country club. Those two responses are a good indicator that I’ve achieved my styling goal with these tops. I mean, who doesn’t want to dress like they’re about to hop in the station wagon and head to the country club? Ok, maybe I’m the only one with that specific style goal in mind. Over the coming months I plan to pair these with my Burnside Bibs and Phillipa Pants in addition to the Persephone Pants seen here. Perhaps I’ll even make a Monarch Jacket to wear over them? hmm… Now, if I start describing things as groovy, someone please snap me back to reality. Until then, I’ll be living in a vintage inspired world of my own creation.

Disclosure: These fabrics and the Jersey Popover pattern were provided to me by Indiesew in exchange for this post. All opinions are my own.

Megan Nielsen Jarrah Sweater

It’s mid-way through December and the holiday season is in full swing around here. I had lofty sewing goals for December that had to be trimmed thanks to a minor, but unexpected hand surgery. Once I found out that surgery was necessary, I decided to drop all sewing plans except the Archer I posted last week. Had surgery just over a week ago and am feeling quite well. Thanks to a clear schedule (in case I wasn’t feeling well) and a nicely replenished fabric stash, I felt like sewing this week. On Monday afternoon I knocked out a bit of Christmas sewing and on Tuesday decided to sew up this Megan Nielsen Jarrah Sweater for myself. I mashed up the sleeves of View A with the curved hemline of View B to make a perfectly simple oversized sweater. 

Choosing the Fabric

I usually don’t have a large fabric stash for projects sewn on a whim, but I’ve tried to add a few favorites over the last few months. This organic hemp fleece from D & H Fabrics was begging to become a cozy sweater. It’s a mid-weight sweatshirt fleece with 2-way stretch and pillowy soft backside. It’s one of those fabrics that everyone should have in their stash ready and waiting for the next cozy sweatshirt pattern to come along. 


After the release of the Jarrah, I started looking for good ribbing. I usually just use a self fabric for ribbing, but have been inspired by all the matching ribbing I’ve seen lately. One night I was browsing Etsy, when I decided to search sweatshirt ribbing. I looked at several options before finding this black striped ribbing and falling in love. The black, mustard, and grey mixed with gold read as a combination that could be fun without looking childish. Although I found the ribbing on Etsy, Miekkie Fabrics also has a website (here) with a larger selection of fabrics and ribbing. I opted to purchase through Etsy since I had a gift card, but will likely purchase from their site in the future.  (Just a heads up: Miekkie Fabrics is based in Poland so the ribbing took about 3 weeks to arrive in the United States. ) Once the ribbing arrived, I was pleased with it’s weight and quality. My only complaint would be that when I ordered a quantity of 3, my ribbing was sent in 3 90cm pieces instead of one continuous piece. I didn’t ask for it to be continuous, so this was likely user error. Next time I will contact them before and ask if a continuous piece is possible. 

Fitting

Now, let’s take a minute to talk fit. According to the pattern sizing chart, my bust is right between that of a 2 and a 4 with my hip at a 12. After looking at the finished garment measurements, I noted that there was plenty of ease and too much grading up wouldn’t be necessary. Quickly, I settled on using a 4 at the bust and grading to a 6 at the hips. My only other adjustment was the regular length adjustment. I added 1.25″ to the sleeves and 1.5″ to the front and back pieces. Overall, I’m rather pleased with the fit although as a personal preference I could’ve added another .5″ to the sleeve length. 

Construction

Besides finishing a garment, sewing one up is my favorite part and there’s nothing that satisfies the need to sew like a quick and easy sweater. My son attends Kindergarten in the afternoon and this occasionally gives me two free hours to clean, grocery shop, or sew (I usually choose sewing). On Tuesday morning I assembled the pattern and cut my fabric. After dropping my son off at school, I grabbed my favorite drink (A Starbucks Caramel Apple Spice), put a movie on Netflix, and began sewing. Construction went quickly without any major mistakes and I was able to finish the entire sweater before heading back out the door to pick up my son. 

Overall, the outcome of my Tuesday afternoon sewing was successful. I satisfied the my need to sew, gained a cozy sweatshirt, and began a love affair with sweatshirt ribbing (Seriously, send me all your favorite sources for fabric with matching ribbing because I want to use it in every future sweatshirt). Next, I plan to find a good pink sweatshirt fleece to make a Jarrah in the knot front View C since I already have another striped ready for that project. What are you making for the holidays? Are you sewing for others or getting in some good selfish sewing as I did here?

Thanks for reading!

Want to see more projects I’ve made with fabrics from D&H Fabrics? Check out my Kaste Dress or Mila Shirt.

Ready for more winter sewing projects? Read about my Gemma Sweater, Clare Coat, or Toaster Sweater.

Itch to Stitch Blog Tour: Hepburn Turtleneck

I’m thrilled today to be part of the Itch to Stitch Love Blog Tour.  Kennis of Itch to Stitch has quite the repertoire of well-drafted patterns under her belt and I’ve enjoyed sewing her patterns in the past (see those here, here, and here).  Recently, Kennis was on vacation and came home to find that her home had been burglarized. Thieves took her computers, machines, and many other things essential to her and her husband’s businesses. This tour came about because the sewing community joined together to support one of our own. Read to the end of the post for information on all the generous sponsors and talented bloggers joining together this week.

When I was invited to join, I searched the website to find inspiration and decide on a project. Upon seeing and buying the Hepburn Turtleneck pattern, I knew I had the perfect fabric/pattern combination.  I purchased this soft striped rayon french terry from Indiesew and it’s been sitting in my stash for months waiting for inspiration to strike.
IMG_2182

IMG_2199

Today I’m sharing my Hepburn Turtleneck styled two different ways. It’s been several years since I owned a fitted turtleneck and I wasn’t quite sure how to style it. The first look is a slightly dressed up classic look that I envision wearing for a night out or even to Thanksgiving dinner. I pulled my hair into a low bun, painted on red lipstick, and paired my new top with these denim Lander Pants (more about those here).

IMG_2183IMG_2193

This first look seemed like a simple and natural styling choice. I love the understated elegance of this outfit, but likely won’t dress up quite this much on a regular basis. My second look is a casual one that is less classic and more trendy. When styling this outfit, I pulled my hair into a top knot, applied minimal makeup, grabbed my Rifle Paper Co. Keds, and pulled out my vintage Levi’s 550 jeans.

IMG_2149IMG_2155

These jeans are my literal mom jeans because I took them from my mom’s closet. I’m pretty picky about jeans and only own one pair besides these. My mom wore these jeans when I was younger, and it seems only natural that I would wear them now that I’m a mother. They’re worn to comfortable perfection and have completely sold me on the mom jeans trend. I wasn’t sure how to feel about this outfit until I put it on and realized that it’s likely to become my winter momiform.

IMG_2173IMG_2175

My Hepburn Turtleneck has been worn at every opportunity since it was finished a few days ago. It’s the perfect fit and weight for winter layering and wearing as a transition piece in late fall and early spring. I’m already envisioning new ways to style this top and keep it in constant rotation. How would you style a fitted turtleneck? Which look do you prefer?

IMG_2195IMG_2166

A quick note on sizing: My bust measurement fell between the size 2 and size 4 with my hip measurement being a size 6. I opted to make a size 4 and grade to a 6 at the hips. I’m 5’10” and added 2″ to the body length and 1.5″ to the arm length.

Read below for more inspiration and instructions on entering a couple of great giveaways. 

Your ITS Love bloggers are:

Monday: Sew Sophie Lynn, Merritts Makes, Sewing with Sarah, Sewing with D

Tuesday: Shalini’s Blog, Auschicksews, Rebel and Malice, Sewing Vortex

Wednesday: Replicate Then Deviate, mahlicadesigns, Sewing with D, The Petite Sewist, kreamino

Thursday: Sewing Curves, Creative Counselor, Sew Mariefleur, Fairies, Bubbles & Co, Sewing by Ti

Friday: Harper+Lu, MeMade, On Wednesdays We Sew, Heather Handmade, Bellevi, and visit by mooglii on IG

The ITS Love Tour sponsors have been so generous in support of Kennis of Itch to Stitch that we’ve been able to put together several prize packages to share with you.
First, you may enter our giveaway to win one of three prize packs:

Prize Pack #1 includes:

5 Itch to Stitch patterns

$25GC to Simply By Ti

$50 Raspberry Creek Gift Card

$50 Bella Sunshine gift card

                  Prize Pack #2 includes:

$50 Knit Pop GC

$25 Designer Stitch GC

$25 Chalk and Notch GC

3 patterns of choice from Coffee And Thread

Prize Pack #3 Includes:

$15 Thread & Grain store credit

$25 Maker Mountain Fabrics GC

3 patterns from Halla Patterns

A Rafflecopter Giveaway

Your second way to win is to share with us your recent Itch to Stitch creations (made between October and November 2017). Add your creations to our Link Up Party before Nov. 20th for a chance to win one of two prize packs.

LinkUp Prize Pack #1 includes:

5 Itch to Stitch patterns

A $40 value PFRE Sly Fox Fabrics.

$25 Maker Mountain Fabrics GC

$50 Love Notions GC

LinkUp Prize Pack #2 includes:

$25 Stylish Fabric GC & sewing box kit

$25 Chalk and Notch GC

5 patterns from Rad Patterns

Pattern of choice from DG Patterns

Click here to view and add your links.

Matching Loungewear: Brilliant Idea or Fashion Blunder?

Way back in August, my son decided that he wanted to be Spongebob for Halloween and requested that I dress up as Squidward. Part of me was rather proud as I was a Spongebob fan back in the day. In the sixth grade I even got a Spongebob alarm clock for Christmas (It sang the “F.U.N.” song to wake me up and was a real treasure. I’m sure my parents were delighted when it finally broke).  I had spent a few weeks puzzling on how to execute my Squidward costume until I was in Denver and Emily made this Blueprints for Sewing Geodesic Sweatshirt. The wheels in my head started turning and I came up with the idea of a matching mint colored loungewear set.

IMG_2048

Emily’s lovely mauve french terry inspired me to check the Raspberry Creek Fabrics Etsy shop where I found this solid dark mint french terry. I knew that I would use the Geodesic pattern because I already owned it and had been planning to make the longer version eventually (see my cropped version here). I decided to purchase the True Bias Hudson Pants pattern (here) and the two together make a perfect pair.

IMG_2096IMG_2085

I sewed up a size C/D with no alterations in the Geodesic and it all came together rather quickly. My background in quilting is what drew me to the fun geometric lines of the Geodesic and I think it made the construction a little easier as well.

When cutting and sewing the Hudsons, I made a size 10 with the only alteration being an added 4″ in length. I only needed to add 3″ to the length, but I prefer my sweats a little extra long. It probably has something to do with the fact that nearly all rtw sweats are a few inches too short for my legs. Perhaps I’m just making up for years of wearing sweats that look like I’m expecting a flood.

IMG_2070IMG_2069

While I’m satisfied with both pieces individually, I’m still not sure that I’m sold on wearing them together. They kind of remind me of the blush velour sweatsuit I owned in middle school and I’m still trying to decide whether or not that’s a good thing. The comfort level of this outfit is unreal. I have been wearing it around the house all day today. I guess the point of loungewear is actual lounging though, so I will certainly wear these together during those times. My biggest question is whether or not I would wear matching loungewear out and about during everyday activities. How do you feel about matching loungewear? Is it something you would wear? How and where would you wear it?

IMG_2107

Thanks for reading! I’ll leave you with a quick iPhone shot of our Halloween costumes so you can see how I incorporated these matching separates into my Squidward costume.

IMG_3964.jpg


Redwood Joggers


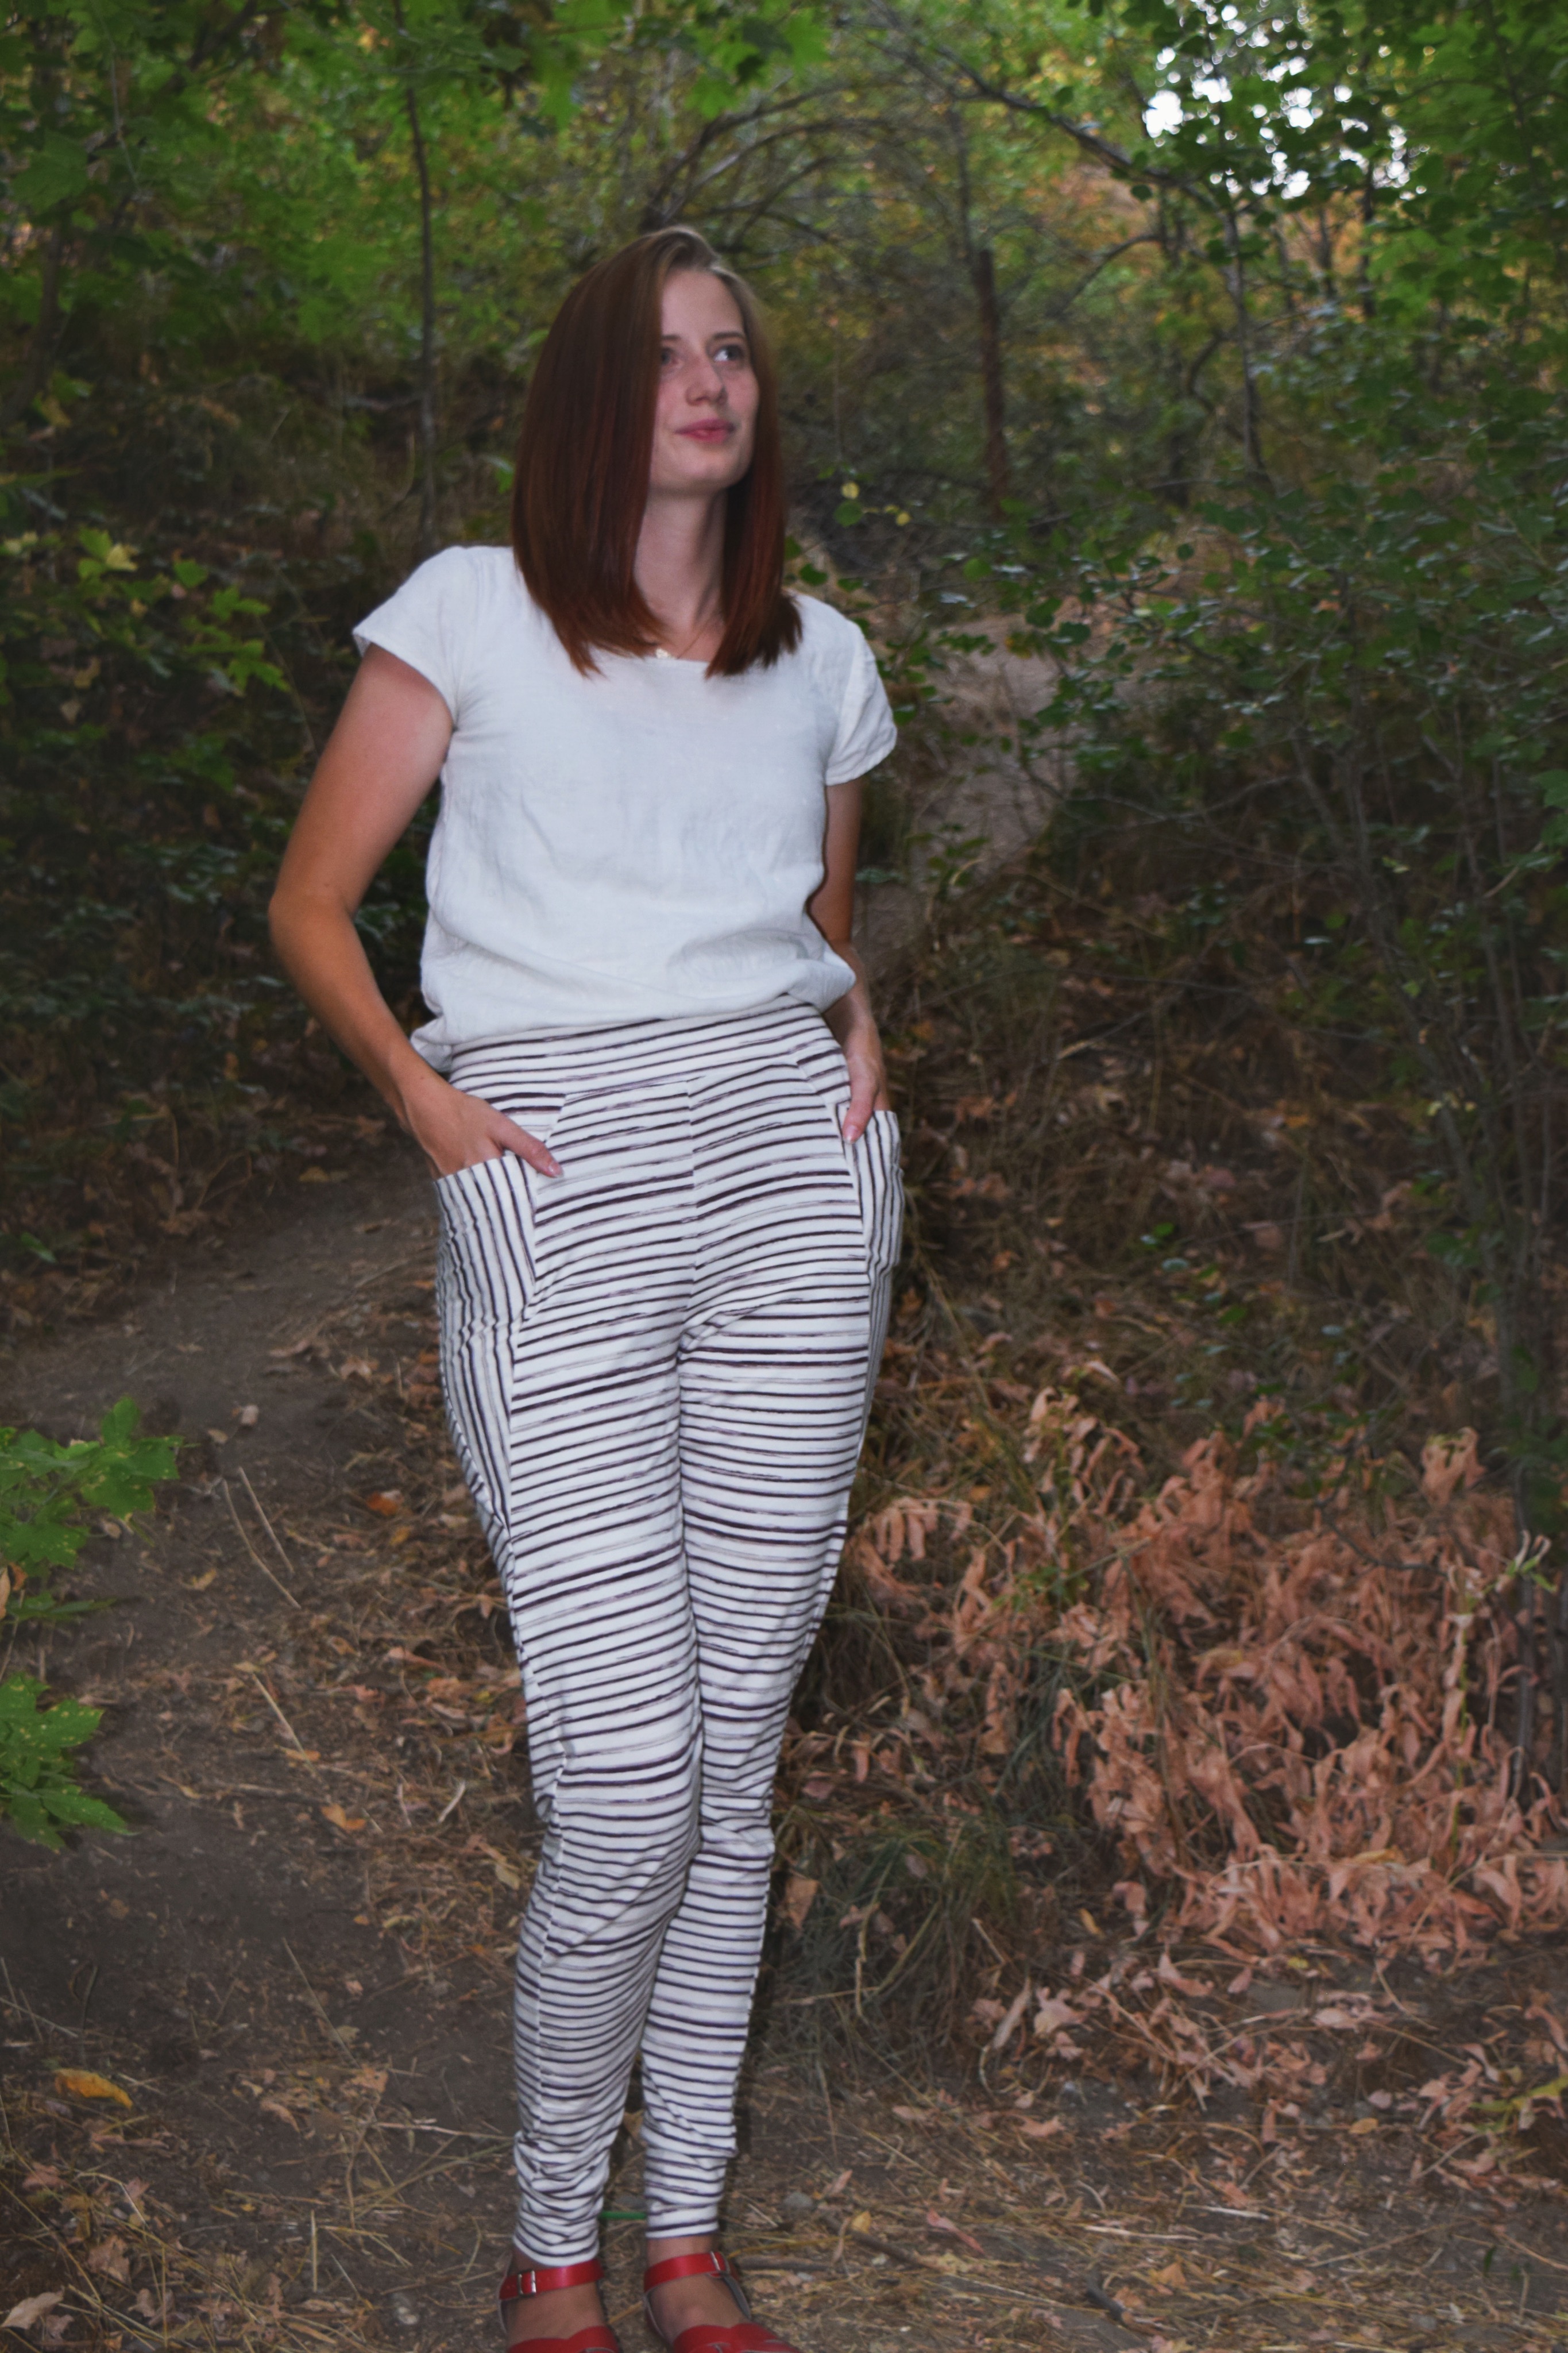
Melissa of Sew Like My Mom just released her newest pattern the Redwood Joggers. You can find the pattern for sale in her Etsy shop here. I had the opportunity to test this pattern and I’m thrilled that I did because I’ve been living in these pants.

IMG_6912

Included in the pattern are 3 different lengths: shorts, cropped, and pants. I chose to sew up the pants in this fantastic jersey knit from the Cultivate line by Bonnie Christine for Art Gallery Fabrics. I’ve never been one to shy away from a print, but this time I wanted to make something a bit calmer than usual and opted for neutral colored stripes. The weight of this jersey feels perfect for the current season and I plan on making a second pair in french terry once cooler weather arrives.

IMG_6913

The overall fit of the Redwood Joggers is fantastic! Melissa obviously took extra care to make sure she got the fit just right. Only two small adjustments were needed to make sure mine fit just right. First, I added two inches to the length of the pants which is an adjustment I make to nearly every pants pattern. Second, I made a size medium pant and used the elastic measurement for the size small since my waist was closer to that measurement. They’re a great alternative to my baggier sweatpants and tight fitting leggings. I feel like the fit makes them much more acceptable to wear in public than some of my other active wear type clothing.

IMG_6914

My very favorite detail on these pants are the triangle pockets. Originally, I just thought they were a fun design detail that may or may not be functional. After wearing them for two days in a row, however, I found that they are completely functional and in many cases better than the regular patch or inseam pockets in most of my joggers or sweatpants. The placement and depth of the pockets helped to keep my phone secure when sitting and while chasing my wild toddler. Many of my jogger pants have shallow pockets which means my phone will randomly fall out when I bend or or sit down.

IMG_6968

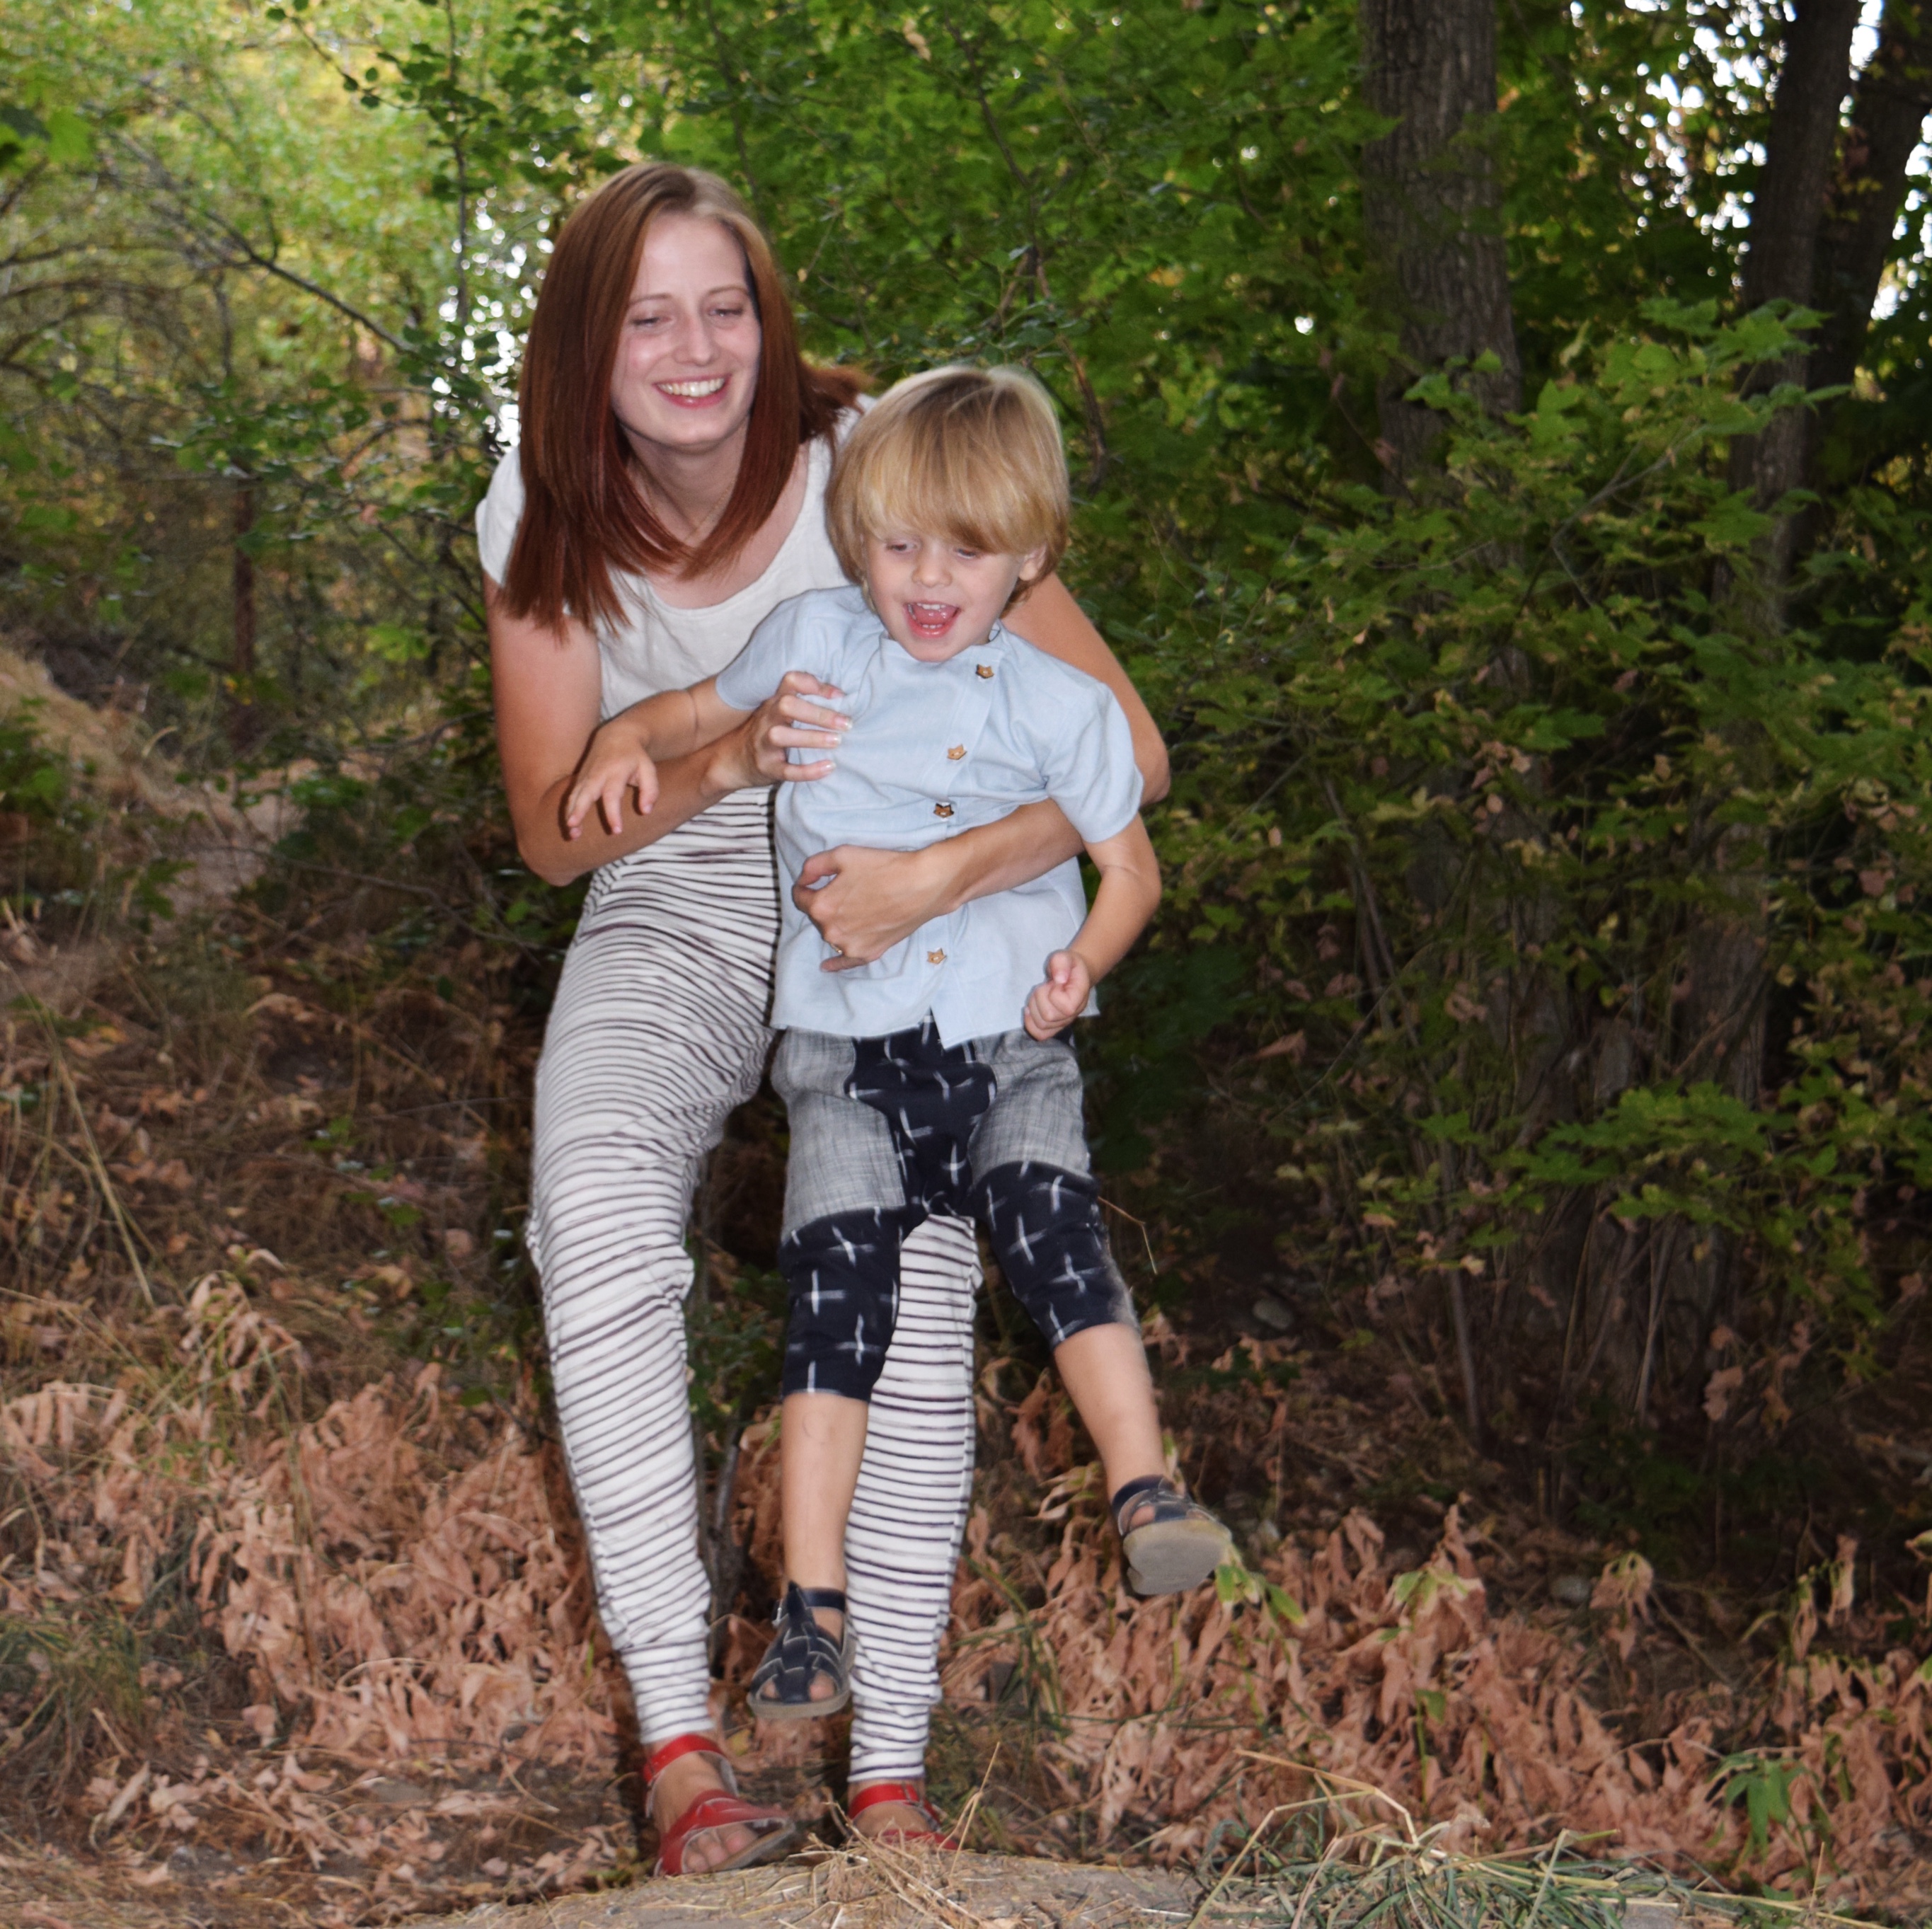
Next up: I plan to sew a pair of Sew Like My Mom Boxwood Joggers for my son. I am most definitely that mom who dresses my child to match. I figure it will make him easier to find if he’s ever lost in a crowd, right?